If your wardrobe doors are scratched, dated or simply no longer suit the room, a respray can completely change the look without the cost and upheaval of replacement. This wardrobe respray preparation checklist for homeowners is designed to help you get the space ready properly, so the work runs smoothly and the final finish looks as clean and durable as it should.
Preparation is where a good result starts. Most homeowners focus on the new colour, the sheen level or whether handles should be changed, but the condition of the room and the way the wardrobe is cleared matter just as much. A professional respray team can do expert surface preparation and finishing, but a little planning at your end makes the process quicker, tidier and less disruptive.
Why preparation matters before a wardrobe respray
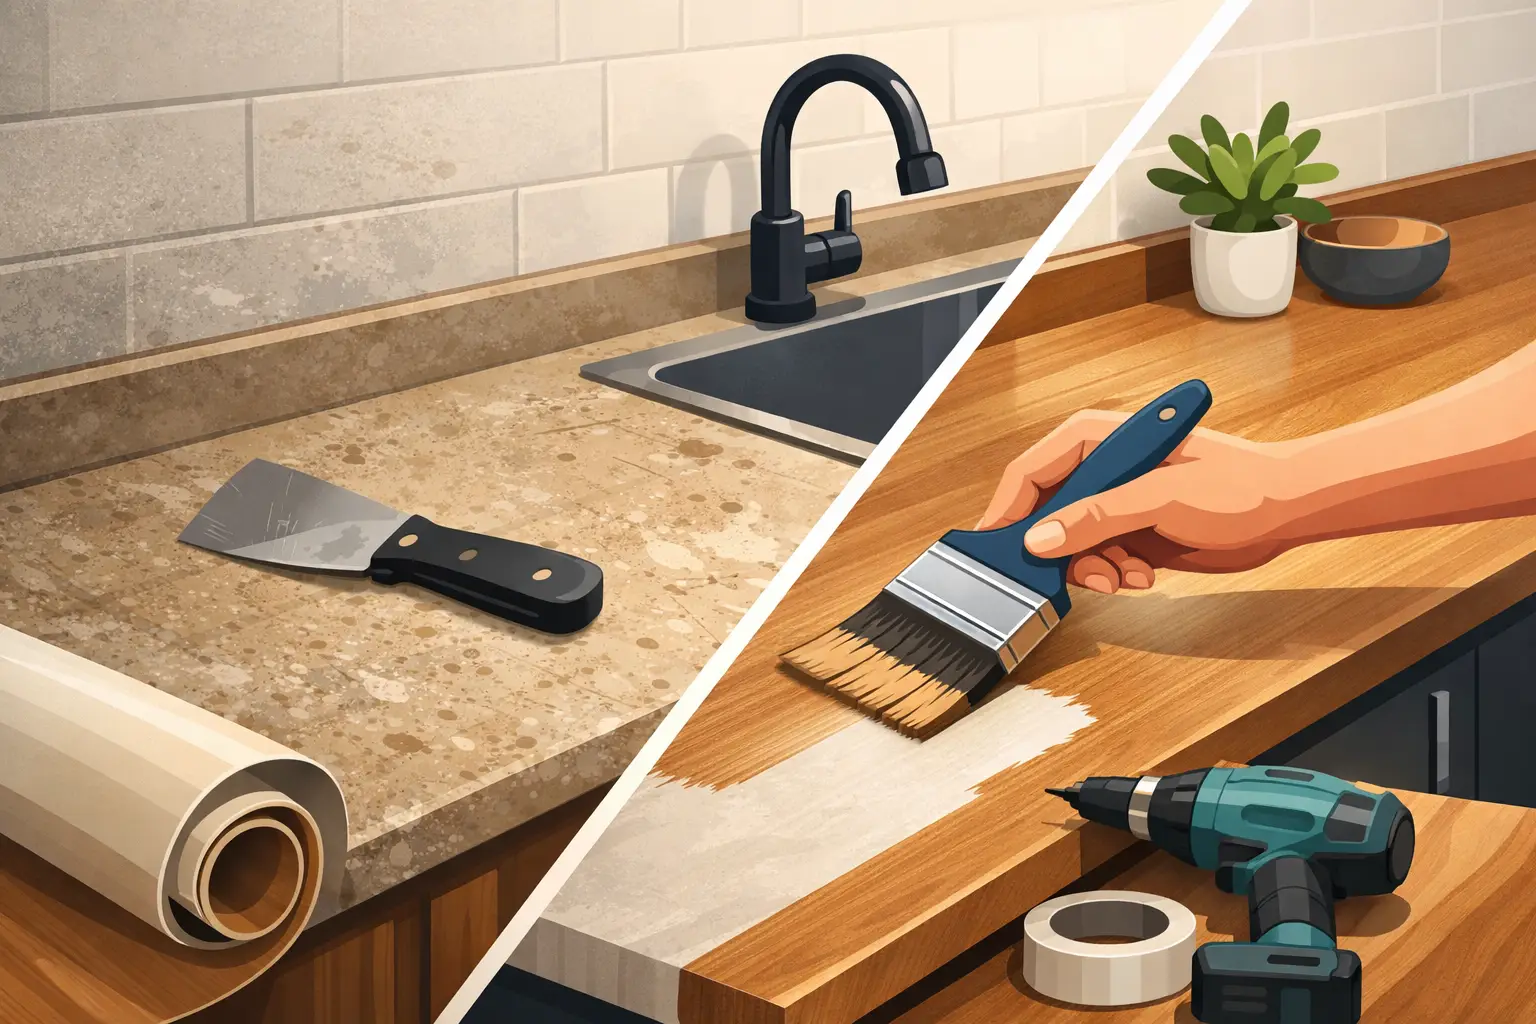
Wardrobe respraying is a cost-effective way to refresh fitted furniture, especially when the carcasses are still solid and the layout works well. It is also a more eco-friendly option than ripping everything out and sending usable units to landfill. That said, spraying is a precision job. Dust, clutter, blocked access and unclear expectations can all slow things down.
Good preparation protects your belongings, helps the sprayers work efficiently and reduces the chance of delays on the day. It also gives you a chance to spot any practical issues in advance, such as swollen panels, loose hinges or damage that may need repair before spraying begins.
Wardrobe respray preparation checklist homeowners can follow
Start by emptying the wardrobe fully, not just the shelves and rails that seem easy to reach. Anything left inside can collect dust or get in the way if doors, drawers or fittings need to be removed. Clothes, shoes, boxes, bedding and smaller accessories should all be taken out before the team arrives.
It helps to sort items as you go. If you are already taking everything out, it is a sensible time to decide what is staying, what can be donated and what needs better storage elsewhere. This is not essential for the spraying itself, but it makes the disruption more worthwhile.
Once the interior is empty, clear the space around the wardrobe. Ideally, there should be enough room for doors to be removed safely and for the spraying team to move tools and protective materials in and out without squeezing past bedside tables, chairs or baskets. If the wardrobe is in a bedroom with limited floor space, even shifting a few pieces of furniture can make a real difference.
Soft furnishings should also be considered. Curtains, rugs, bedding and cushions can attract fine dust, so if possible, move them out of the room or cover them properly. The same goes for nearby décor such as mirrors, lamps and framed pictures. A professional company will protect the work area, but homeowners can help by removing valuable or delicate items beforehand.
Cleaning is another important step, although it should be kept simple. You do not need to sand or strip anything yourself unless specifically advised. In fact, trying to do too much can sometimes create extra work. What is useful is a basic wipe-down to remove obvious surface dust, grease, hairspray residue or general grime from wardrobe fronts and surrounding areas.
If the wardrobes are in a main bedroom, think about daily access too. During the work, you may not be able to use the room in the usual way for a short period. That is usually manageable, but it is best planned for. Set aside the clothes and essentials you will need in the meantime, especially if the wardrobe holds workwear, school uniforms or anything you use every day.
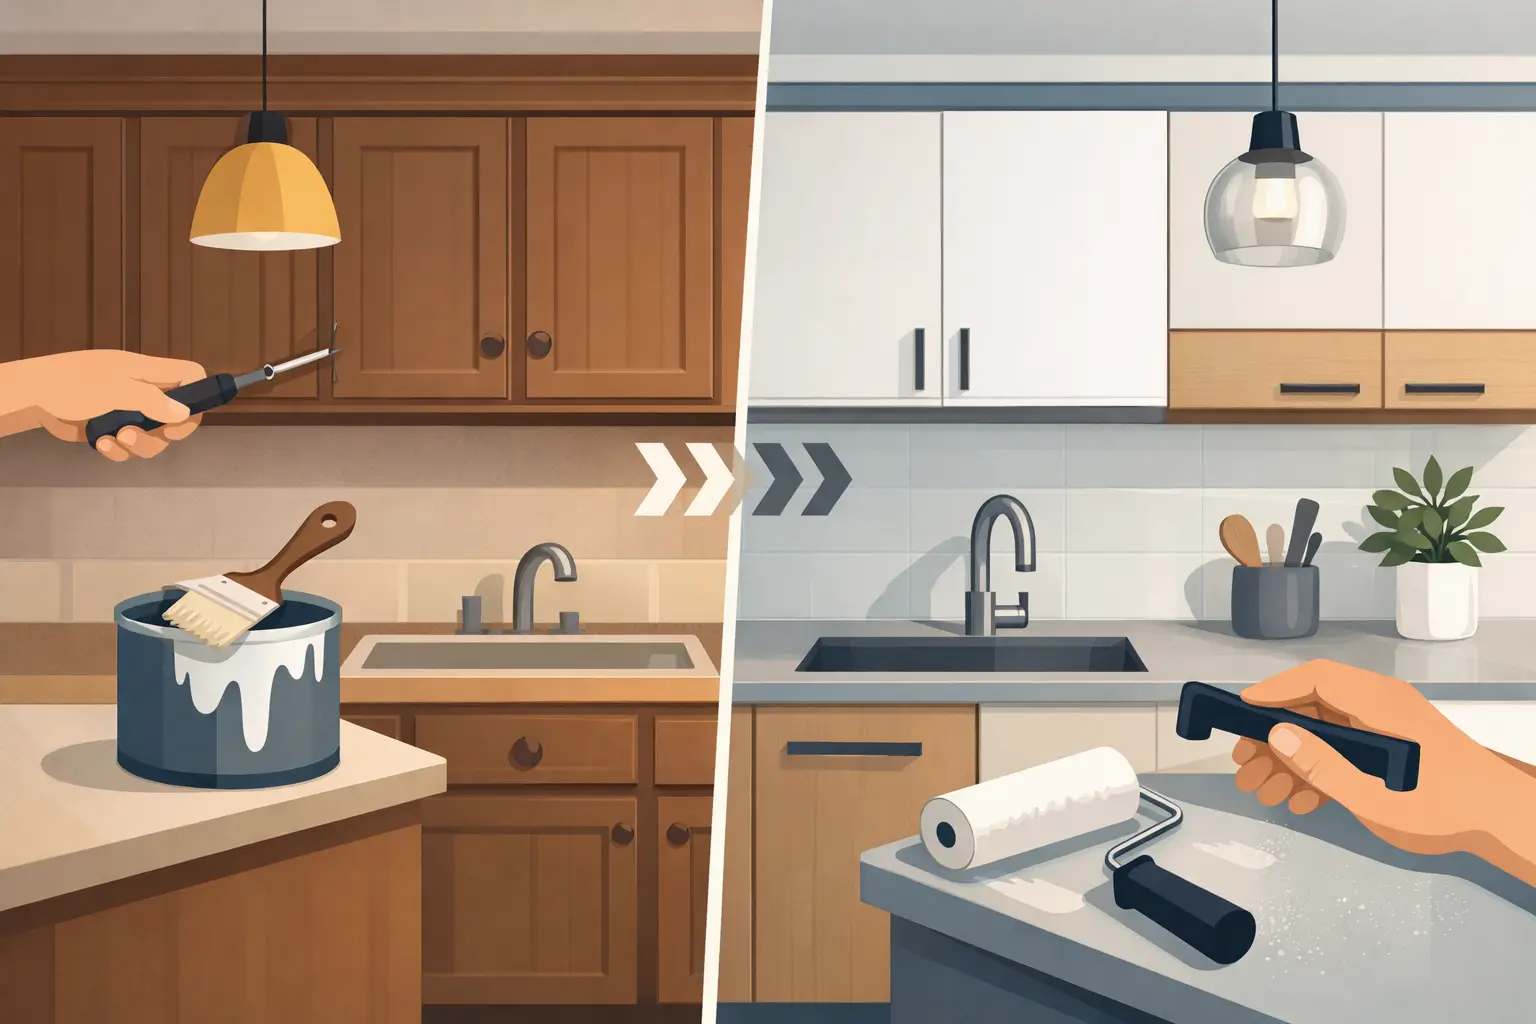
Decide on handles, colour and finish before the work begins
One of the most common reasons for last-minute stress is unfinished decisions. Before your appointment, be clear on the colour you want, the finish you prefer and whether existing handles are being reused or replaced.
This matters because different choices can affect preparation and the final appearance. For example, if you are changing handles, new fixing holes may be needed or old ones may need to be filled. If you are keeping the same handles, make sure they are all present and in decent condition. Worn or dated handles can undermine an otherwise stunning respray.
Colour choice also deserves a bit of thought in the actual room, not just from a sample viewed quickly. Wardrobes take up a large visual area, so light levels, flooring and wall colour all influence what will look best. A soft neutral can brighten a smaller bedroom, while a darker shade can look striking in a larger, well-lit space. There is no single right answer. It depends on the room, your style and whether you want the wardrobes to blend in or stand out.
Check the condition of the wardrobe itself
A respray can transform appearance, but it cannot solve every structural problem on its own. Before the work starts, inspect the wardrobes for issues that could affect the result. Look for peeling laminate, water damage, cracked panels, broken drawer fronts, loose hinges or doors that no longer hang straight.
Some wear and tear is perfectly manageable and can often be addressed as part of the preparation process. More serious damage may need repair first. This is why it is worth mentioning any known issues early rather than hoping they will sort themselves out on the day.
Older fitted wardrobes can be especially variable. Some are solid and ideal for respraying. Others may have materials or previous coatings that need extra attention. A trusted professional will advise honestly if certain sections need repair or if expectations should be adjusted.
Make access easy on the day
Even a straightforward wardrobe respray is easier when the practical details have been thought through. Make sure there is a clear route from the entrance to the room being worked on. If you live in a terraced house, duplex or upper-floor flat, think about stairs, tight corners and parking access as well.
Pets and young children should be kept away from the work area during the job. This is partly for safety and partly to avoid dust sheets being disturbed or freshly prepared surfaces being touched. If you work from home, it is also worth planning around noise and room access for a few hours.
Ventilation may be needed depending on the process and setup, so windows should be accessible. Your respray team will usually advise what they need, but making sure windows are not blocked by heavy furniture or storage boxes is a helpful step.
What not to do before a wardrobe respray
Homeowners sometimes try to be helpful by carrying out DIY prep that is not needed. Avoid using strong cleaning products, silicone-based sprays or furniture polish just before the appointment, as these can interfere with adhesion. Likewise, do not attempt patch sanding or filler repairs unless you have been specifically asked to do so.
It is also best not to leave the room half-cleared. A wardrobe that still contains clothing rails packed with coats, or drawers full of miscellaneous items, slows everything down. Full access means the team can focus on achieving a professional finish rather than spending time working around obstacles.
If you are unsure whether something should stay or go, ask in advance. That applies to internal shelving, decorative trims, fitted mirrors and lighting around the wardrobe area. Clear communication beforehand is always easier than rushed decisions on the morning of the job.
A smoother process means a better experience
For most homeowners, the appeal of wardrobe respraying is simple. You get a fresh, modern look without the mess, delay and expense of replacing perfectly usable fitted furniture. Companies such as Dublin Kitchen Respray have built their reputation on that balance – expert workmanship, efficient turnaround and excellent value.
The preparation side is what helps deliver that experience. When the wardrobe is emptied, the room is cleared, choices are confirmed and any damage is flagged early, the job tends to feel calm and well managed. That is good for the team carrying out the work, and even better for you as the homeowner waiting to see the finished result.
A resprayed wardrobe should look intentional, not like a compromise. Giving the process proper attention before the first panel is touched helps ensure the final finish feels exactly that – a smart, affordable upgrade that lifts the whole room.