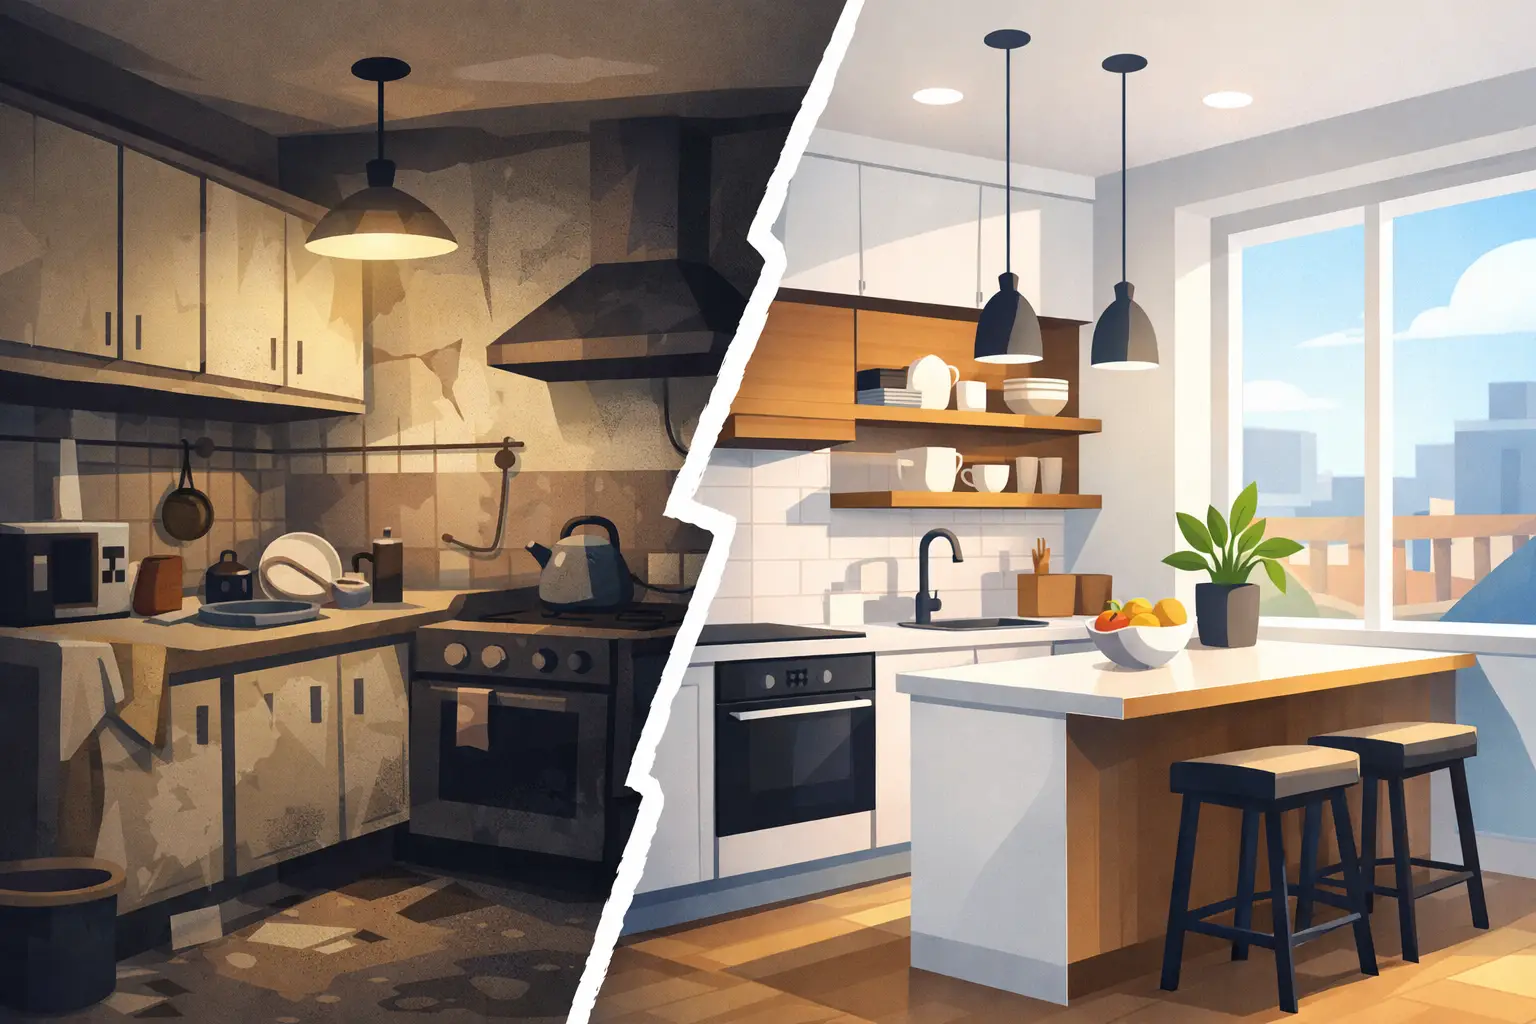
That small chip on a cabinet door rarely stays small for long. In a busy kitchen, knocks from handles, steam from the kettle and everyday cleaning can quickly turn a minor blemish into a finish that looks tired and uneven. If you are wondering how to fix chipped cabinet paint, the right approach depends on what caused the damage, how deep it is and whether the surrounding paint is still sound.
A careful repair can make a cabinet look smart again, but not every chip should be treated the same way. A shallow nick on a painted shaker door needs a different fix from peeling paint around a sink unit. The key is to repair the damage without creating a patch that stands out more than the original mark.
How to fix chipped cabinet paint without making it worse
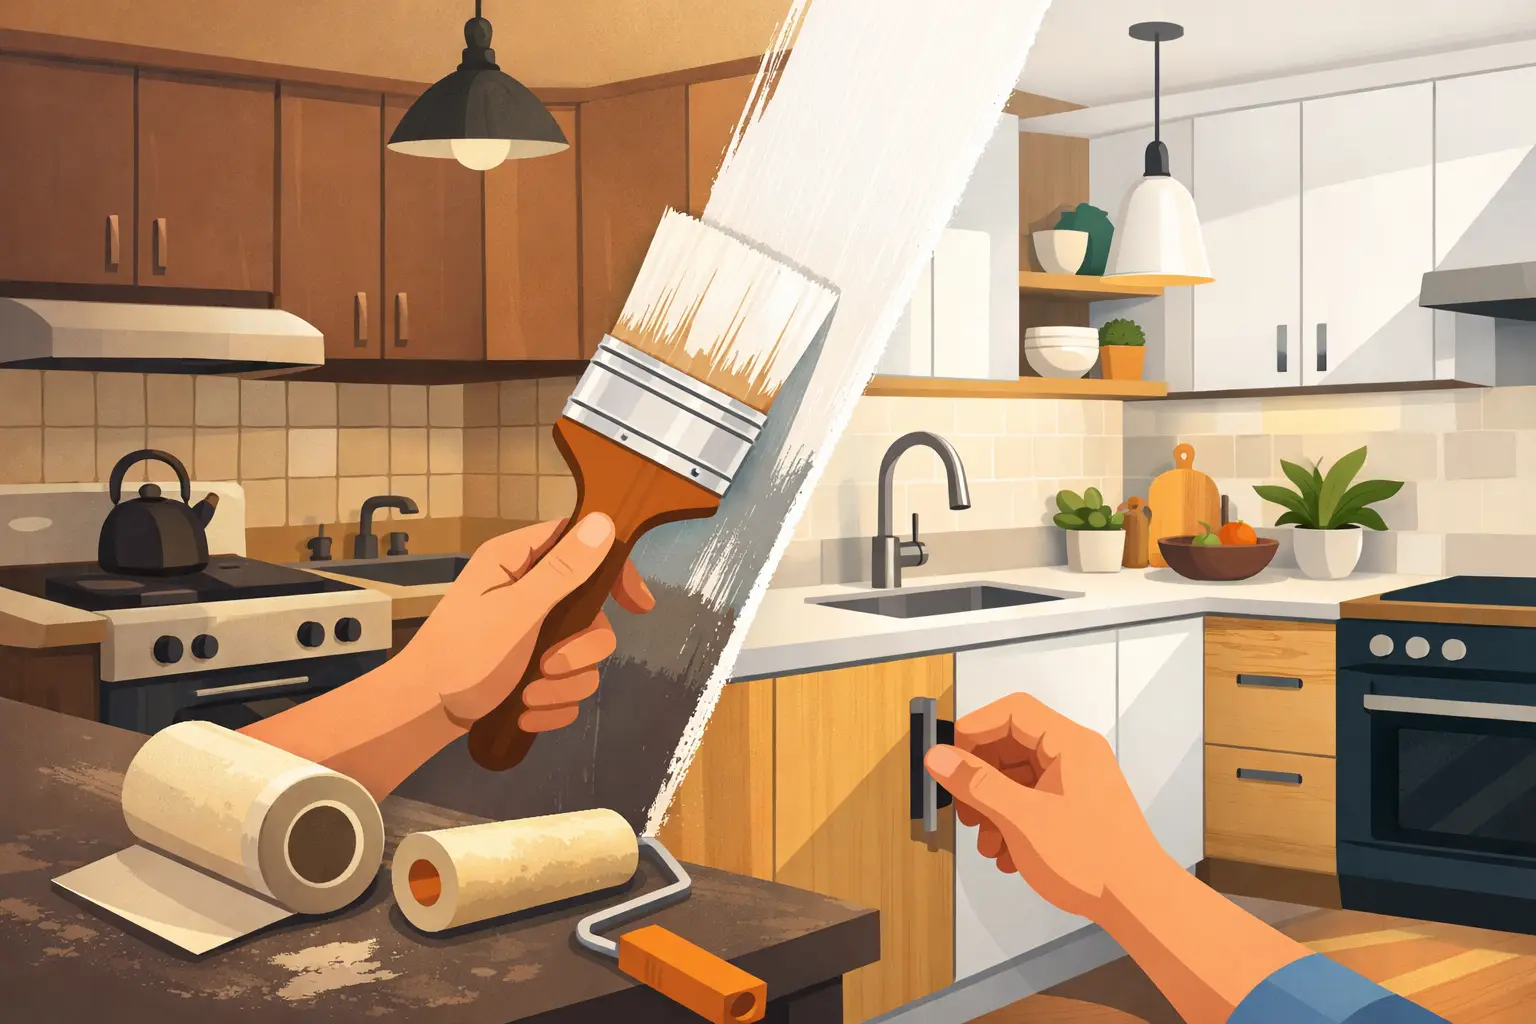
The biggest mistake homeowners make is rushing straight to touch-up paint. It sounds sensible, but if the loose edges are not removed, the surface is not flattened, or the paint type does not match, the repair often ends up looking lumpy or obvious in daylight.
Start by checking the damaged area closely. If the paint has chipped but the underlying cabinet is dry, firm and smooth, a local repair is often enough. If the paint is lifting, cracking or soft around the edges, there may be a wider adhesion problem. In that case, simply dabbing over the mark will not hold for long.
Before doing anything else, clean the area with a mild degreasing solution and let it dry fully. Kitchen cabinets collect grease more quickly than most people realise, especially around cookers, handles and bins. Even a high-quality paint repair can fail if it is sitting on a thin film of oil or polish.
Check what sits beneath the chip
This matters more than many people expect. If the chip has gone only through the topcoat, the repair is straightforward. If it has exposed primer, MDF, timber or laminate beneath, you may need to rebuild the area slightly before repainting.
MDF is especially common in painted kitchens, and when exposed it can fluff or swell if moisture gets in. If the cabinet has already started to puff up at the edge, the issue is no longer just cosmetic. You can improve the look, but a truly smooth result may require more preparation or, in some cases, professional spraying.
The best method for small chips
For minor chips, use a light hand. Scrape away any loose paint with a fine filling knife or the edge of a sharp scraper. You are not trying to remove more finish than necessary, only anything that is no longer properly bonded.
Then sand the area gently with fine abrasive paper, feathering the edges so the chip blends into the surrounding paint. If there is a slight hollow, apply a small amount of fine surface filler suitable for cabinetry. Once dry, sand again until it feels level to the touch.
At this stage, primer may be needed. If the substrate is exposed, a suitable primer helps seal the repair and gives the topcoat something to grip. Skip this and the touched-up spot can absorb paint differently, leaving a dull patch or visible ring.
When applying colour, thin layers are usually better than one heavy coat. Use a small artist’s brush for tiny chips, or a mini foam roller if the damaged area is broader and flat. Let each coat dry properly before applying the next. It takes longer, but it helps the repair settle more evenly.
Matching sheen is often harder than matching colour
Homeowners usually focus on paint colour, but sheen can be the real giveaway. A cabinet painted in a soft satin finish will look wrong if repaired with a dead matt or high-gloss product, even if the shade is close.
Age also changes the appearance of painted cabinetry. Sunlight, cleaning products and general wear can subtly alter the original finish, so a fresh touch-up may still appear brighter or flatter than the surrounding door. That does not mean the repair has failed, only that localised fixes have limits.
When chipped paint points to a bigger problem
Sometimes a chip is just a chip. Sometimes it is a symptom. If the damage keeps appearing in the same places, it is worth asking why.
Around handles, the issue may be impact and repeated contact. Near sinks and kettles, moisture is often involved. Along door edges, poor adhesion or old paint build-up can be the cause. If cabinets were painted years ago with the wrong preparation or low-grade products, chipping may continue no matter how neatly each individual spot is patched.
This is where a piecemeal approach becomes false economy. You can keep repairing one mark after another, but the finish never quite looks consistent. For homeowners who want the kitchen to feel properly refreshed, a full respray often gives the more durable and more attractive result.
How to fix chipped cabinet paint on edges and corners
Edges and corners take the most abuse and are the trickiest areas to repair invisibly. Paint tends to be thinner there anyway, and any filler or excess paint can round over the profile if applied too heavily.
Work carefully and keep the repair tight to the damaged section. Use very fine filler only if the chip has real depth. Once sanded, prime sparingly and build the colour in light coats. It is better to stop just short of perfection than leave a heavy patch that catches the light every time you walk into the room.
If several edges are chipped across multiple doors, spot repairs can start to look inconsistent. One door may appear newly painted while the next shows wear. That unevenness is often what prompts homeowners to consider a professional respray, particularly in open-plan kitchens where cabinetry is always on show.
DIY touch-up or professional respray?
There is no single answer here. If you have one or two small chips on otherwise sound painted cabinets, a careful DIY repair is perfectly reasonable. With patience and the right materials, you can improve the appearance significantly.
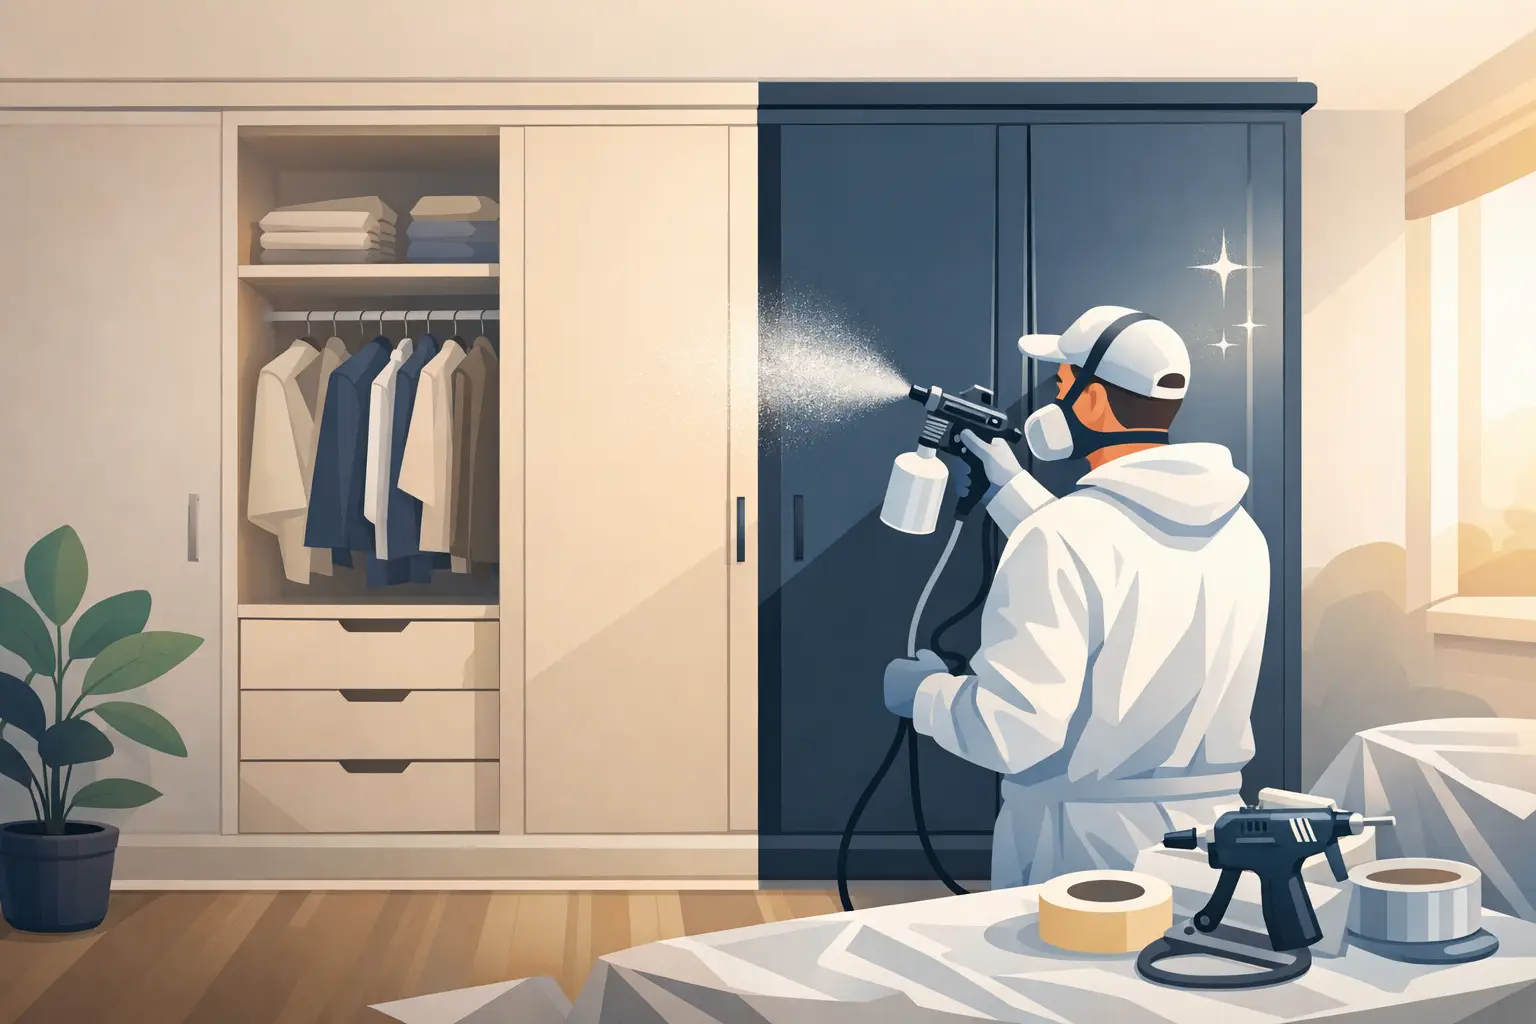
But if you are dealing with repeated chipping, older cabinets, visible MDF damage or a finish that has gone dull and tired across the whole kitchen, touch-ups only go so far. Professional spraying creates a uniform finish across all doors and drawer fronts, which is difficult to replicate with a brush. It is also more durable when the preparation is done correctly.
For many homeowners, the decision comes down to the result they want. If the goal is to make one damaged spot less noticeable, repair it locally. If the goal is to make the kitchen look stunning again without replacing perfectly usable units, respraying is often the smarter investment.
A trusted service can also solve problems beyond the obvious chip. Surface preparation, correct primers and hard-wearing topcoats all affect whether the new finish lasts. That is why professional cabinet spraying tends to hold up better in busy family kitchens than ad hoc patching.
Preventing cabinet paint from chipping again
Once the repair is done, a few habits make a real difference. Avoid harsh scourers and use a soft cloth with mild cleaner rather than anything abrasive. Try not to let water sit around sink units or drip down door fronts. If handles are loose, tighten them before movement starts wearing through the paint around fixing points.
It is also worth being realistic about wear zones. A utility room, rental property or family kitchen with heavy daily use will put more strain on painted cabinetry than a lightly used space. In those settings, durability matters just as much as appearance, which is why professional-grade preparation and spray finishes are often worth considering.
At Dublin Kitchen Respray, we often speak to homeowners who started with a single chip and then realised the whole kitchen could benefit from a cleaner, more consistent finish. That does not mean every cabinet needs a full overhaul, but it does show how often small cosmetic issues point to a wider opportunity.
If your cabinets have only one or two marks, repair them carefully and do not overwork the area. If the damage is spreading or the finish has lost its uniform look, it may be time to think beyond a touch-up. A well-finished kitchen should cope with daily life and still look polished at the end of it.