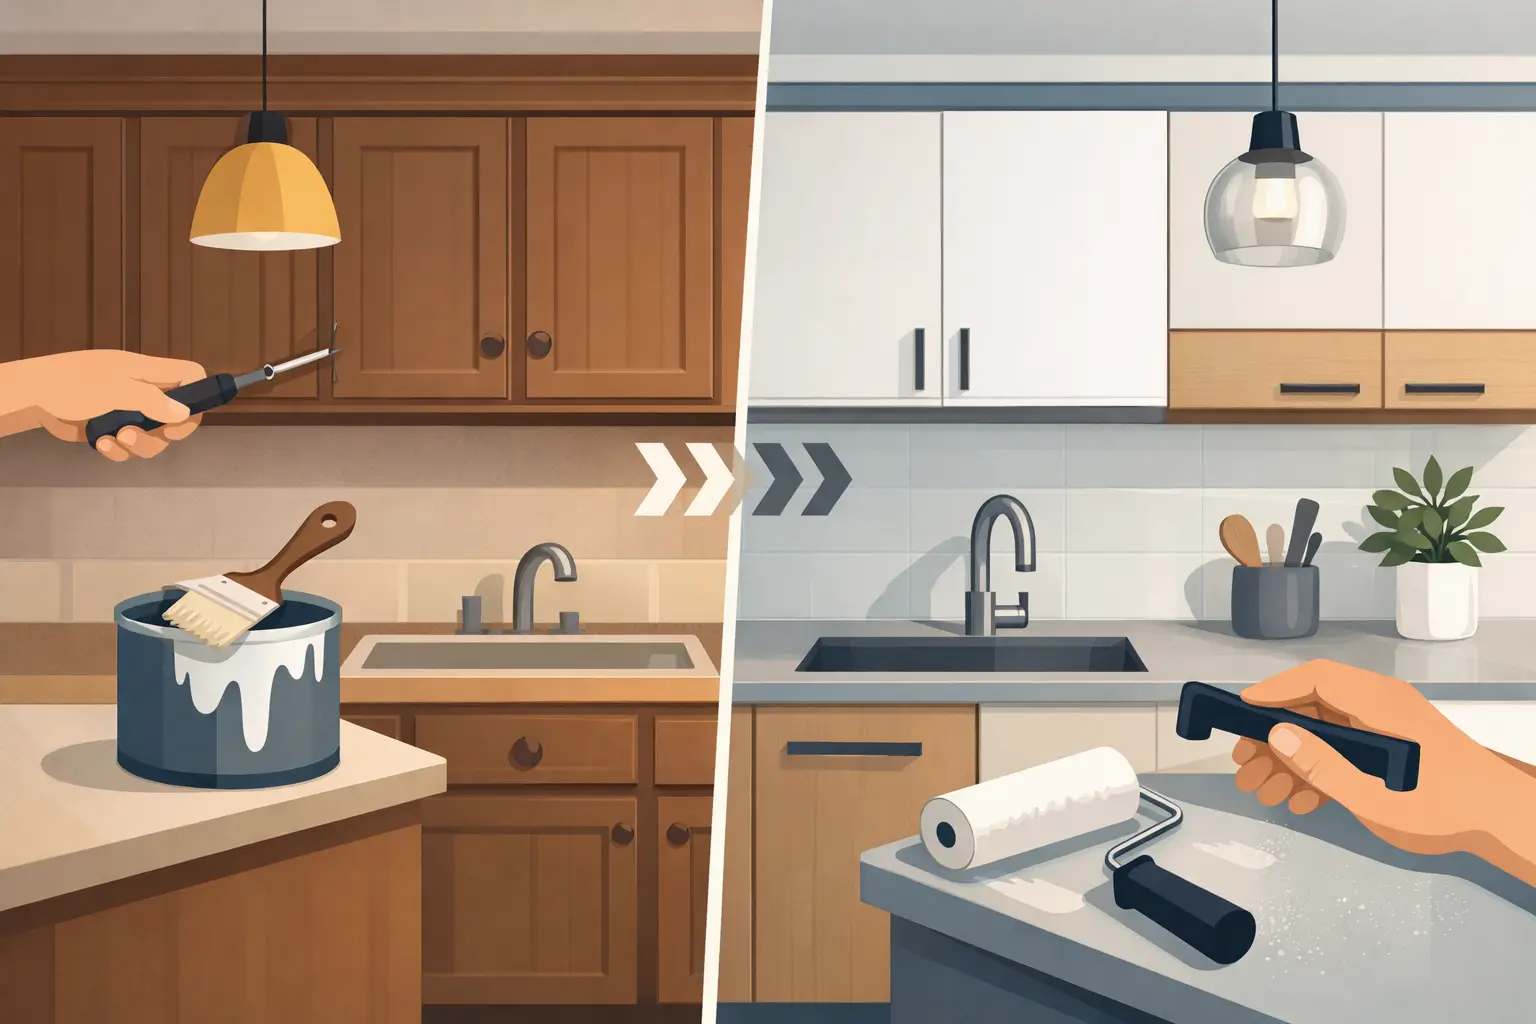
A tired wardrobe can make the whole room feel dated, even when everything else is in good order. That is why understanding the wardrobe respraying process step by step helps homeowners see how a professional finish is achieved without the cost, mess and disruption of full replacement.
For many homes, especially where wardrobes are structurally sound, respraying is the sensible middle ground. You keep the storage that already works, avoid unnecessary waste, and get a fresh, modern finish that can completely change the look of the space. The result is not just cosmetic. Done properly, respraying protects the surface and extends the life of the furniture.
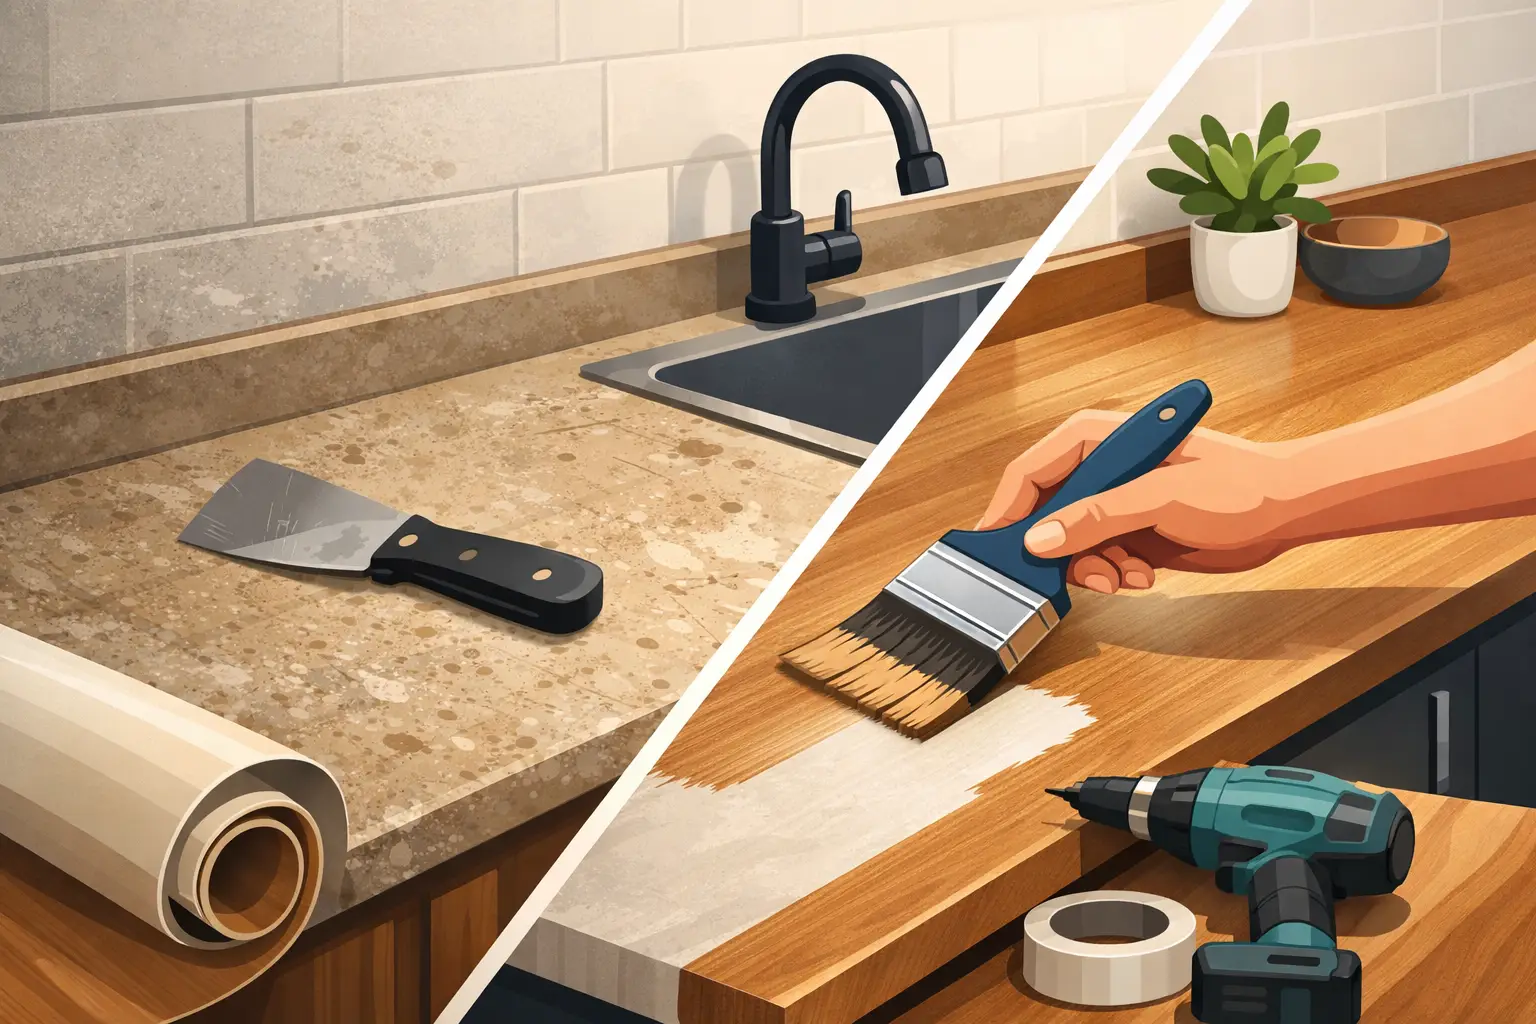
What happens before wardrobe respraying starts
The quality of the final finish is decided long before any paint is sprayed. A professional team will begin by assessing the wardrobe material, current coating, condition of the doors and frames, and any signs of damage such as chips, swelling or loose hinges.
This matters because not every wardrobe surface behaves the same way. Solid timber, MDF, laminate and previously painted finishes all require slightly different preparation. If the wrong primer or prep method is used, the coating may not bond correctly. That can lead to peeling, poor durability or an uneven appearance a few months later.
At this stage, colour and sheen are also agreed. Some clients want a soft matt contemporary look, while others prefer a satin finish that is easier to wipe down. There is a trade-off here. Lower-sheen finishes often look more refined, but they can mark more easily in busy family homes. A satin or low-sheen finish tends to offer a practical balance.
Wardrobe respraying process step by step
Step 1 – Protecting the room and work area
Before any sanding or spraying begins, the surrounding area is carefully protected. Floors, nearby furniture, skirting boards and adjacent walls need to be masked properly to keep dust and overspray under control.
This is one of the reasons professional respraying feels far less disruptive than a full refit. You are not dealing with rip-out work, plaster damage or multiple trades moving in and out. Good preparation keeps the job tidy and gives clients confidence from the outset.
Step 2 – Removing doors, handles and fittings
Wardrobe doors, handles, knobs and in some cases hinges are removed so each surface can be worked on thoroughly. Spraying around hardware rarely produces a high-end result. It leaves ridges, missed edges and a finish that looks obviously patched rather than professionally renewed.
Removing components also allows the team to inspect wear points more closely. Areas around handles and lower door edges often carry the most damage because they are touched or knocked daily.
Step 3 – Cleaning and degreasing
Even wardrobes collect more contamination than people realise. Built-up polish, body oils, dust and cleaning product residue can all interfere with adhesion. Every surface is cleaned and degreased so the new coating bonds to a sound base.
Skipping this stage is one of the most common reasons DIY wardrobe painting disappoints. Paint may look fine on day one, then start lifting around edges or high-contact zones. A clean surface gives the next stages a proper chance of lasting.
Step 4 – Repairs and surface preparation
Small chips, dents, scratches and minor imperfections are repaired before the spraying begins. If necessary, surfaces are lightly sanded to create a key for the primer and to smooth out the old finish.
This is where craftsmanship shows. The goal is not simply to cover flaws, but to remove them from the final appearance. If damage is left untreated, modern paint will not hide it. In fact, a fresh sprayed finish can make defects more obvious because the surface becomes more uniform and reflective.
Some wardrobes need only light abrasion. Others, especially older fitted units with layers of previous coatings, require more detailed prep. It depends on the age, material and condition of the joinery.
Step 5 – Priming for adhesion and durability
Primer is the foundation of the whole system. Once the wardrobe is properly prepared, a specialist primer is applied to promote adhesion and create a stable base for the topcoat.
This stage is especially important on smooth or non-porous surfaces such as laminate, melamine or factory-finished MDF. Without the correct primer, even an attractive topcoat can fail under normal daily use. A professional primer helps prevent chipping, peeling and uneven absorption.
After priming, surfaces are checked again. If any small imperfections remain, they can be refined before colour coats are applied. That extra attention is what separates a quick paint job from a finish that genuinely looks like new.
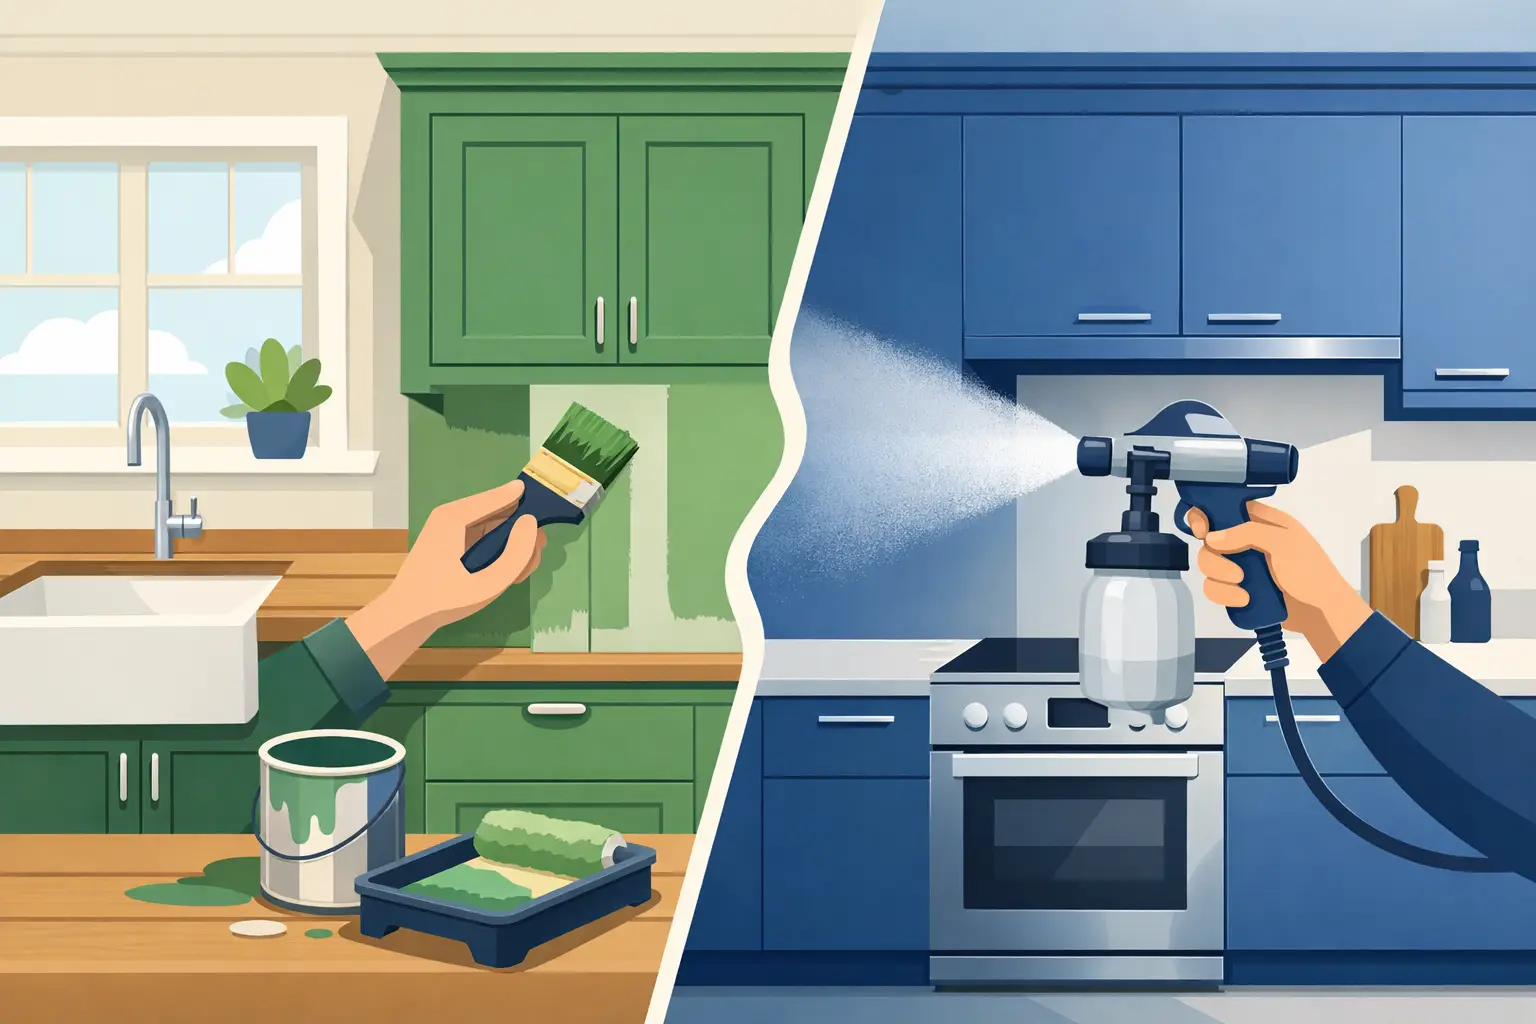
Why spraying gives a better finish than brushing
Step 6 – Applying the colour coats
The colour is then spray applied in controlled, even coats. This creates the smooth, factory-style finish most homeowners want when updating wardrobes. Unlike brush or roller application, spraying avoids drag marks, heavy texture and inconsistent coverage.
Thin, even coats are preferable to one heavy coat. They cure better, look cleaner and reduce the risk of runs. Depending on the original surface and the chosen colour, more than one coat is usually required to achieve depth, opacity and consistency.
Lighter shades can brighten a room and make fitted wardrobes feel less bulky. Darker colours add drama and work particularly well in larger bedrooms with good natural light. Neither is automatically better. It depends on the room size, wall colour, flooring and the overall look you want.
Step 7 – Drying and curing between coats
Drying time and curing time are not the same thing. A surface may feel dry to the touch fairly quickly, but that does not mean it has reached full hardness. Between coats, enough time must be allowed for the finish to settle properly.
Rushing this stage can compromise the result. Layers applied too quickly may not bond or level as they should. Professional respraying is efficient, but it is never careless. The aim is a durable finish, not just a fast one.
Step 8 – Reassembly and final checks
Once the topcoats are complete and sufficiently hardened, doors and fittings are refitted. Alignment is checked, hardware is replaced or updated if requested, and the finish is inspected from multiple angles to make sure coverage is clean and consistent.
Final quality checks matter because wardrobes are viewed up close every day. Small flaws around edges, corners or handle positions stand out in normal use. A trusted respraying service will look carefully at those details before signing the job off.
How long does the wardrobe respraying process take?
Most wardrobe respraying projects can be completed far faster than a replacement project, although the exact timeline depends on size, condition and complexity. A simple built-in wardrobe with minimal repair needs will move more quickly than a large fitted run with damaged panels, multiple doors and bespoke detailing.
Access also makes a difference. Tight spaces, awkward stair access or wardrobes integrated with surrounding joinery may require more careful handling. The good news is that even where extra prep is needed, respraying is still usually much less disruptive than removing and replacing the units entirely.
For homeowners in Dublin and surrounding counties, that shorter turnaround is often one of the biggest advantages. You get a visible transformation without turning the house into a building site.
What homeowners often get wrong about wardrobe respraying
One common assumption is that respraying simply means painting over the old surface. In reality, most of the work is in the preparation, repairs and product selection. The spraying itself is only one part of a larger finishing system.
Another misconception is that all paints perform the same. They do not. Professional coatings designed for furniture and cabinetry offer better adhesion, hardness and washability than standard wall paint. That is why wardrobes resprayed by an expert team tend to keep their finish far longer under everyday use.
There is also the question of cost. Respraying is more affordable than replacement, but the cheapest quote is not always the best value. If corners are cut on prep, masking or curing, you may end up paying twice.
Is wardrobe respraying right for every wardrobe?
Not always. If the underlying structure is badly warped, heavily water-damaged or mechanically failing, replacement may be the better option. Respraying works best when the wardrobe is fundamentally sound and the issue is appearance rather than build quality.
That said, many wardrobes that look beyond help are actually excellent candidates for spraying. Dated oak tones, yellowing cream finishes and worn white doors can all be transformed with the right preparation and coating system. This is where an experienced assessment matters.
At Dublin Kitchen Respray, that practical honesty is part of the service. If respraying is the right solution, it can deliver a stunning and durable finish at a fraction of the upheaval of replacement. If it is not, clients are better served by knowing that from the start.
A wardrobe does not need to be new to look smart, current and well cared for. When the process is handled properly, respraying gives you the kind of finish that makes the whole room feel better put together, and that is often all the change a space really needs.