Peeling kitchen doors rarely start as a big problem. It usually begins at the handle, around the edges, or near the sink where steam and daily wear quietly break down the finish. If you are looking up how to repaint peeling kitchen doors, the real job is not simply adding fresh paint. It is finding out why the coating failed in the first place, then rebuilding the surface so the new finish lasts.
That distinction matters. A quick rub-down and a coat of paint can make doors look better for a short while, but in a busy kitchen the weak spots will show again fast. A professional-looking result depends on careful preparation, the right products, and a realistic view of whether the doors are worth repainting at all.
Why kitchen doors start peeling
In most homes, peeling happens because moisture, grease and heat have gradually weakened the bond between the original finish and the door surface. This is especially common near kettles, cookers and sinks. Once water gets into a chipped edge or a cracked corner, the coating can start lifting in thin flakes or larger sheets.
The door material also matters. Solid timber, MDF, vinyl-wrapped doors and previously painted laminate all behave differently. Timber can usually be restored well if the paint system is sound. MDF needs more care because exposed fibres swell when moisture gets in. Vinyl-wrapped doors are a separate issue altogether, because when the wrap fails, painting over it is often only a temporary fix unless the loose material is removed and the surface is properly stabilised.
Poor original prep is another common cause. If paint was applied over grease, gloss, or a factory-smooth finish without suitable primer, it may have looked fine at first but never really bonded. That is why repainting peeling kitchen doors successfully starts with diagnosis, not decoration.
How to repaint peeling kitchen doors step by step
The first step is to remove the doors, handles and hinges if possible. It is far easier to achieve a clean, even finish when the doors are laid flat and the hardware is out of the way. Label each door and hinge position as you go, especially if you are working on a full kitchen. It saves a lot of frustration when refitting.
Next, clean every surface thoroughly. Kitchens collect more invisible residue than most people realise. Grease, polish, cooking film and everyday grime can all interfere with adhesion. Use a proper degreasing cleaner and pay extra attention to the areas around handles and lower cabinet doors. If the surface still feels slick, it is not ready.
Strip back anything loose
Once the doors are clean and dry, remove all flaking or lifting paint. A scraper can help, but it needs a careful hand. The aim is to take away anything unsound without gouging the substrate underneath. If paint is peeling in one area, test the surrounding finish too. Often the visible damage is only the edge of a wider adhesion problem.
After scraping, sand the damaged sections and feather the edges into the intact coating. This is what stops the repaired area showing through the final finish. On a small localised peel, spot sanding may be enough. On a door with widespread failure, full sanding is usually the better route.
Repair the surface properly
If the door has chips, swollen MDF corners or old handle holes, these should be filled before priming. Use a suitable filler for cabinetry rather than a basic wall filler. Once cured, sand it smooth so the profile of the door looks consistent again.
This stage is where many DIY jobs are won or lost. If the substrate is uneven, furry from moisture damage, or still carrying unstable old paint, the topcoat will only highlight it. A smooth finish depends on the surface underneath being genuinely sound.
Choosing the right primer and paint
Not every paint is suitable for kitchen doors. Standard emulsion is not designed for hardwearing cabinetry, and general wood paint may struggle on laminate or factory-finished boards unless paired with the correct primer.
A high-adhesion primer is essential, particularly on glossy, laminated or previously coated surfaces. It acts as the bridge between the door and the new finish. Without it, even a premium topcoat can fail. For MDF, a primer that seals exposed fibres is especially important around edges and routed detail.
For the topcoat, choose a durable cabinet paint or specialist furniture coating designed to cope with repeated cleaning and handling. Satin and matt finishes are both popular, but the right option depends on the look you want and how forgiving you need the finish to be. Deeper matt can look stunning, though it may show marks more readily in a high-use family kitchen. Satin often offers a practical balance.
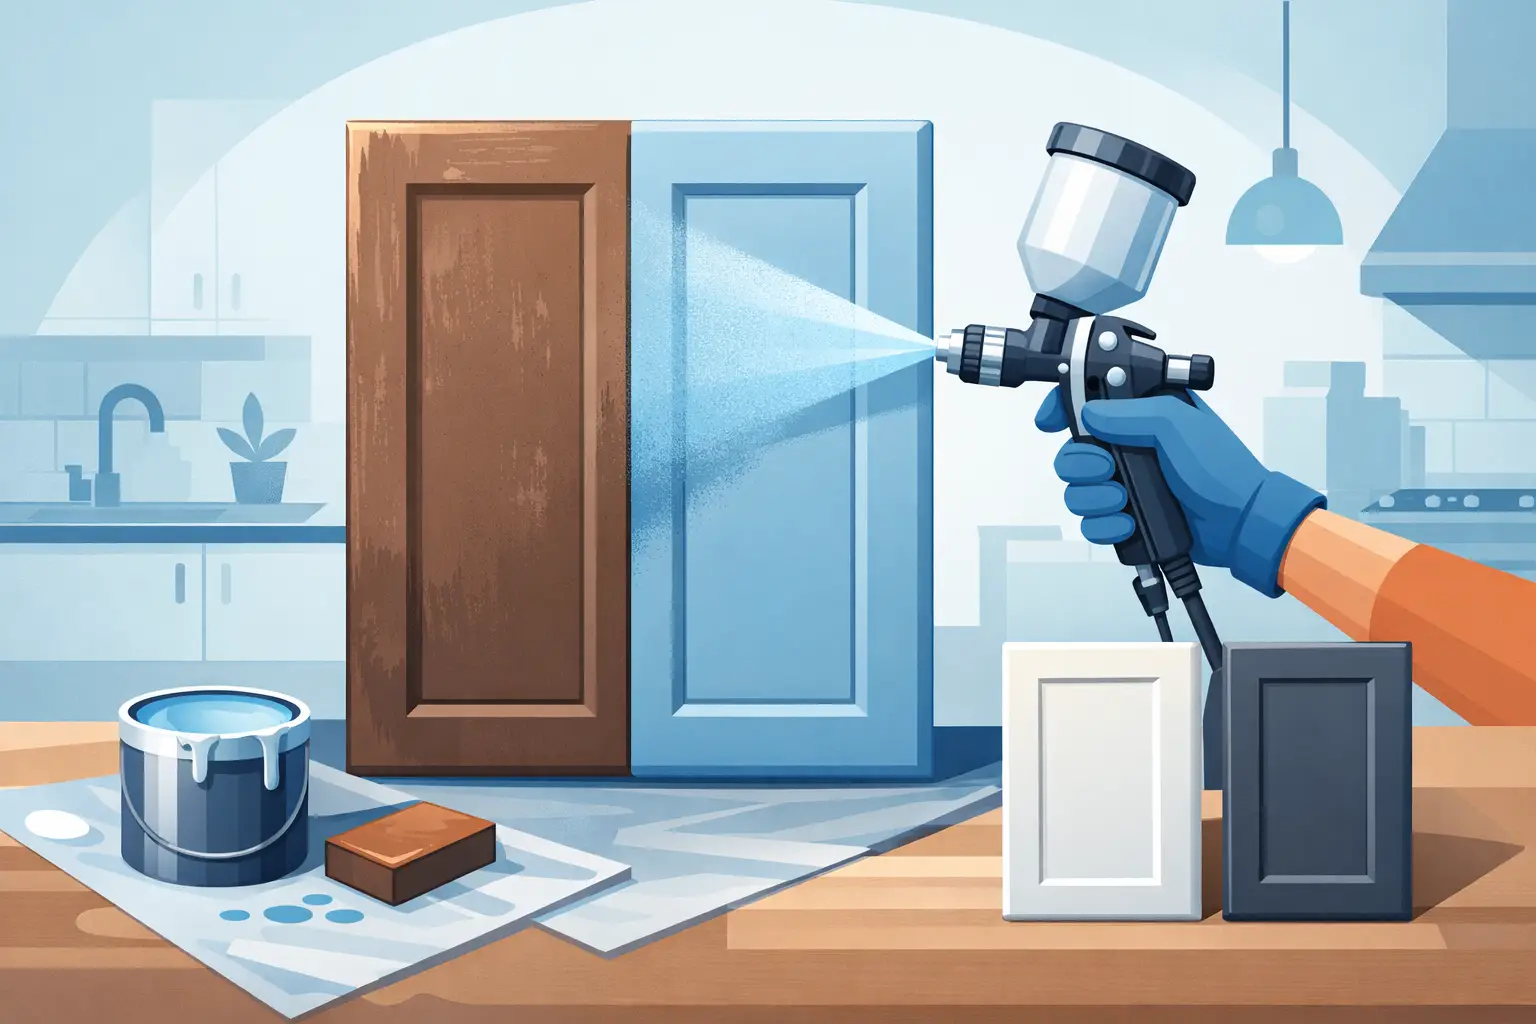
Brush, roller or spray?
This is where expectations need to be realistic. You can repaint kitchen doors neatly with a brush and mini roller, especially if the style is simple and the surface area is modest. With care, the result can be fresh and respectable.
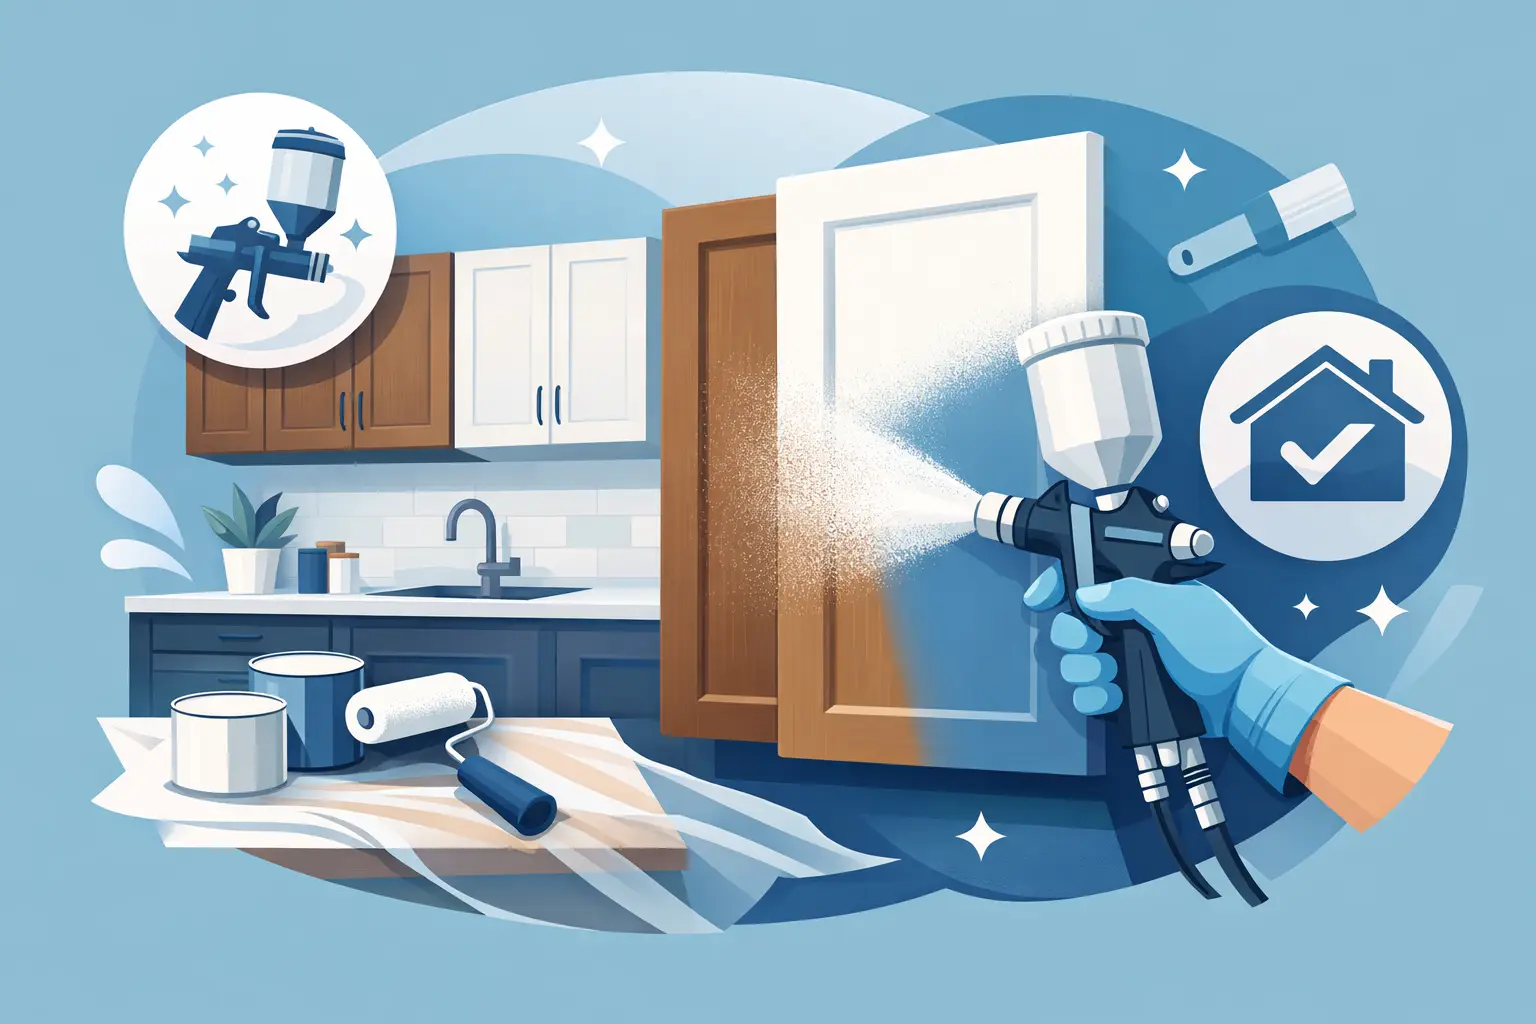
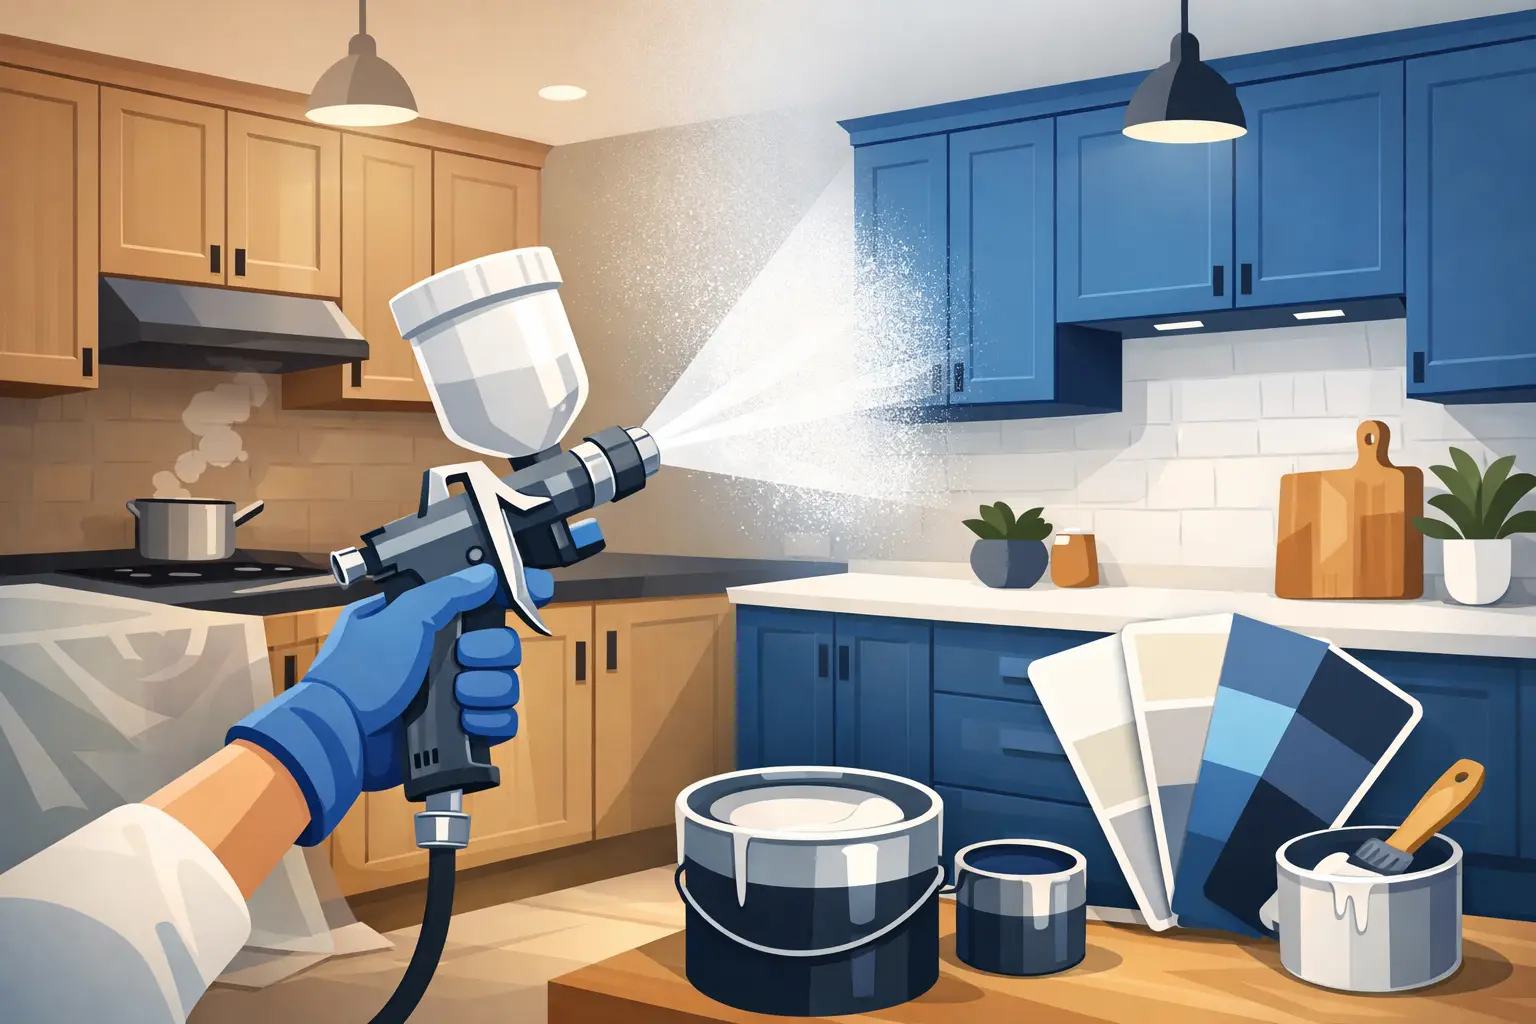
If you want a smooth, factory-style finish, spraying is usually the better method. It gives a finer, more even coat and avoids brush marks on flat slab doors and modern shaker styles. It also tends to produce a more consistent result across an entire kitchen. That is one reason many homeowners choose a professional respray rather than tackling the work themselves.
For homes in Dublin and surrounding counties where the aim is to refresh a kitchen without the cost and upheaval of replacement, this can be a smart middle ground. A proper respray keeps good cabinetry in use, reduces waste and delivers a finish that feels far closer to new.
Applying the finish without rushing it
After priming, lightly sand the surface once it has cured, then remove all dust. That light denib makes a noticeable difference to the final smoothness. Apply the topcoat in thin, even layers rather than trying to cover everything in one heavy pass.
Drying time and curing time are not the same thing. A door may feel dry to the touch within hours, but that does not mean it is ready for rehanging, closing tightly, or wiping down. Follow the product guidance carefully. In cooler or damper conditions, allow extra time. Kitchens are hard-working spaces, and fresh paint needs the chance to harden properly.
Usually two topcoats are needed for depth, durability and an even colour. Dark shades, drastic colour changes, or repaired patches may require more care. If the old peeling areas are still telegraphing through after the first coat, stop and correct the surface rather than hoping the next coat will hide it.
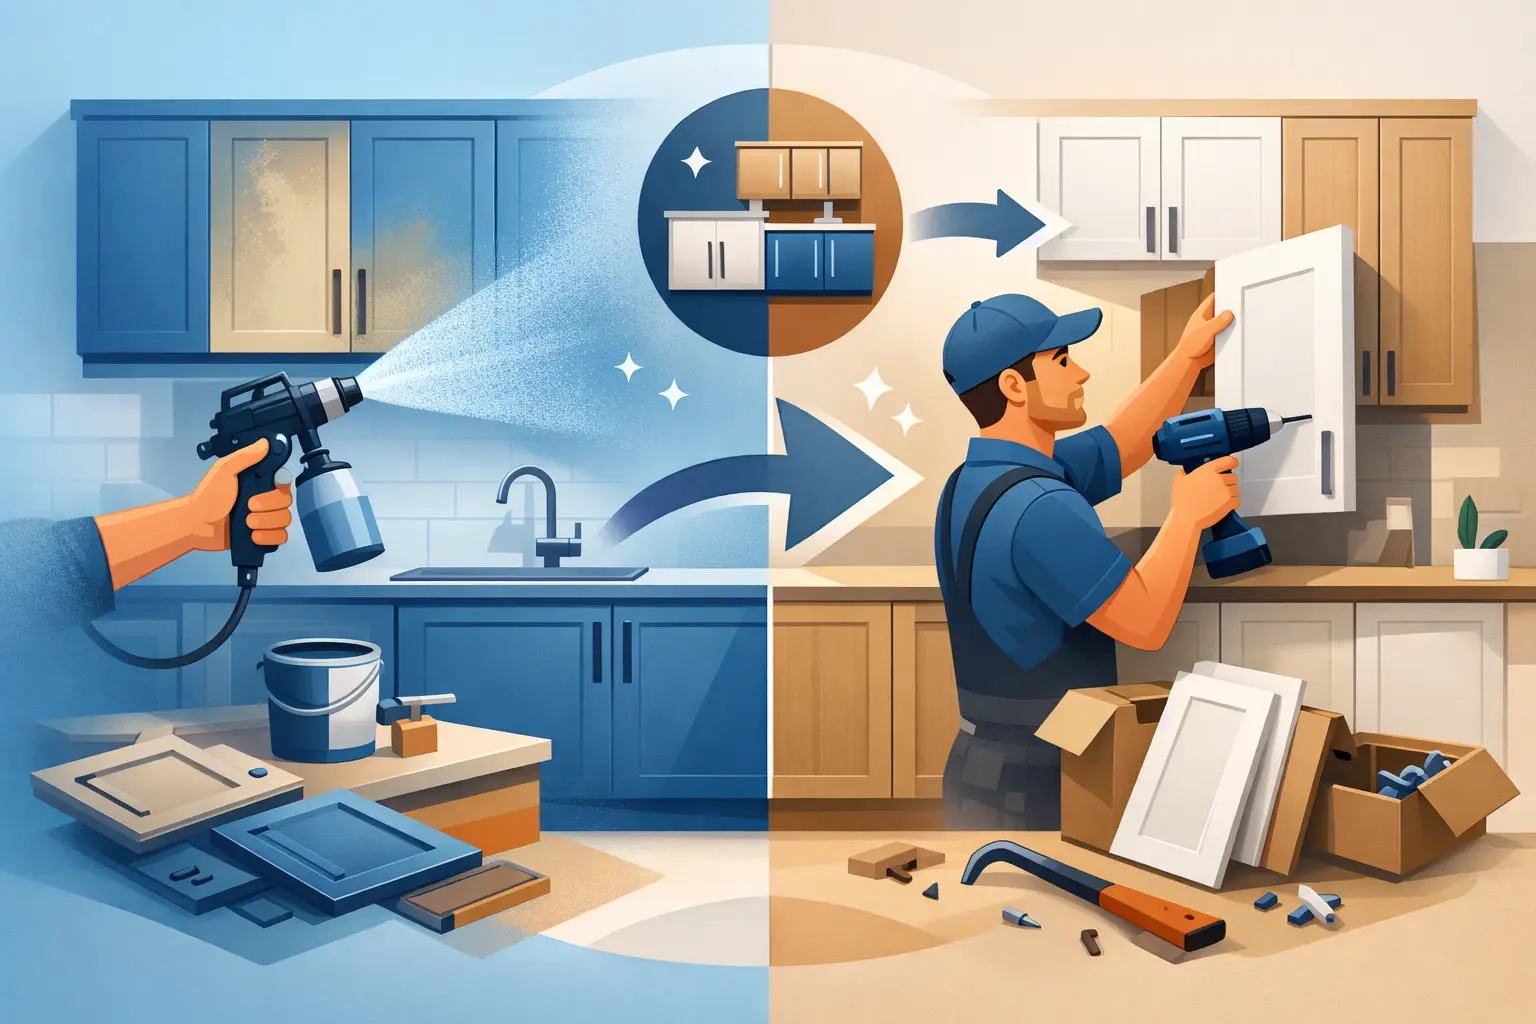
When repainting is not the best answer
Some doors are poor candidates for repainting. If vinyl is lifting extensively, the board beneath is swollen, or previous DIY layers are thick and unstable, repainting may become labour-intensive without guaranteeing a durable result. In those cases, a professional assessment can save both time and money.
There is also the question of finish quality. If your kitchen is central to the home and you want a like-new appearance, hand-painting may not meet your expectations. That does not mean repainting is wrong. It simply means there is a difference between improving tired doors and achieving a consistently refined sprayed finish.
Trusted specialists such as Dublin Kitchen Respray deal with these issues every day, from adhesion failures to worn edges and dated colours. The value is not only in the paint itself, but in the preparation, product selection and controlled application that make the finish last.
Common mistakes that cause peeling to return
Most repeat failures come down to one of three things: poor cleaning, the wrong primer, or impatience between coats. Kitchens are demanding environments, and shortcuts show up quickly. Paint applied over grease may look fine for a few weeks. Paint applied too thickly can stay soft longer than expected and mark easily. Doors rehung too early can stick and chip at the edges.
Another common mistake is treating all cabinet doors the same. Laminate, timber and MDF each need a slightly different approach. What works on an old painted wooden door may not hold on a foil-wrapped modern one. If you are unsure what the doors are made from, work that out before you buy materials.
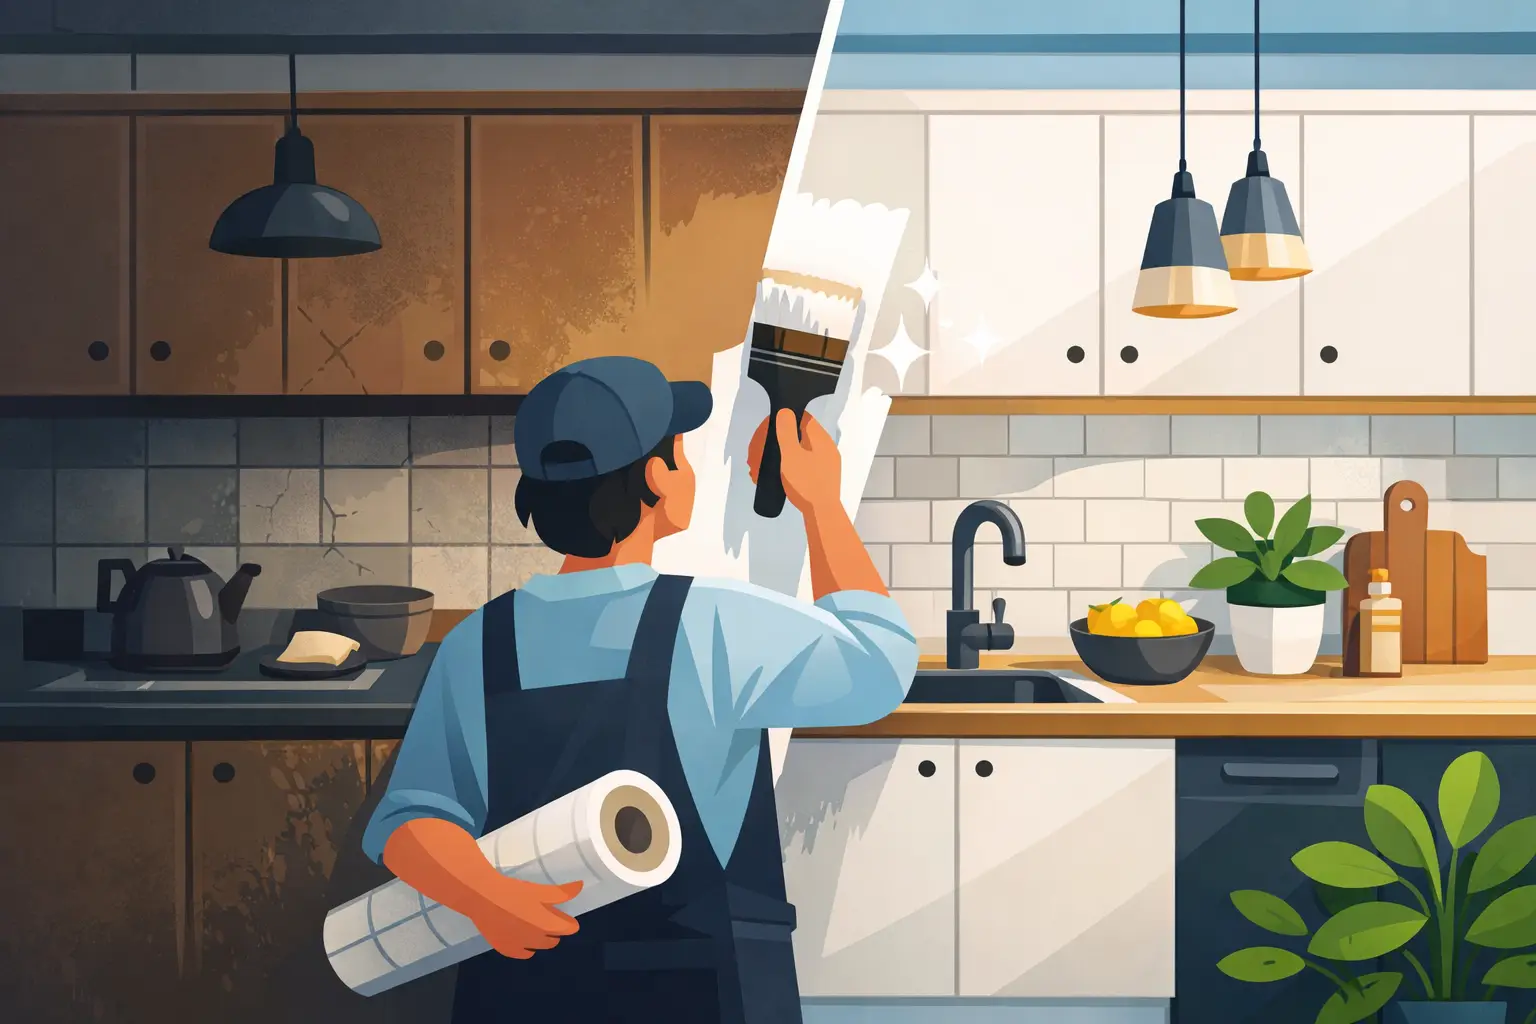
A result worth living with
Repainting peeling kitchen doors can absolutely transform a tired kitchen, but the best results come from patience and proper preparation rather than a quick cosmetic cover-up. When the underlying surface is sound and the right system is used, repainting is an affordable, eco-friendly way to extend the life of your kitchen and restore its appearance.
If the job starts to look bigger than expected, that is not a failure. It is often the point where expert help becomes the most cost-effective option. A well-finished kitchen should not just look good on day one. It should still look right after the steam, spills and everyday use that real homes bring.