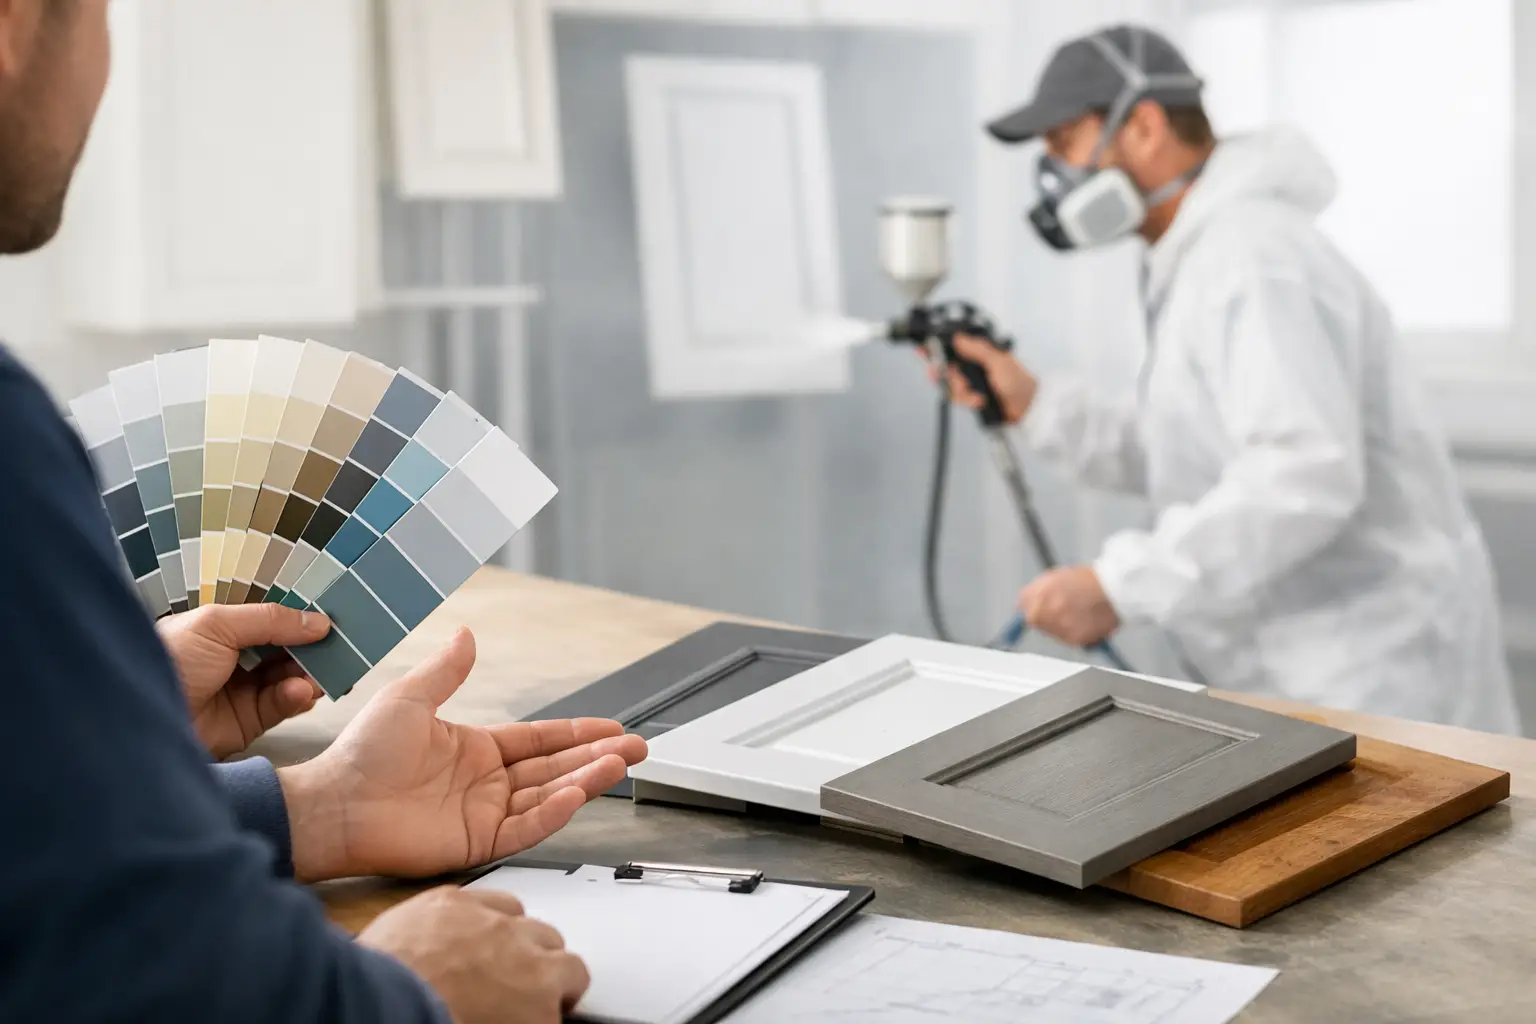
You can usually spot a DIY cabinet spray job from the doorway – not because spraying is a bad idea, but because the prep was rushed, the wrong paint was used, or the room wasn’t set up to control dust. The frustrating part is that most of those tell-tales (runs, gritty texture, peeling around handles) are preventable with the right approach.
Below are practical, professional-style DIY kitchen cabinet spraying tips that help you get a finish that looks intentional, wears well, and doesn’t turn your home into a foggy paint booth.
The make-or-break truth: prep is the project
Cabinet spraying isn’t a single task. It’s a chain of small decisions where one weak link shows up later as chipping, orange peel, or sticky doors that never quite cure. If you only have the time or patience to do one thing properly, make it preparation.
Start by removing every door, drawer front, hinge and handle. Spraying around hardware is how you end up with ridges and missed edges. Label each door and its location with low-tack tape (inside the hinge cup area works well), and bag the screws by section. This feels fussy, but it saves hours when refitting.
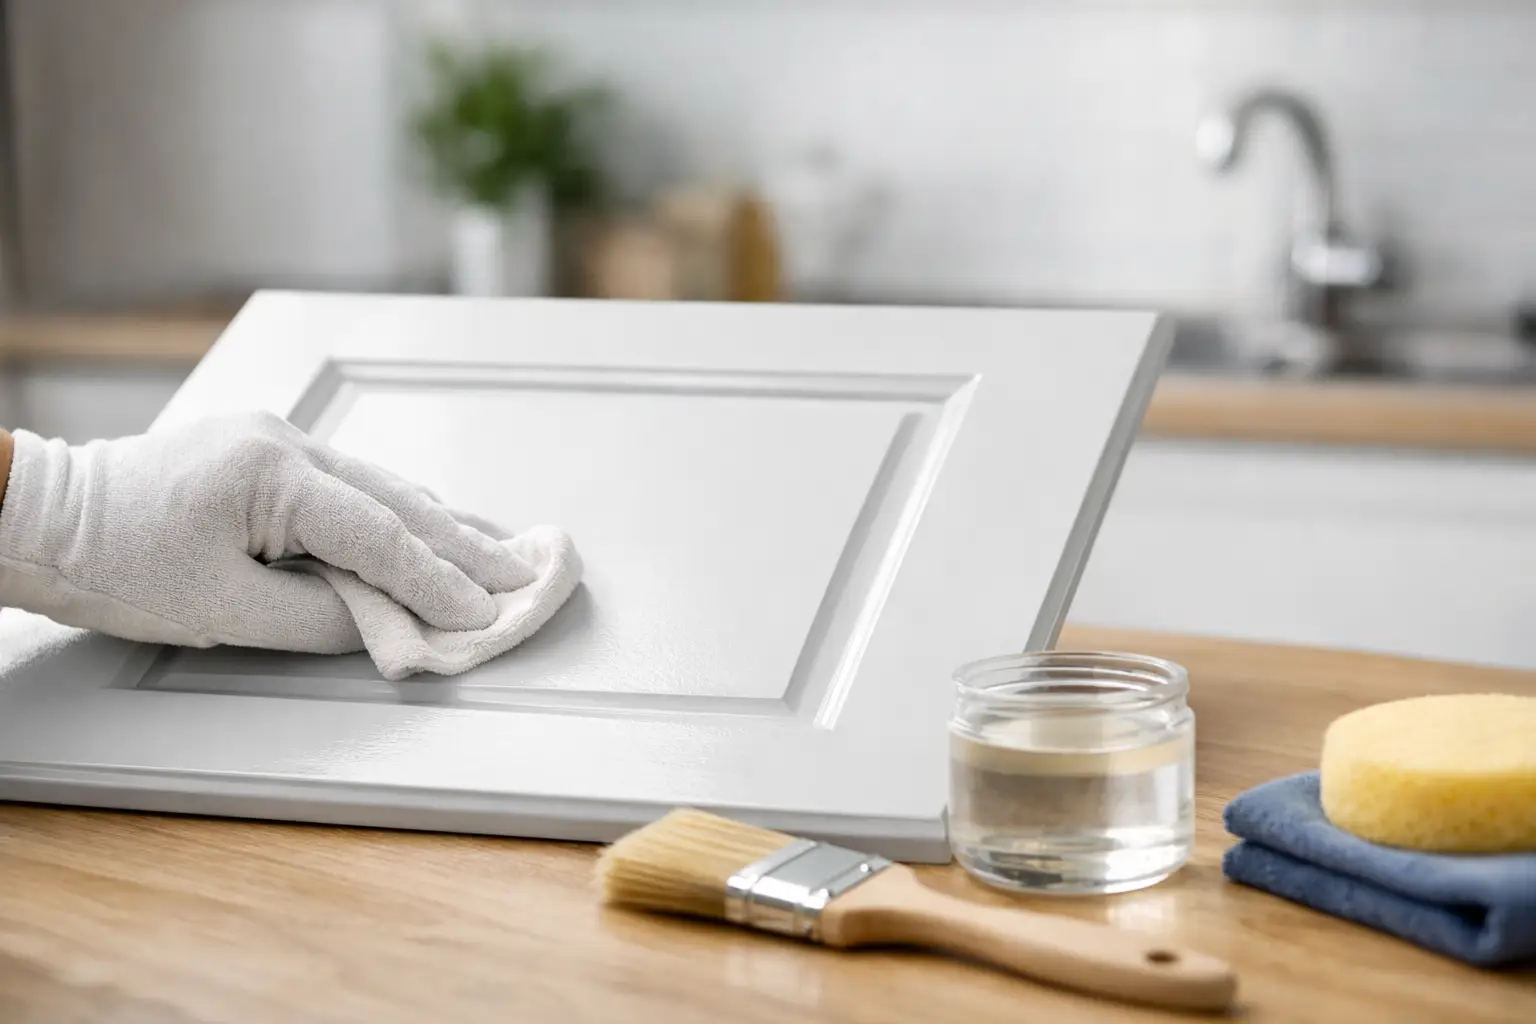
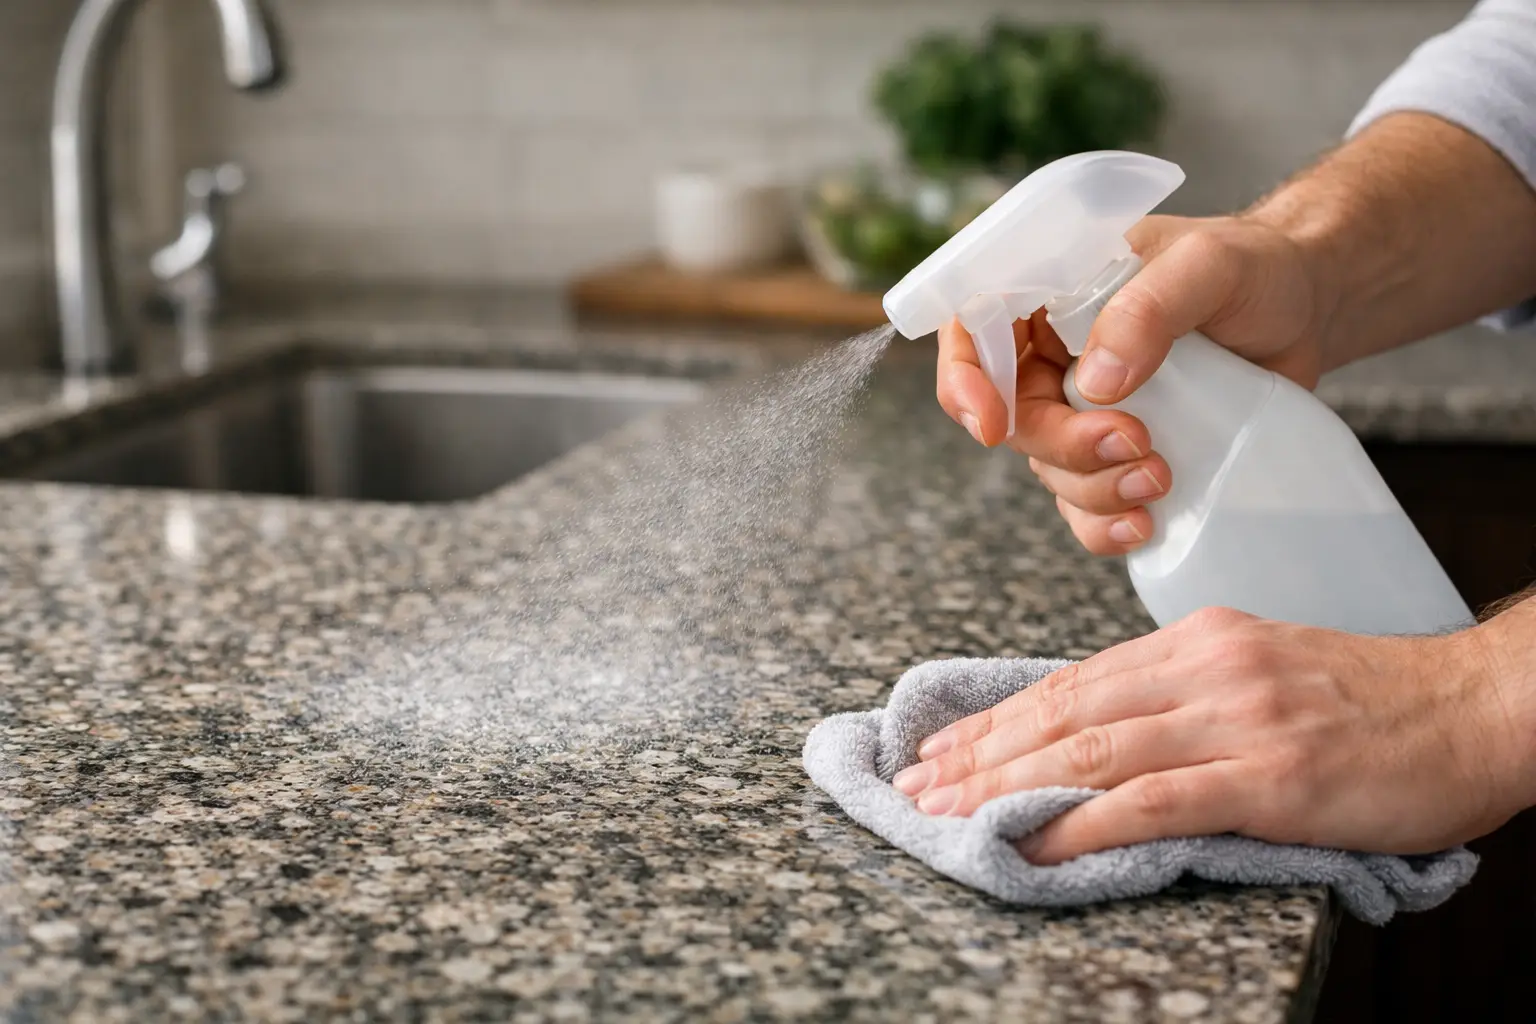
Next comes cleaning. Kitchens carry invisible contamination – cooking oils, silicone residue from previous cleaners, and hand grease around handles. Use a dedicated degreaser or sugar soap, rinse, then let everything dry fully. If you can wipe a panel with a damp microfibre cloth and it comes away clean, you’re ready to sand. If it drags or smears, you need to clean again.
Sanding: enough to key, not enough to gouge
You’re not trying to strip cabinets to bare timber in most cases. You’re creating a consistent key so primer can grip. A light scuff sand with 180-240 grit usually does the job for previously painted or factory-finished doors. On glossy laminate or melamine, you still sand, but the real hero is the correct bonding primer.
After sanding, vacuum thoroughly and wipe with a tack cloth or a lightly dampened lint-free cloth. Dust left behind is what creates that sandy, gritty feel in the final coat.
Choose paint for cabinets, not for walls
A common DIY mistake is using standard emulsion or a general-purpose satin that feels nice on day one, then chips the first week you pop a pan into the cupboard. Cabinets need a hard-wearing system that cures to a durable film.
Look for a cabinet-grade water-based enamel, acrylic-urethane, or a professional lacquer system designed for joinery. These are formulated to resist blocking (doors sticking together), handle cleaning, and cope with knocks.
“It depends” matters here. If your kitchen takes heavy wear (kids, pets, lots of cooking), prioritise durability over ultra-matte looks. If you’re after a very flat finish, accept that it can show marks more easily and may need gentler cleaning.
Primer: where adhesion and durability begin
Primer is not optional, and it’s not all the same.
If you’re spraying over timber that has tannins (oak is the classic), you need a stain-blocking primer or you may get yellow-brown bleed through later. If you’re spraying laminate, melamine, or a high-sheen factory finish, use a bonding primer designed for difficult surfaces. If your cabinets have any bare patches after sanding, prime the whole door for consistency.
Apply primer in thin, even coats and let it dry as directed. If the primer feels rough after drying, a quick de-nib sand with 320 grit will make your topcoat lay down smoother.
Set up the room like a mini spray booth
A professional finish is as much about the environment as the paint.
Pick a calm day if you’re spraying in a garage or shed. Wind carries dust onto wet paint. Indoors, isolate the kitchen area with plastic sheeting and masking tape, and protect floors properly. Plan extraction and airflow: you want ventilation without a strong draught that dries the paint mid-air.
Temperature and humidity matter in Ireland. Cold, damp conditions slow curing and can leave paint soft for longer than you expect. As a rough guide, aim for moderate room temperature and avoid spraying when the air feels clammy.
Lighting matters too. Add a work light so you can see wet edges and avoid dry patches.
Sprayer choice and settings: control beats power
For DIY cabinet work, a decent HVLP (high volume, low pressure) turbine sprayer or an electric sprayer with fine-finish capability is usually the most manageable. Airless units can produce beautiful results, but they’re less forgiving indoors and can lay down too much material too quickly if you’re not experienced.
Before you touch a cabinet door, practise on cardboard or an old panel. Adjust until you get an even fan with minimal spitting.
Thin the paint only if the manufacturer recommends it. Over-thinning can reduce durability and increase runs. Under-thinning can cause orange peel or a rough finish because the paint can’t atomise properly.
Spraying technique that prevents runs and striping
These DIY kitchen cabinet spraying tips come down to consistency.
Hold the gun around 15-20 cm from the surface (check your sprayer guidance), keep it square to the door, and move your whole arm rather than flicking your wrist. Start moving before you pull the trigger, and release the trigger before you stop moving. That simple habit prevents heavy spots at the start and end of each pass.
Overlap each pass by about 50%. You’re aiming for a wet, even coat – not so dry it looks dusty, and not so heavy it pools on edges.
Edges and profiles are where runs love to form. Do a light pass on edges first, then the face. If you spray the face heavily and then “just hit the edges”, you often end up double-loading the corners.
For shaker doors, spray the recessed panel first, then the rails and stiles, finishing with a final light pass across the whole face to even it out.
Two to three light coats beat one heavy coat
Most cabinet systems perform best with multiple thin coats. A heavy coat can look great wet, then sag as it levels. Thin coats flash off faster, reduce runs, and build a stronger film.
Respect recoat times. If you recoat too soon, you can trap moisture or solvent and end up with a finish that stays soft.
Drying vs curing: the patience that pays off
Paint can feel dry to the touch quickly and still be far from cured. Curing is when the film hardens and reaches its designed durability.
Plan for downtime. Ideally, let doors sit flat for the first stage of drying so edges don’t stick to racks or supports. When you do rack them, use supports that touch minimal areas.
If you refit too early, hinge pressure and handle tightening can mark the paint. If you stack doors face-to-face, you risk blocking – that tacky feeling where surfaces stick.
A sensible approach is to wait at least a couple of days before refitting (longer in cold weather), then treat the cabinets gently for the first couple of weeks while the finish cures.
Common problems and what they usually mean
Orange peel (bumpy texture) typically means the paint is drying before it levels, the sprayer isn’t atomising well, or the coat is too dry. Try adjusting flow, reducing distance slightly, or ensuring conditions aren’t too warm or draughty.
Runs and sags mean too much material in one pass, often on edges. Reduce flow, speed up slightly, or apply an extra light coat instead of one heavy one.
Dust nibs happen when the area isn’t controlled. Clean again, improve masking, and lightly sand between coats if needed.
Peeling later is almost always adhesion failure – poor cleaning, skipped primer, or incompatible products.
When DIY is a good idea – and when it’s not
DIY spraying can be brilliant if you enjoy detailed work, can create a clean spraying area, and have the patience to let the finish cure properly. It’s also a sensible option for utility rooms, rental refreshes, or smaller kitchens where the risk feels manageable.
It may not be the best route if you have limited drying space, if your cabinets are a tricky substrate (high-gloss thermofoil and some laminates can be unforgiving), or if you need a hard-wearing finish fast with minimal disruption. In those cases, many homeowners choose a professional respray service for the speed, durability, and controlled environment. If you want to see what that process looks like locally, Dublin Kitchen Respray specialises in professional cabinet respraying and durable finishes designed for real kitchens.
A final tip that saves more jobs than any gadget
Before you spray a single door, decide what “done” looks like for you. If you want a near-factory finish, act like it’s a factory job: label everything, clean twice, prime properly, spray thin coats, and give it time to harden. The moment you feel tempted to rush the drying or skip a step, remember you’re not saving time – you’re just moving the work to later, when it’s harder to fix.