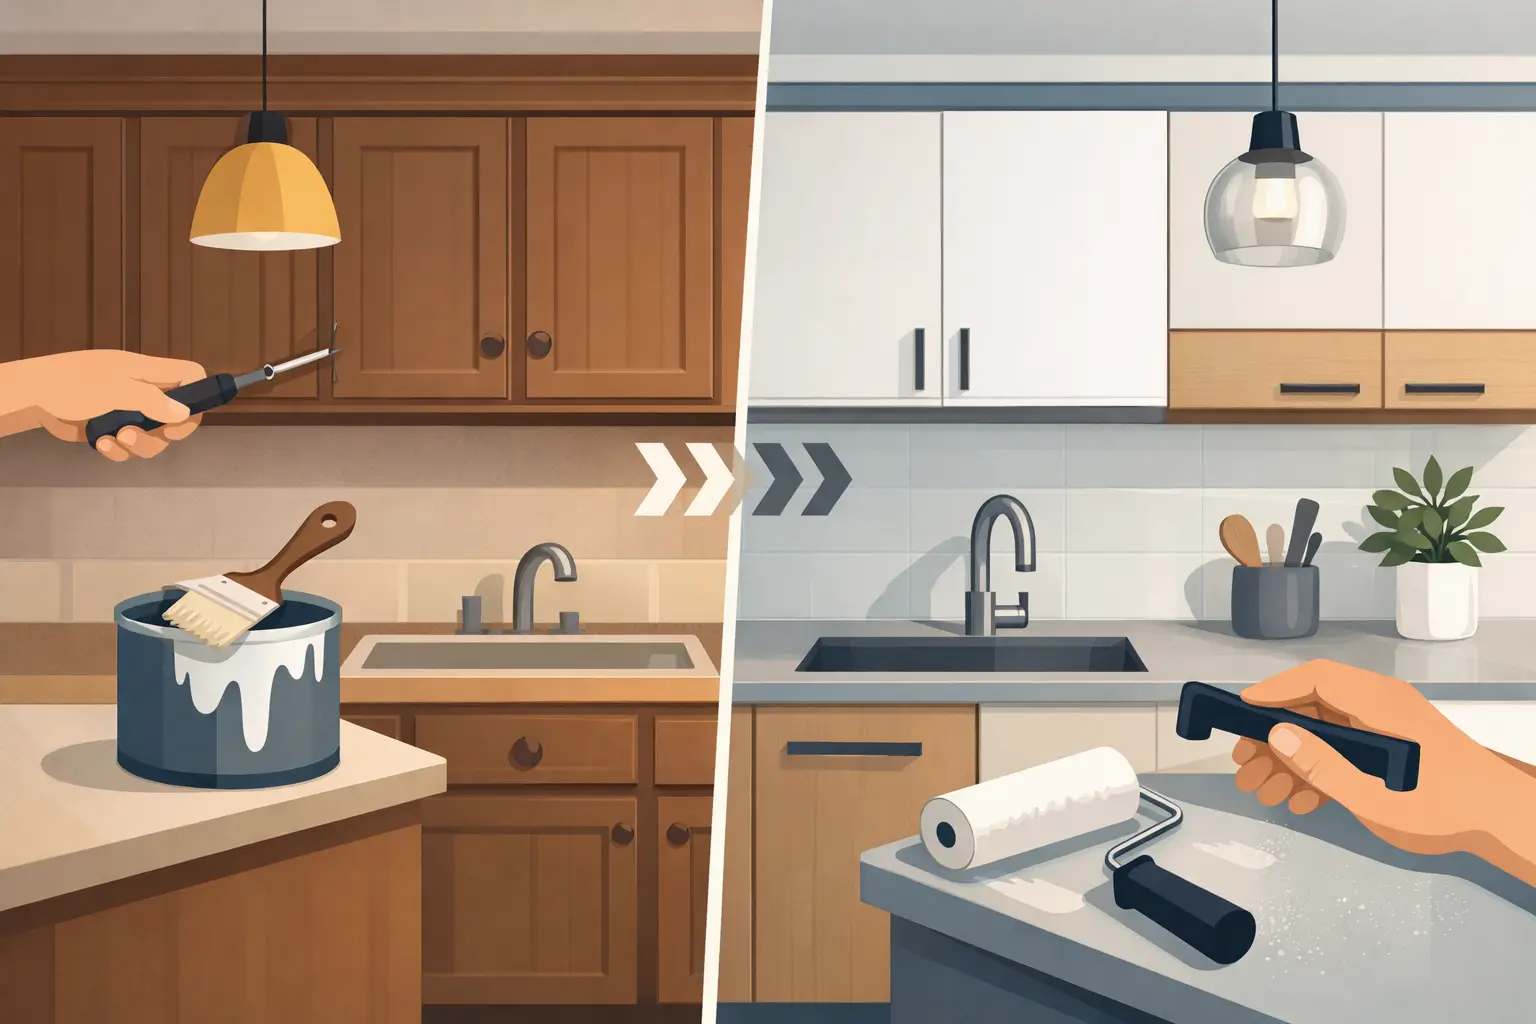
You can usually tell within five seconds if a kitchen has been resprayed well. The doors look calm and even under light, edges feel crisp rather than “painted over”, and nothing sticks when you close a drawer. A poor job shows up just as quickly: brush marks, dusty texture, colour that looks different on each door, or chips around handles within weeks.
The difference is rarely down to luck. It comes from method – the kind of method professionals use because they know exactly where kitchens fail: grease contamination, worn lacquer, sharp edges, and daily knocks. Below are the expert kitchen cabinet respraying techniques that consistently produce a smooth, durable finish that still looks right years later.
Why kitchen cabinets are harder than walls
Kitchen cabinetry lives in a high-stress environment: steam, heat, cleaning products, constant handling, and impact around bins, dishwashers, and corner units. Unlike walls, doors are handled by the same touch points every day, which means oils and micro-abrasion build up at the worst places – around pulls, bottom rails, and edges.
Cabinet finishes also have less forgiveness. A wall can hide slight texture; a satin or eggshell cabinet door under downlights won’t. On top of that, many Irish kitchens have factory-applied lacquers or vinyl wraps. These can be perfectly resprayable, but only if the surface is properly identified and prepared.
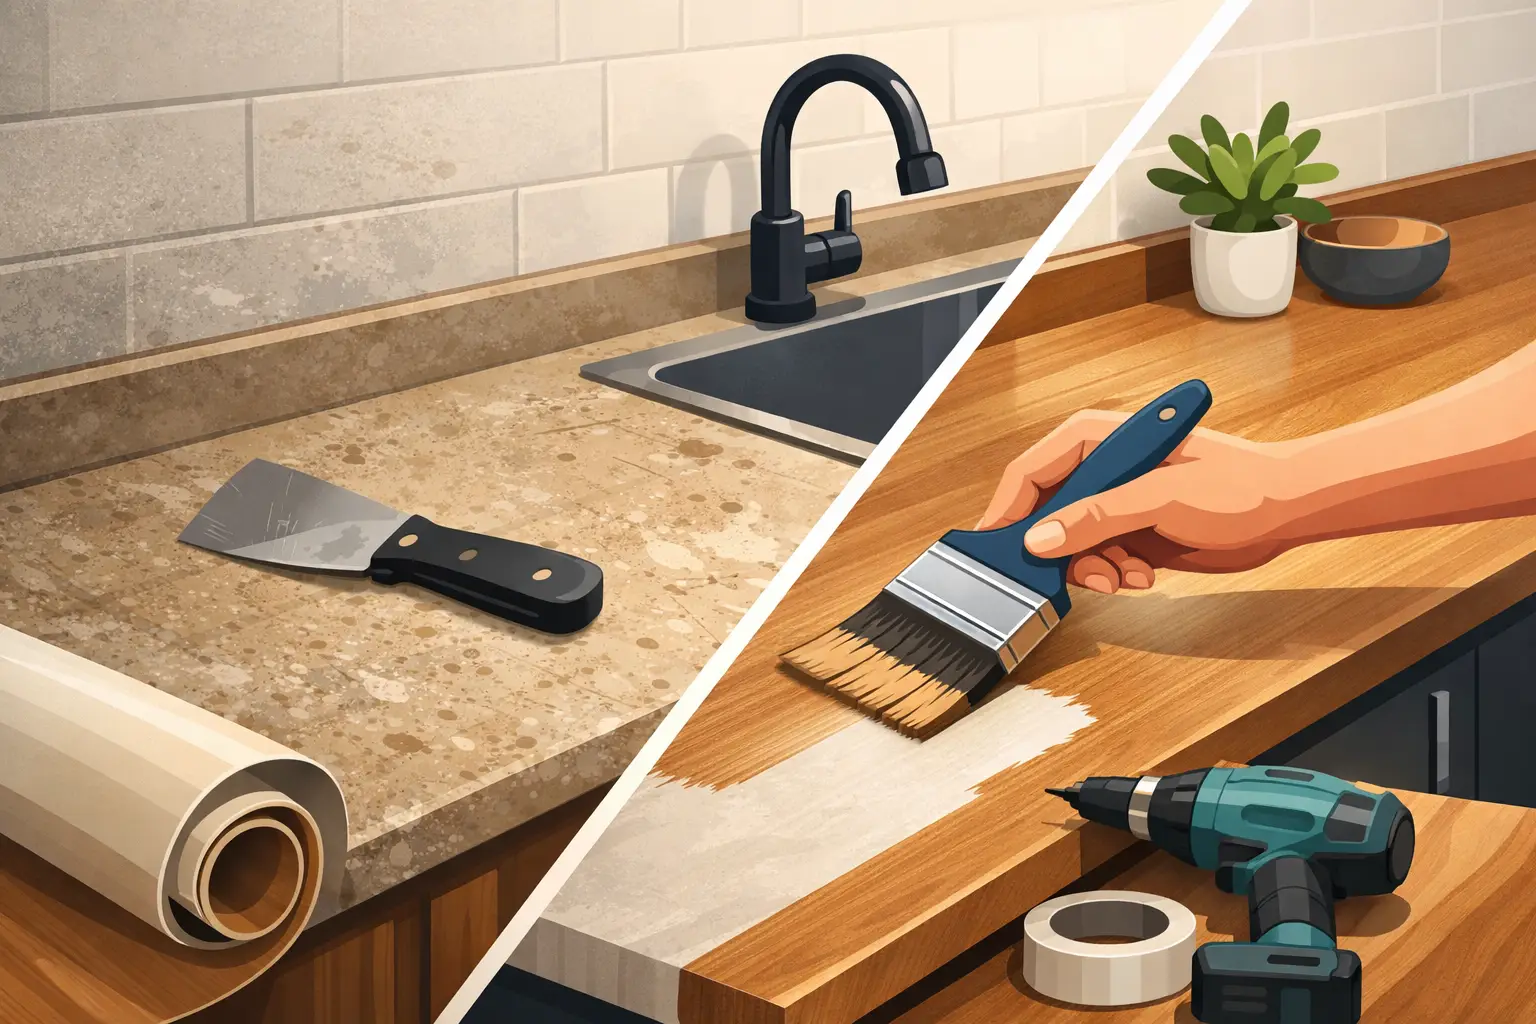
Surface assessment: what you’re spraying matters
Before any sanding or masking, a professional looks at three things: the existing coating, the substrate, and the condition of joints and edges.
If the doors are MDF with a lacquer, the goal is usually to create a keyed, stable surface that accepts primer without swelling the fibres. If they are solid timber, you need to consider tannin bleed and movement along grain. If the kitchen is wrapped or high-gloss laminated, adhesion becomes the make-or-break – it’s not impossible, but it demands specific primers and very disciplined prep.
Condition matters too. If there is lifting at corners, water damage under the sink, or loose edge banding, respraying can still look stunning, but repairs must happen first. Spraying over failing material only locks the problem in until it breaks through again.
Degreasing: the step people rush, then regret
Grease is the silent saboteur of cabinet coatings. It sits in microscopic layers, especially near the hob and on the top edge of doors. Sanding alone does not remove it; in fact, sanding can push contamination into the surface.
Professional degreasing is slow and repetitive. It uses a proper degreaser and clean cloths, changed often. The key technique is working from the cleanest areas to the dirtiest, so you’re lifting oils away rather than smearing them around. Around handles and rails, you’ll often see a second and third pass, because those areas are the first to chip if any residue remains.
Sanding and de-nibbing: creating a mechanical key
Cabinet sanding isn’t about “taking it back to bare wood” in most cases. It’s about creating a consistent profile for primer to grip, while keeping edges sharp and profiles clean.
Flat doors can be machine-sanded carefully, but detailed shaker doors and routed profiles demand hand work. A common amateur mistake is over-sanding edges until they round off. That might not sound serious, but it changes how light hits the door and makes the finish look thick.
Between coats, de-nibbing is just as important. Even with a clean spray environment, you can get the occasional dust nib. A light, controlled de-nib keeps the finish flat and professional, without cutting through corners.
Repairs that disappear under paint
High-end resprays don’t hide damage – they correct it.
Small chips and dents are filled with appropriate fillers and then shaped back to the original edge. Open joints in shaker frames are stabilised so they don’t telegraph through later. On MDF, any swelling must be addressed and sealed, otherwise it will drink primer unevenly and leave a patchy texture.
The technique that separates a tidy repair from an obvious one is feathering: extending sanding beyond the repaired spot so the transition is invisible once paint levels out.
Priming: the foundation of durability
Primer choice depends on what you’re spraying onto and what performance you want. For cabinetry, adhesion and stain blocking are non-negotiable.
A professional primer does three jobs: it bonds to the existing surface, seals it so the topcoat behaves consistently, and creates a smooth base that sands well. On glossy or low-energy surfaces, adhesion-promoting primers are essential. On timber prone to bleed, stain-blocking primers prevent yellowing that can ruin a light colour weeks after you thought the job was finished.
Technique matters as much as product. Primer should be applied evenly with the right wet film thickness – too thin and you lose sealing and adhesion; too heavy and it can run, orange-peel, or take too long to cure. After primer, a careful sand creates that “factory” feel before any colour goes on.
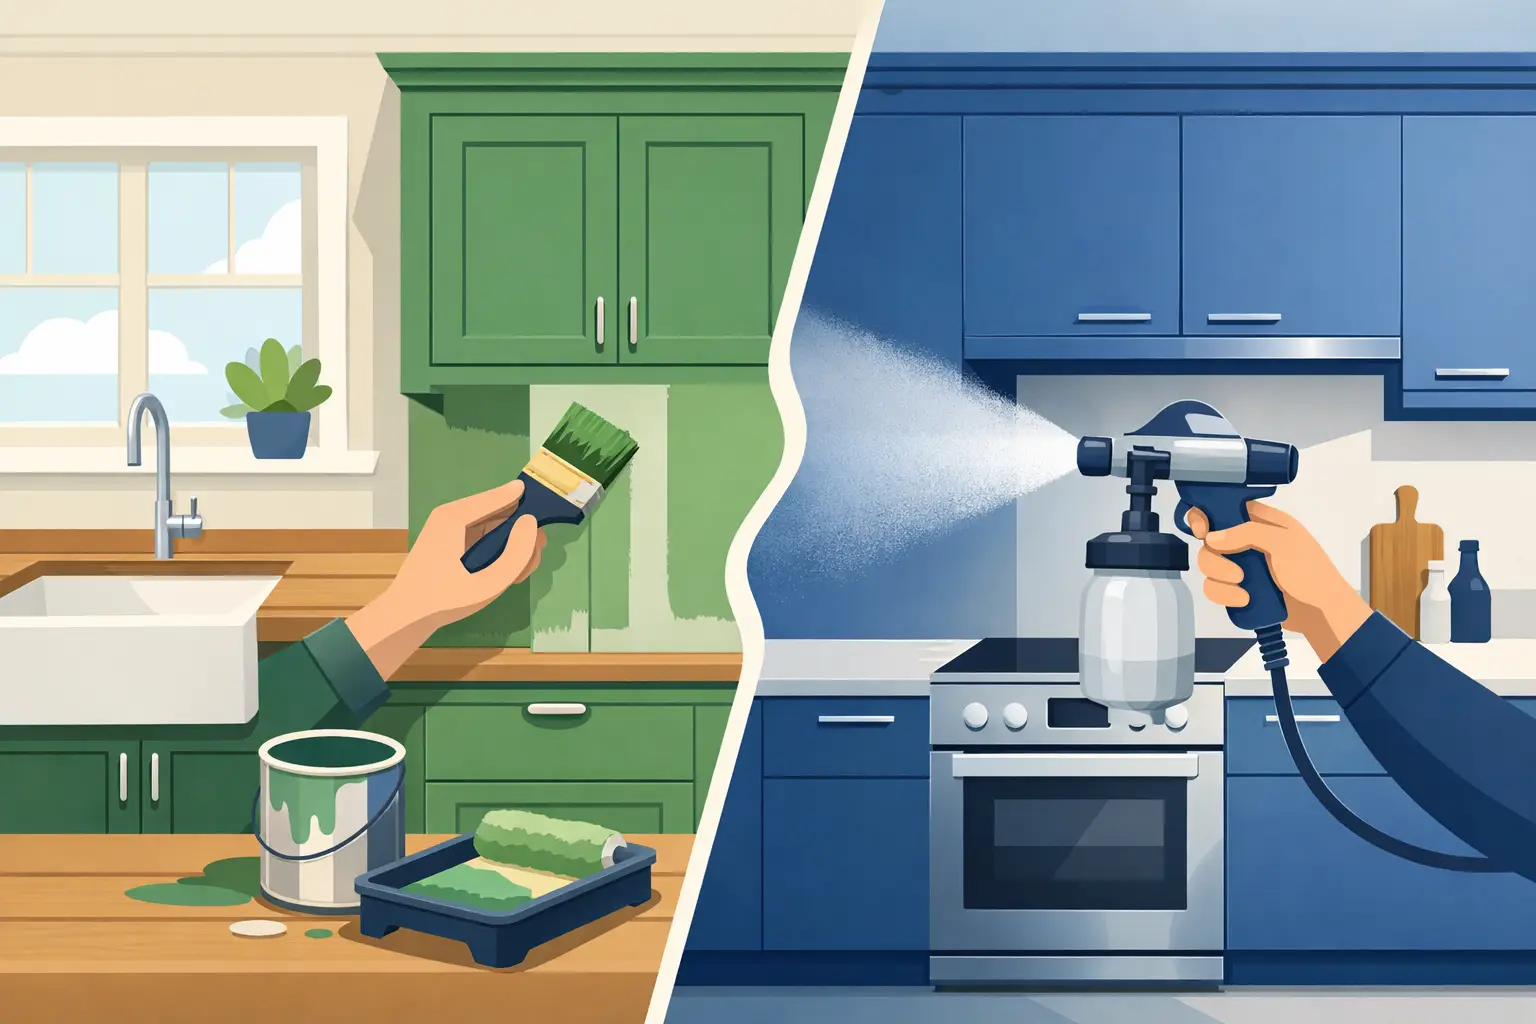
Expert kitchen cabinet respraying techniques for a smooth finish
Spraying is where customers see the magic, but professionals know it’s a controlled process, not a quick blast of paint.
The first key is atomisation and fan control. You adjust the spray pattern so it matches the door size, then keep your passes consistent – the same distance, the same speed, with deliberate overlap. If you move too slowly, you’ll flood edges and risk runs. Too quickly, and you’ll get dry spray, leaving a dusty texture.
The second key is edge discipline. Edges are the first place paint builds up, because your wrist naturally lingers. A professional will often “mist” edges first, then fill the face with controlled passes, so the paint film is even across the door.
The third key is understanding flash-off times. Coatings need time between coats to release solvents and settle. Rushing this can trap solvent, which leads to softness, imprinting, or adhesion failure. In a busy home, it’s tempting to shorten the schedule, but long-term durability depends on respecting cure chemistry.
Finally, there’s the environment. Temperature, humidity, and airflow change how paint lays down. In Ireland, damp days are common, so controlling moisture and avoiding cold substrates is part of the craft. A door sprayed in poor conditions may look fine initially, then mark easily or cure slowly.
Choosing the right sheen and colour for real life
Matte finishes look modern, but they can show burnishing (shiny patches) at touch points. High gloss looks dramatic, but it highlights every surface imperfection. Satin is often the sweet spot for kitchens because it balances wipeability, durability, and a premium look under lighting.
Colour choice has practical trade-offs too. Deep navy, charcoal, and black are stunning, but they show dust and fingerprints more readily, and chips can be more noticeable if the substrate is pale. Soft whites and warm greiges are forgiving, but only if stain blocking and coverage are handled properly.
A professional will help you choose a finish that suits how you actually use the kitchen – whether you have young children, pets, a busy morning routine, or a rental property where resilience matters most.
Hardware, hinges, and the “finished” feel
Cabinet respraying isn’t only about paint. The way doors sit afterwards, how they close, and how handles feel can make the kitchen seem newly fitted.
If you’re keeping existing handles, they should be removed cleanly and refitted accurately so you don’t end up with chipped holes or misalignment. If you’re changing handles, old holes need proper filling and drilling so the new hardware doesn’t look like an afterthought.
Hinges should be checked for wear and adjusted once doors are back on. Many “paint problems” reported by homeowners are actually hinge problems: doors rubbing, catching, or being forced shut before the coating is fully cured.
Curing: when the kitchen is usable vs fully hardened
Paint can be touch-dry quickly, but fully curing takes longer. This is one of the most misunderstood parts of respraying. A finish might feel dry, yet still be soft enough to mark with a fingernail, or imprint if two doors press together.
Professionals plan the job so you can use your kitchen with minimal disruption, but they’ll still advise gentle treatment early on. Avoid aggressive cleaning, harsh chemicals, and banging doors for the initial curing period. If you treat newly sprayed cabinets like they’re already fully hardened, you can shorten the life of the finish.
Aftercare: keeping the finish looking “just done”
Cabinet aftercare is straightforward, but consistency matters. Use mild cleaning products and soft cloths. Wipe spills quickly, especially around sinks and bins where water and detergents collect. If you have a heavy hand with disinfectant sprays, test on an unseen area first – some strong products can dull a sheen over time.
It’s also worth adding simple protections: soft-close buffers if you don’t already have them, and careful habits like not hooking wet tea towels over doors. These small changes prevent edge wear, which is where kitchens usually age first.
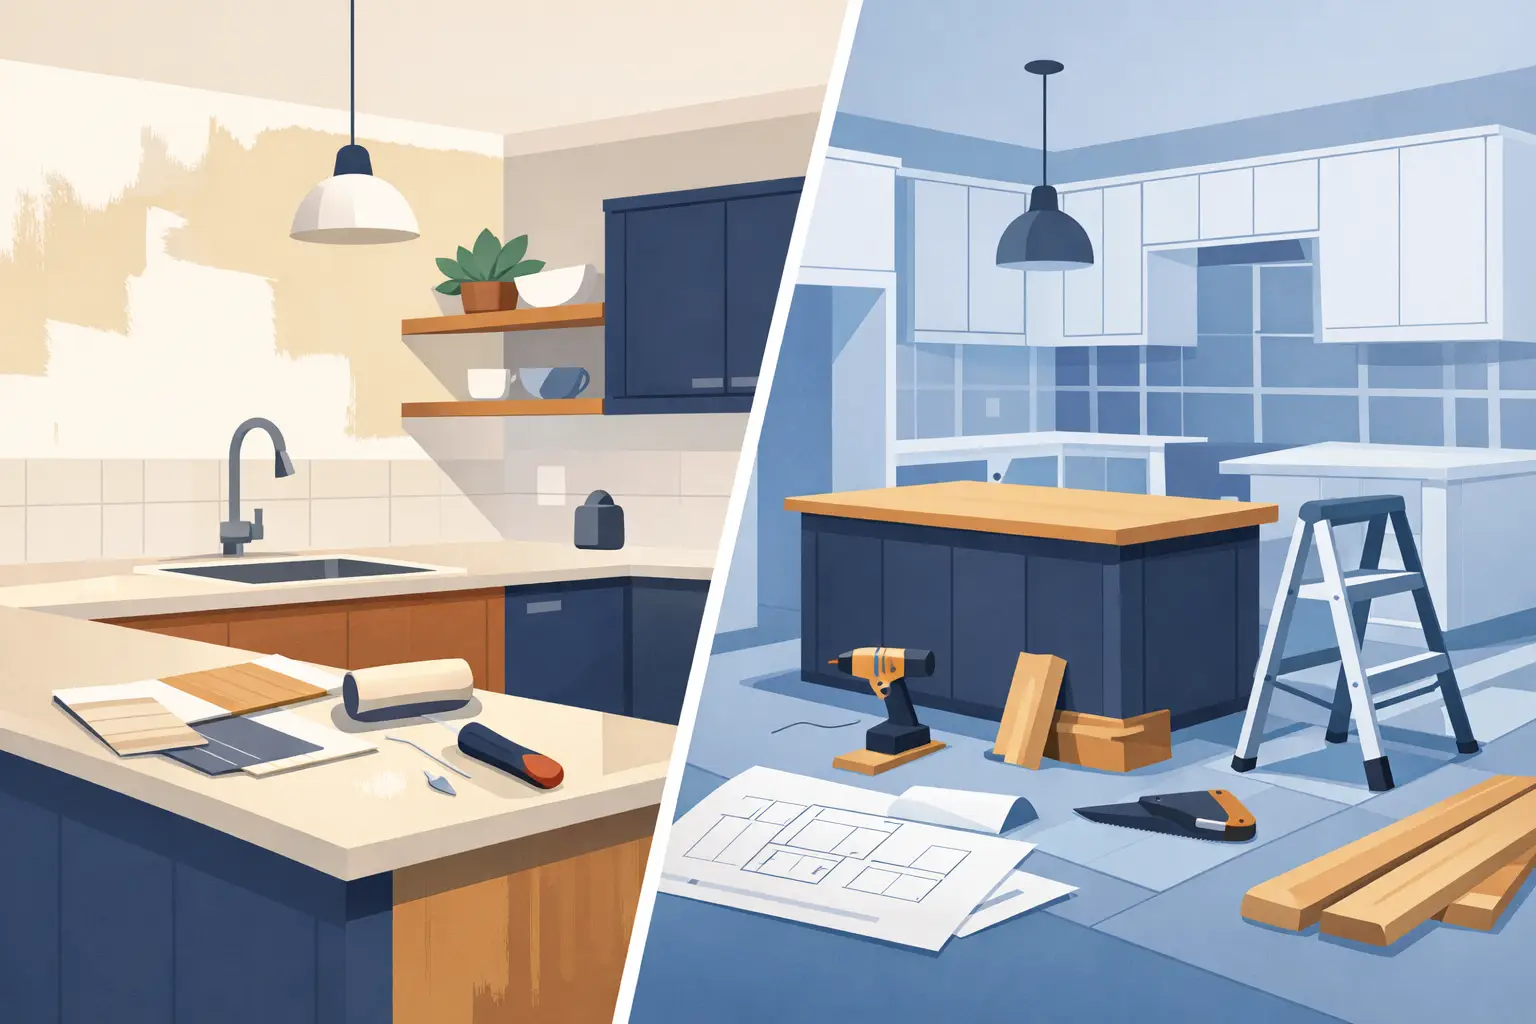
When to DIY and when to call a professional
If you have a small utility unit, a single vanity, or a simple flat-panel set with minimal grease exposure, a careful DIY respray can be satisfying. The moment you’re dealing with a full kitchen, tight timelines, detailed profiles, or high-gloss finishes, it becomes a different proposition. The equipment, dust control, and product knowledge required to get a truly even, durable finish is where professional work pays for itself.
If you’re in Dublin or nearby counties and you want a trusted, affordable, eco-friendly alternative to ripping out a perfectly functional kitchen, Dublin Kitchen Respray can talk you through options and finishes based on how you use your space.
A beautifully resprayed kitchen should feel like you made a smart decision, not a risky one – and the best way to get there is to respect the process as much as the paint.