You know the feeling: you walk into the kitchen on a bright morning, and the cupboards are the first thing you see. Not the coffee, not the view out the window – the tired doors, the yellowing lacquer, the scuffed corners around the handles. Then you start browsing kitchen cabinet respray before and after photos and suddenly the same layout you already have looks crisp, modern, and genuinely enjoyable to live with.
Photos are powerful, but they can also be misleading if you do not know what you are looking at. The most useful before-and-after sets are not just “nice shots”. They tell you how well a respray will suit your home, how durable the finish is likely to be, and whether the work has been done with professional care.
Why kitchen cabinet respray before and after photos matter
Before-and-after photos are a shortcut to understanding outcomes. Most homeowners in Dublin and the surrounding counties are not looking for “a bit better”. You want the kitchen to feel properly refreshed, without the cost and disruption of ripping everything out.
A good photo set shows three things at once: the starting point (wear, dated colour, shine level), the design decision (colour choice and finish), and the quality of workmanship (how clean the lines are, how consistent the sheen looks). When you see all three clearly, you can judge whether respraying is likely to give you that “new kitchen” feeling while keeping your existing cabinets.
There is also a practical side. Photos can help you decide if your current doors and frames are worth keeping. If your cabinets are structurally sound but cosmetically tired, respraying often makes more sense than replacement. If doors are swollen from water damage or hinges are pulling out of crumbly chipboard, photos alone will not solve that – you may need repairs or new doors first.
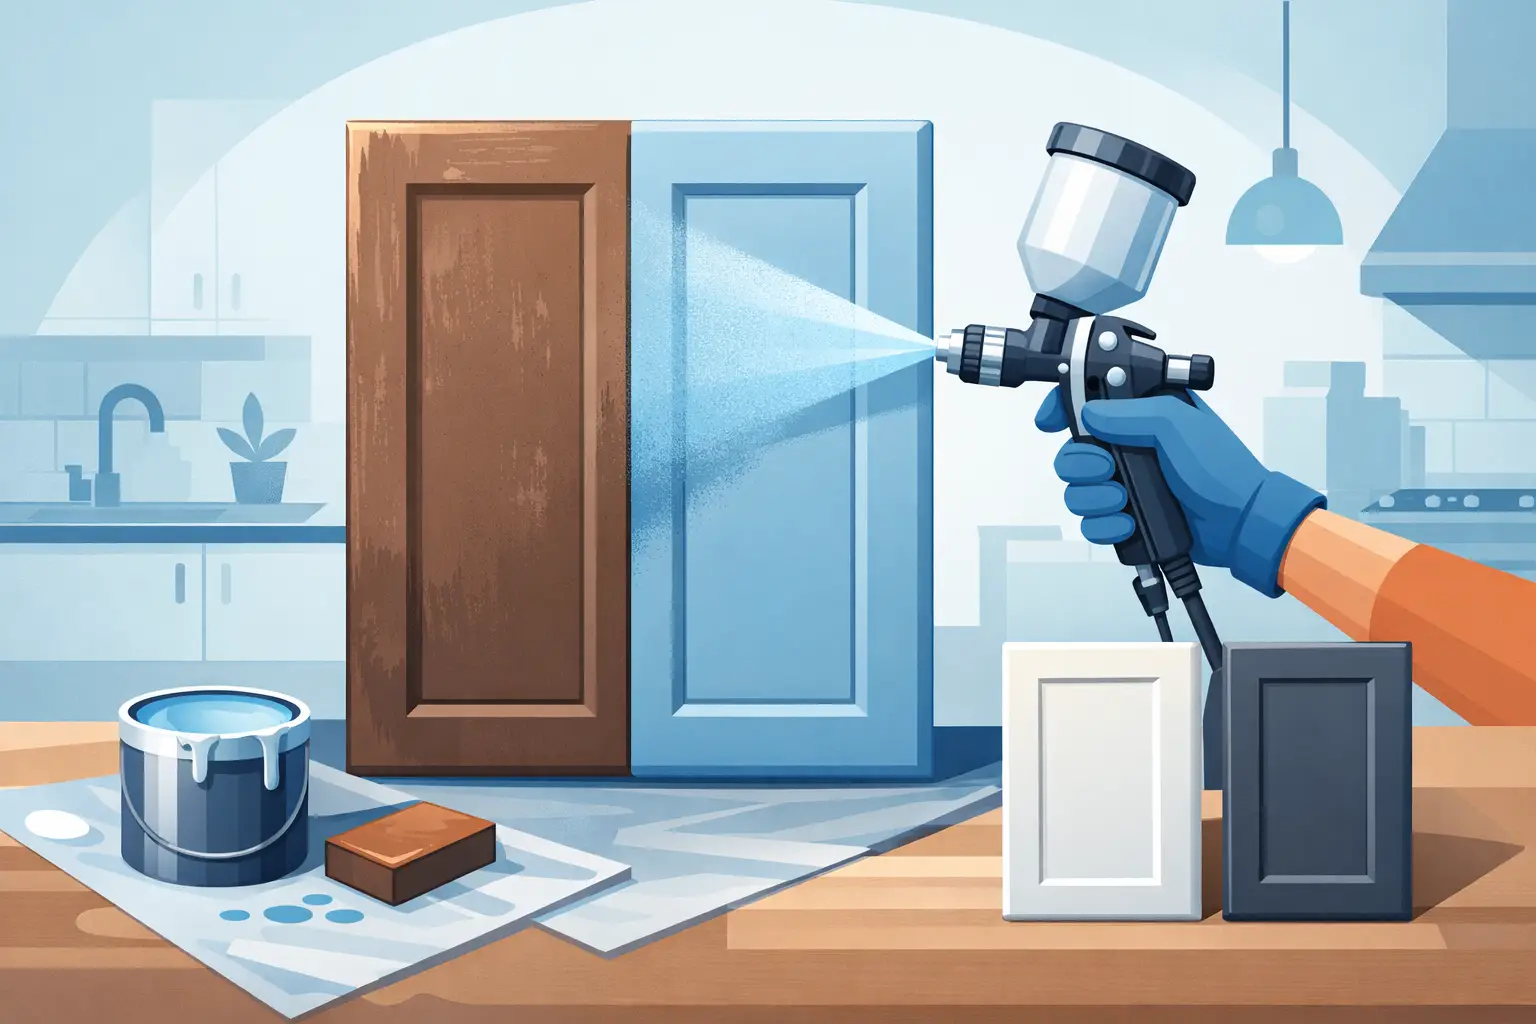
The “before” shot: what it should reveal
The best “before” photos are not flattering. They show the problems you actually live with: grime around handles, edge wear, sun-fading, and the uneven shine that comes from years of cleaning.
Look closely at the areas that usually fail first. The corners of doors, the rails beside the oven, the sink unit, and the panels near the bin are the real test. If the “before” image shows obvious wear in those spots, it gives the “after” image more credibility, because you can see the transformation where it matters.
You should also be able to tell what the original finish was. Was it glossy vinyl wrap, painted timber, lacquered MDF, or melamine? Different surfaces need different preparation. If the surface in the “before” looks like it was heavily polished or has a plastic-like sheen, proper degreasing and sanding become even more important.
The “after” shot: signs of a truly professional finish
A freshly resprayed kitchen can look stunning in photos, but a professional job has a particular look in real life – clean, even, and calm. There should not be visual noise caused by inconsistent texture or patchy sheen.
Consistency of sheen
One of the first things to check in kitchen cabinet respray before and after photos is whether the finish looks uniform across multiple doors. A good respray should not have some doors reading as satin and others as semi-gloss. The sheen should look intentional and consistent, especially in wide shots where light hits different angles.
Crisp edges and tight detail
Pay attention to the edges of shaker panels, the inner corners of frames, and the profiles around grooves. These areas show whether the preparation and spraying were controlled. On a professional respray, edges look sharp, not “filled in”. Detail should remain defined rather than softened by heavy paint.
No obvious orange peel, rippling, or dry spray
Some texture is normal depending on the product and the substrate, but heavy orange peel (a bumpy, citrus-skin effect) often suggests poor application or drying conditions. In photos, it can appear as a slightly pebbled look in reflected light.
Dry spray, where the paint lands partially dried and looks dusty, is another giveaway. It is most visible on the ends of doors, on cornices, and on tall panels where the sprayer had to stretch or change angle.
Hardware and finishing touches
Not every project includes new handles, but good photos often show thoughtful finishing. If the handles are old, are they clean and aligned? If they are new, do they suit the door style and the colour? Misaligned handles can ruin the “after” even if the paintwork is excellent.
Also check the toe-kicks, end panels, and any visible filler panels. A respray that only looks good on the doors but ignores surrounding surfaces can feel incomplete. The most convincing “after” kitchens look cohesive.
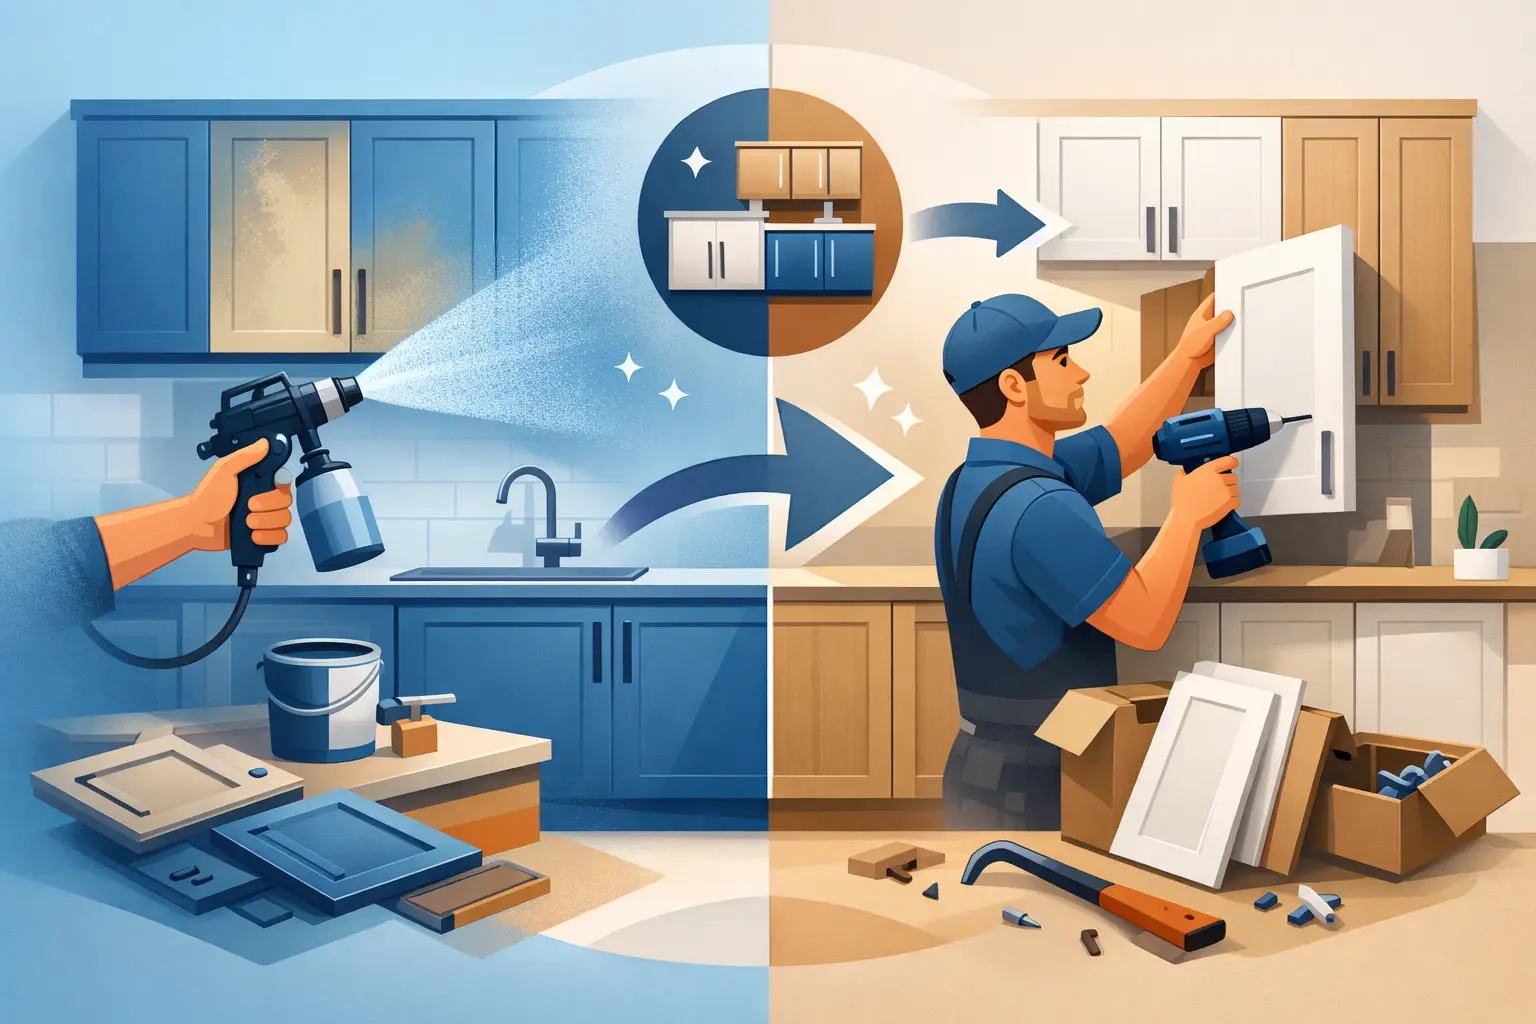
What the photos do not show (but you should ask about)
Photos are the final layer. The durability you get depends on everything underneath: cleaning, degreasing, sanding, priming, curing time, and the products used.
If you are comparing providers, ask what preparation is included. Kitchens collect oils that cling to cupboard fronts, especially near the hob. If grease is not properly removed, paint adhesion can suffer. Similarly, glossy surfaces need the right abrasion or bonding primer so the new coating grips properly.
Curing also matters. A finish may look dry quickly but still be soft underneath for a period. That is not a problem if you know how to treat the cabinets for the first couple of weeks. Photos will not tell you the aftercare guidance, but a trusted professional should.
Realistic transformations you will often see in photos
A respray is not “one look”. The strongest before-and-after photos often fall into a few recognisable transformation types.
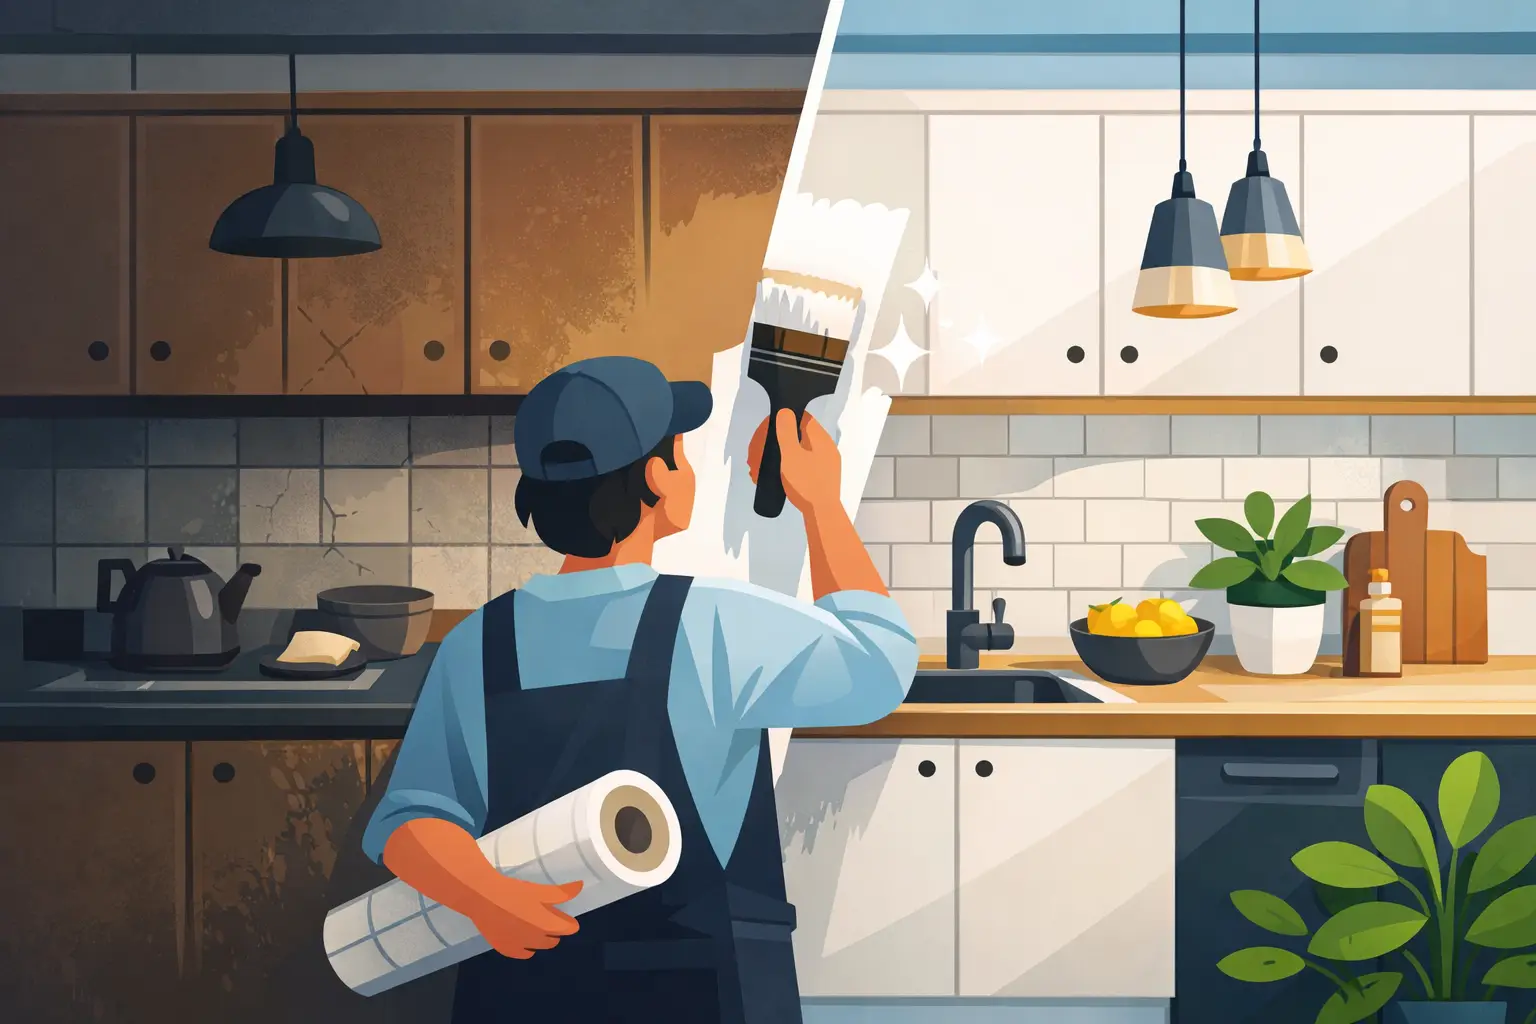
From honey oak or pine to modern neutrals
Many Irish homes still have warm timber tones that can make a kitchen feel dated even if the layout works well. Photos commonly show a shift to soft whites, warm greiges, or light stone shades. The room usually feels brighter, and the cabinets stop dominating the space.
The trade-off is practical: lighter colours can show marks more easily in high-traffic kitchens, especially with children. That is not a reason to avoid them, but it is worth choosing a durable finish and being realistic about wiping down high-touch areas.
From high gloss to contemporary matte or satin
Glossy kitchens can look impressive, but they also show fingerprints and smears. Many homeowners prefer a calmer matte or satin look, and photos can capture that change well.
The “it depends” point here is cleaning style. Matte finishes can hide fingerprints but may show grease if left to build up, particularly near cooking zones. Satin is often a happy medium: it reads modern, it reflects light softly, and it is typically straightforward to maintain.
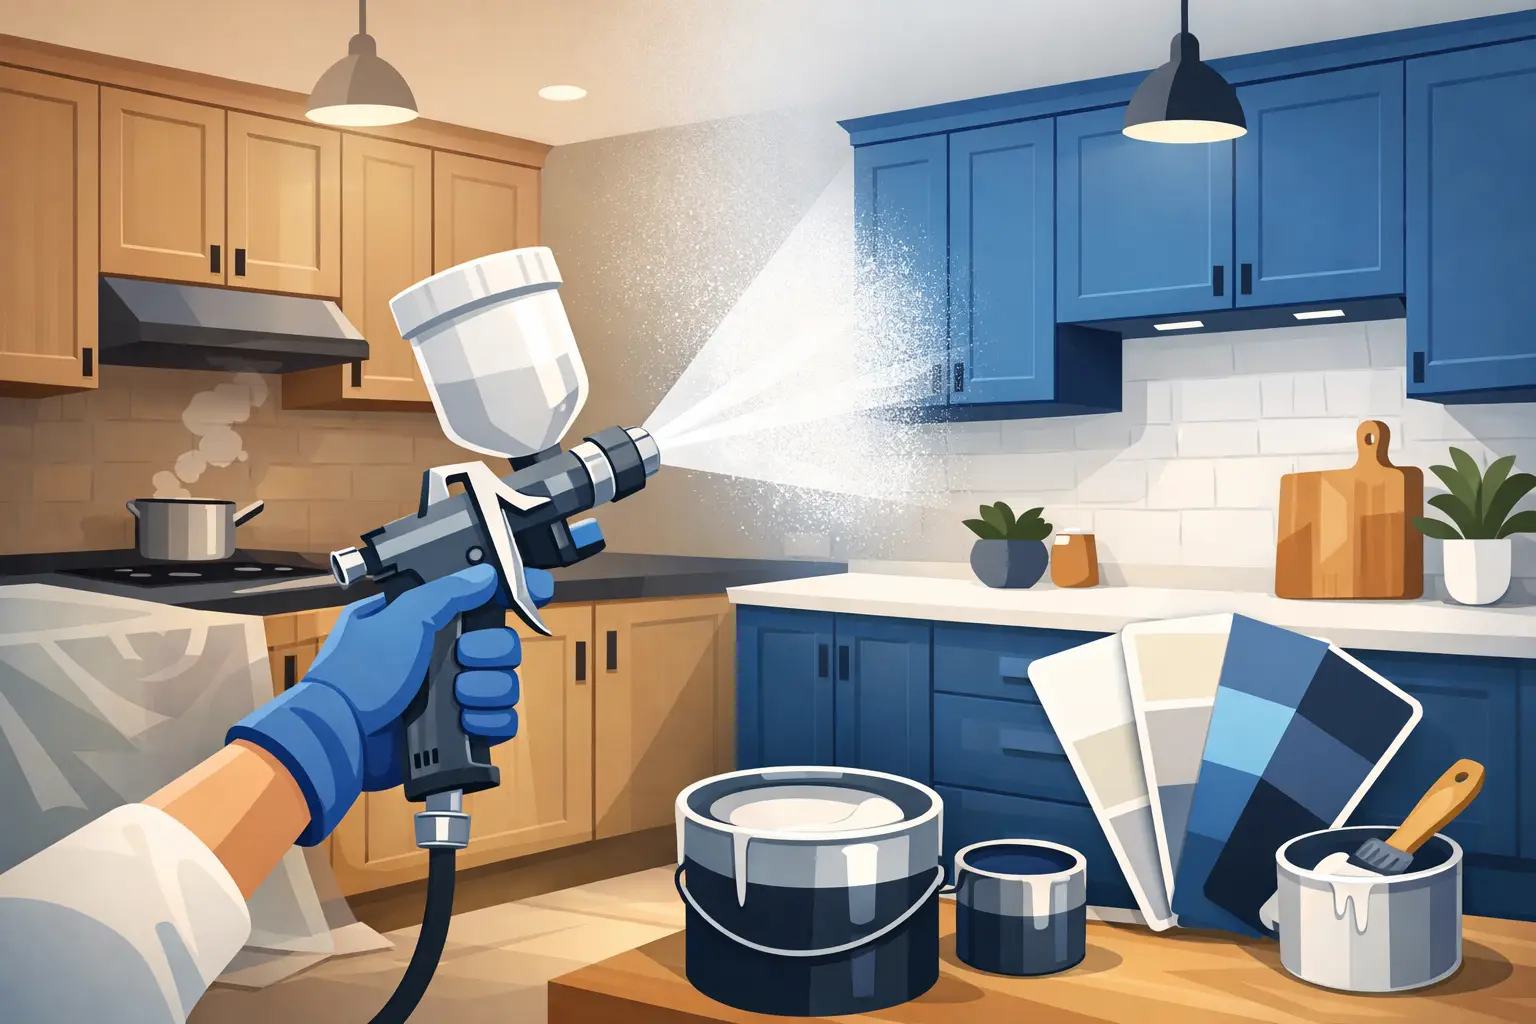
Colour confidence: deep greens, navy, and charcoal
Some of the most shared “after” photos are bold colour transformations. Deep green or navy cabinets with lighter worktops can look beautifully high-end.
Bolder colours do have a commitment factor. They can date faster than neutrals if trends move on. If you love them, that is fine – but choose a shade that suits your flooring, your wall colour, and the amount of natural light you get. A north-facing kitchen may need a warmer tone to avoid feeling flat.
How to judge photo authenticity and relevance to your kitchen
Not every impressive image will translate to your home. Lighting, camera lenses, and staging can make spaces look larger and brighter than they are.
Look for photo sets that include wide shots and close-ups, ideally from more than one angle. A single “hero” angle can hide awkward corners, uneven panels, or areas that were not refinished.
It also helps if you can find examples similar to your cabinet style. A flat slab door and a detailed raised-panel door behave differently under paint. Shaker doors are popular because they look crisp when sprayed, but they also require careful work around the internal frame lines. If your kitchen has lots of detailing, you want to see that detailing still looks sharp after respraying.
The eco-friendly angle photos rarely mention
One of the quiet benefits behind so many before-and-after images is that the transformation is achieved without sending your existing units to landfill. For many homeowners, that matters. Keeping solid carcasses and respraying the visible surfaces is a more eco-friendly approach than full replacement, and it usually involves far less disruption.
The photos show the aesthetic payoff, but the real win is that you are extending the life of what you already own – especially if your kitchen is fundamentally well built.
If you are collecting inspiration, do this first
If you are saving kitchen cabinet respray before and after photos to plan your own project, try to narrow your choices by the conditions of your room. Pay attention to how colours behave under similar lighting to yours. A creamy white in a bright, south-facing kitchen can look clean and warm, but in a shaded kitchen it may look darker and more muted.
It also helps to decide what you want the respray to achieve: brighten the room, modernise the style, or make it feel more premium. Those goals often lead to different colour and sheen choices.
For homeowners in Dublin, Wicklow, Kildare, Meath, and Louth who want a trusted, professional respray with a like-new finish, Dublin Kitchen Respray focuses on fast, affordable transformations that avoid the upheaval of a full renovation.
A final thought to keep you grounded while scrolling: the best “after” photo is not the trendiest one – it is the kitchen that still looks great on a rainy Tuesday when the school lunches are out, the kettle is boiling, and real life is happening around it.