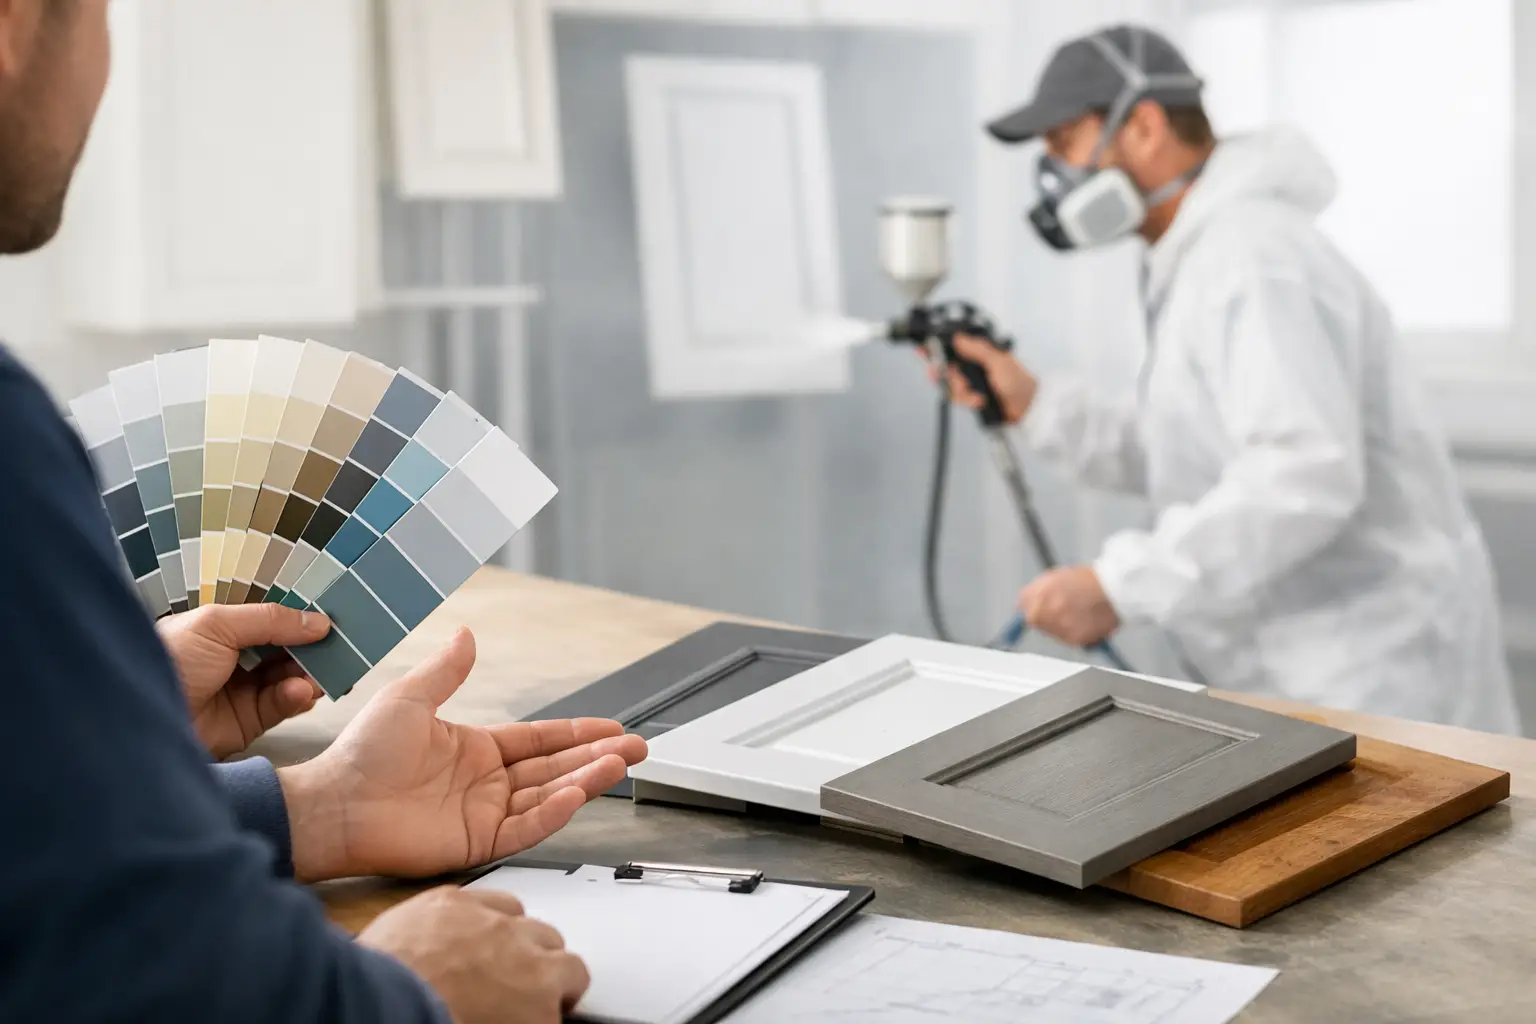
That moment you notice the kitchen looking tired usually happens mid-week: you’re making tea, the light catches the doors, and every fingerprint, scuff, and yellowed edge suddenly feels louder than it should. The good news is you don’t need a full rip-out to get a like-new look. The question we hear all the time around Dublin and the surrounding counties is very specific: can you respray kitchen cabinets without sanding?
Yes—sometimes. But “without sanding” doesn’t mean “without prep”. A durable respray is all about what the coating can grip onto, and sanding is only one way to create that grip. The professional approach is to choose the right preparation method for the existing finish, then use primers and coatings designed to bond properly.
Can you respray kitchen cabinets without sanding?
If your cabinets are in decent condition and the existing finish is stable, a no-sand respray can absolutely be successful. The key is whether the current surface is sound: no flaking paint, no peeling laminate, no water-swollen MDF edges, and no waxy build-up.
Where homeowners get caught out is assuming a quick wipe and a coat of paint is “good enough”. Kitchens are hard-working rooms. Doors and drawers get constant handling, cupboards sit beside hobs and kettles, and cleaning products are used regularly. Without a proper bonding system, paint can chip around handles, wear through on edges, or peel when a damp cloth catches it.
So the real question isn’t “sanding or not?” It’s “how do we guarantee adhesion?” Sometimes the answer includes light abrasion. Sometimes it doesn’t.
What “no sanding” really means in a professional respray
When people say they want a respray without sanding, they’re usually trying to avoid dust, mess, and days of disruption. That’s completely understandable. Professionally, achieving that is less about skipping steps and more about swapping sanding for cleaner, more controlled methods.
A no-sand approach typically relies on three things working together: thorough degreasing, chemical or mechanical deglossing (often without traditional sanding), and a high-adhesion primer that’s compatible with the topcoat. Done correctly, the finish can look factory-smooth and hold up to daily use.
When sanding can be skipped—and when it can’t
It depends on what your doors are made of and what’s on them already.
Painted timber or MDF doors (in good condition): Often suitable for a no-sand system. If the paint is intact and not chalky or peeling, it can be cleaned, deglossed, primed, and resprayed without aggressive abrasion.
Vinyl-wrapped/foil doors: These can be resprayed successfully, but they’re the most dependent on proper adhesion. If the vinyl is lifting at the corners or heat-damaged near appliances, no primer in the world will make a failing wrap behave long-term. Small issues can sometimes be stabilised; widespread lifting usually points to repair or replacement of doors before respraying.
Laminate or melamine: Possible, but the surface is non-porous and unforgiving. If the existing finish is glossy and smooth, you’ll need a strong bonding primer and meticulous cleaning. Some situations still call for a light key to remove sheen.
Previously DIY-painted cabinets: This is where “it depends” becomes important. If the previous paint is soft, thick, or poorly bonded, respraying over it can simply lock in the problem. In these cases, sanding (or stripping) is often the only route to a finish that lasts.
If you’re unsure what you have, a quick assessment is worth it. In many kitchens, the doors are a mix—some materials behave beautifully, others need extra attention.
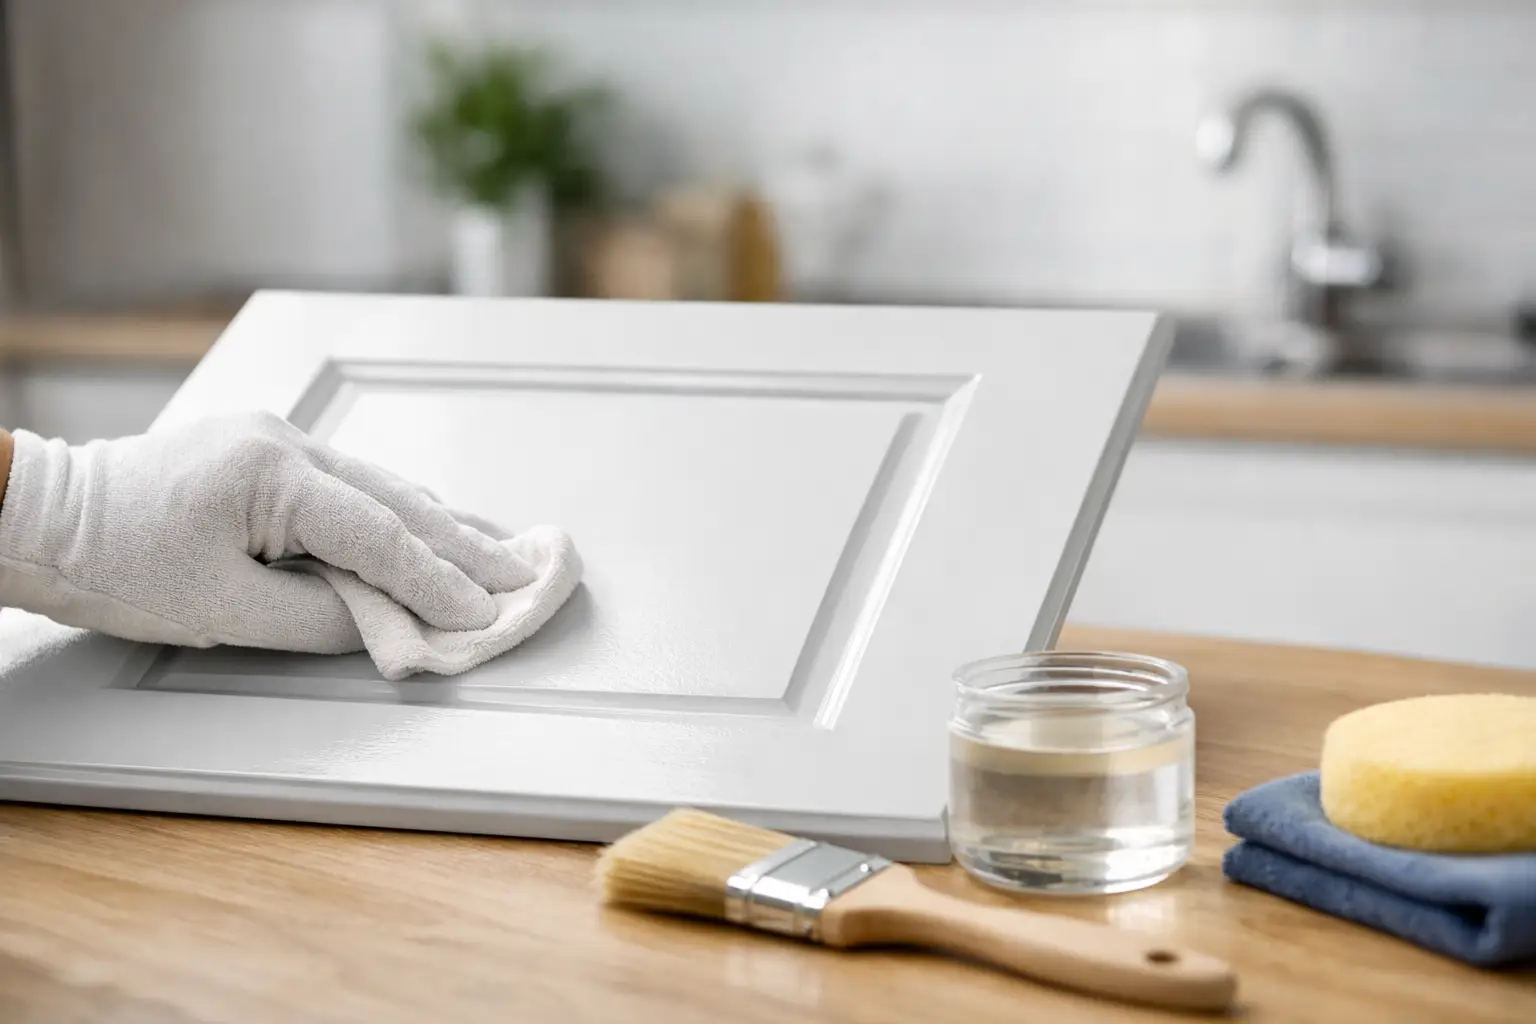
The prep that replaces sanding (and why it matters)
Skipping sanding doesn’t mean skipping preparation. It means being more deliberate about it.
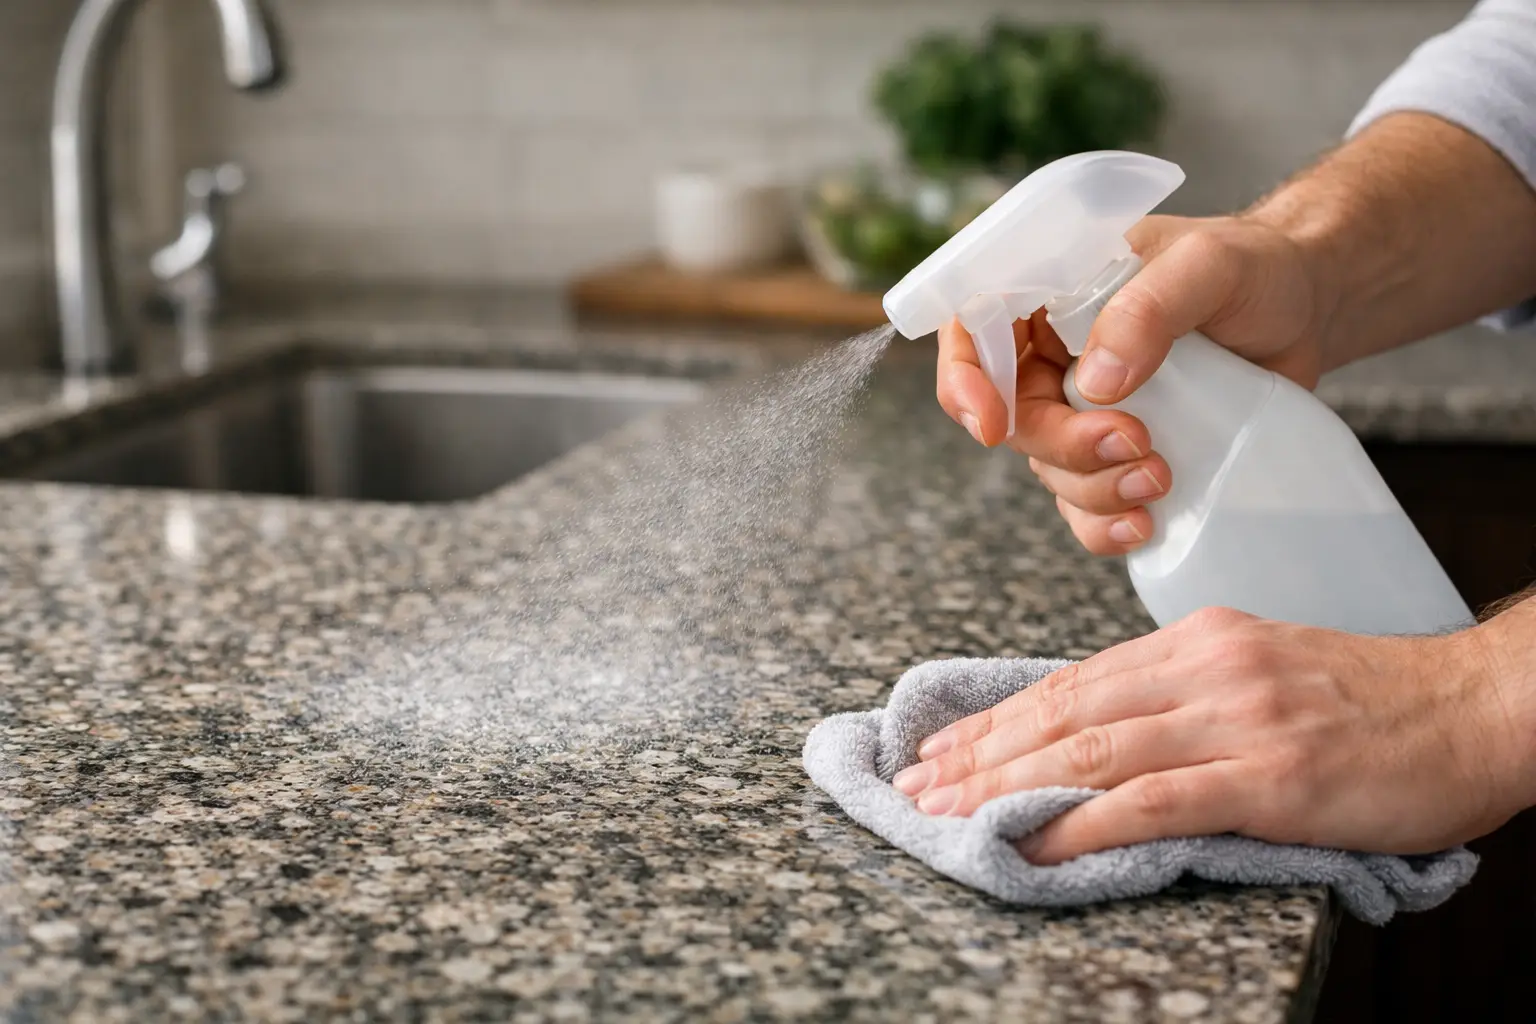
First comes degreasing. Kitchen doors collect invisible oils from hands, cooking vapour, and cleaning sprays. If any residue remains, primer bonds to the grease instead of the door, and the topcoat bonds to the primer… until it doesn’t. Proper degreasing is slow, methodical work: handles off, edges cleaned, hinges checked, and attention paid to the areas around pulls where oils build up.
Next is deglossing. A glossy surface is designed to resist sticking—great for cleaning, terrible for paint adhesion. Professional systems often use controlled deglossing products or specialist primers that etch and grip without leaving heavy sanding marks.
Finally, the primer does the heavy lifting. High-adhesion primers are formulated to bond to difficult surfaces and create a stable base for the topcoat. This is where a lot of DIY attempts fall down: the wrong primer can look fine at first, then chip when the first cold winter hits and doors expand and contract.
The coating system: what makes a respray look “factory”
A kitchen respray that lasts isn’t just about colour choice—it’s about the coating system and application.
A professional respray typically uses a primer suited to the substrate, followed by a durable topcoat designed for cabinetry. The goal is a smooth, even finish that can handle knocks, heat, moisture, and frequent cleaning.
Equally important is application. Brushes and rollers can work for small touch-ups, but they often leave texture, drag marks, or inconsistent sheen across large doors—especially on flat, modern styles where every imperfection catches the light. Spraying allows for a finer film build and a more uniform finish across the entire kitchen.
If you’re choosing a sheen level, think about your kitchen’s lighting and how you use the space. A matte or soft satin can disguise minor surface imperfections, while higher sheen levels can feel crisp and contemporary but will highlight dents and poor prep.
Common problems with “no-sand” cabinet painting
There are a few predictable failure points when people try to avoid sanding and also cut corners elsewhere.
Chipping around handles is the big one. That area gets the most impact and constant contact. If cleaning wasn’t thorough or the primer wasn’t designed for adhesion, the coating can fracture at the first knock.
Peeling at edges comes next, particularly on foil-wrapped or laminate doors. Edges are where moisture creeps in and where the coating is thinnest if spraying technique isn’t consistent.
Finally, there’s “ghosting” of old damage—small dents, swollen corners, or hairline cracks showing through once the new colour is on. Without any sanding, repairs have to be handled differently: filling, sealing, and spot-priming become essential.
None of these are reasons to avoid respraying; they’re simply reasons to treat “no sanding” as a tailored approach rather than a promise.
How long will a no-sand respray last?
A properly prepared, professionally applied respray can last for years, even without traditional sanding, because adhesion is achieved through cleaning, deglossing, and the right primer/topcoat combination. Longevity still depends on how the kitchen is used.
If you have young children, heavy daily cooking, or you clean doors with strong chemicals, you’ll want the toughest possible system and realistic expectations about wear on high-touch areas. The good news is that resprayed cabinets are usually easy to maintain: gentle cleaning, avoiding abrasive pads, and wiping spills quickly goes a long way.
Why homeowners choose respraying over replacement
For many homeowners across Dublin, Wicklow, Kildare, Meath, and Louth, the appeal is practical: you keep the layout you already know works, you avoid the disruption of builders in and out for weeks, and you dramatically change the look for a fraction of the cost of a new kitchen.
There’s also the eco-friendly side that’s easy to overlook until you compare it with replacement. Keeping solid carcasses, hinges, and doors out of landfill is a genuine win when the structure is still sound.
If you want a trusted, professional finish with minimal hassle, Dublin Kitchen Respray specialises in transforming kitchens quickly with durable, like-new results—often without the upheaval of a full renovation.
A realistic way to decide if “without sanding” is right for your kitchen
If your cabinets are structurally sound, the existing finish is stable, and you’re aiming for a clean, modern update, respraying without sanding can be a smart, efficient route. If you have peeling wrap, flaky paint, or water damage around sink units, the best result usually comes from addressing those problems first—sometimes that includes sanding, sometimes it includes repairs or replacing a small number of doors.
The most helpful mindset is this: a stunning finish is rarely about one magic step you avoid. It’s about choosing the right system for the surface you actually have.
A refreshed kitchen should feel like a relief every time you walk into it—calmer, cleaner, and more “you”—and it’s worth doing in a way that stays that way.