You can spot a rushed cabinet refinish from the doorway – a sticky door edge, brush marks catching the light, or paint that chips the first time a pot handle knocks it. In Dublin homes, where kitchens work hard and humidity is a real factor, the difference between “looks grand for a month” and “still looks stunning next year” comes down to method, materials, and patience.
Below are practical, professional kitchen cabinet refinishing tips Dublin homeowners can use to plan a better finish – whether you are doing it yourself or deciding when it makes more sense to bring in a spray team.
Start with a reality check: paint, respray, or replace?
Refinishing is a brilliant middle ground when your kitchen layout works and the carcasses are sound. If doors are solid wood, MDF, or quality laminate that is still firmly bonded, refinishing is typically very cost-effective and far less disruptive than a rip-out.
It depends, though. If your cabinet boxes are swollen from past leaks, hinges are pulling out of crumbling chipboard, or the doors are delaminating badly, refinishing will not solve the underlying problem. You may still refinish some sections (like an island) while replacing problem units – but be honest about what is structurally tired.
Kitchen cabinet refinishing tips Dublin homeowners overlook: moisture and ventilation
Dublin’s climate is not extreme, but it is damp enough to affect curing times and adhesion if you work in a poorly ventilated space. “Dry to the touch” is not the same as “cured”, and cabinetry gets handled constantly.
If you are painting on-site, plan for steady airflow and gentle warmth. Avoid blasting heat directly at freshly painted doors, as this can skin the surface while leaving the layer underneath soft. A dehumidifier can help in older houses where kitchens hold moisture.
For the best durability, the ideal scenario is removing doors and spraying or painting them in a controlled area. That is where you get a smoother finish and more predictable curing.
Prep is the job (the painting is the reward)
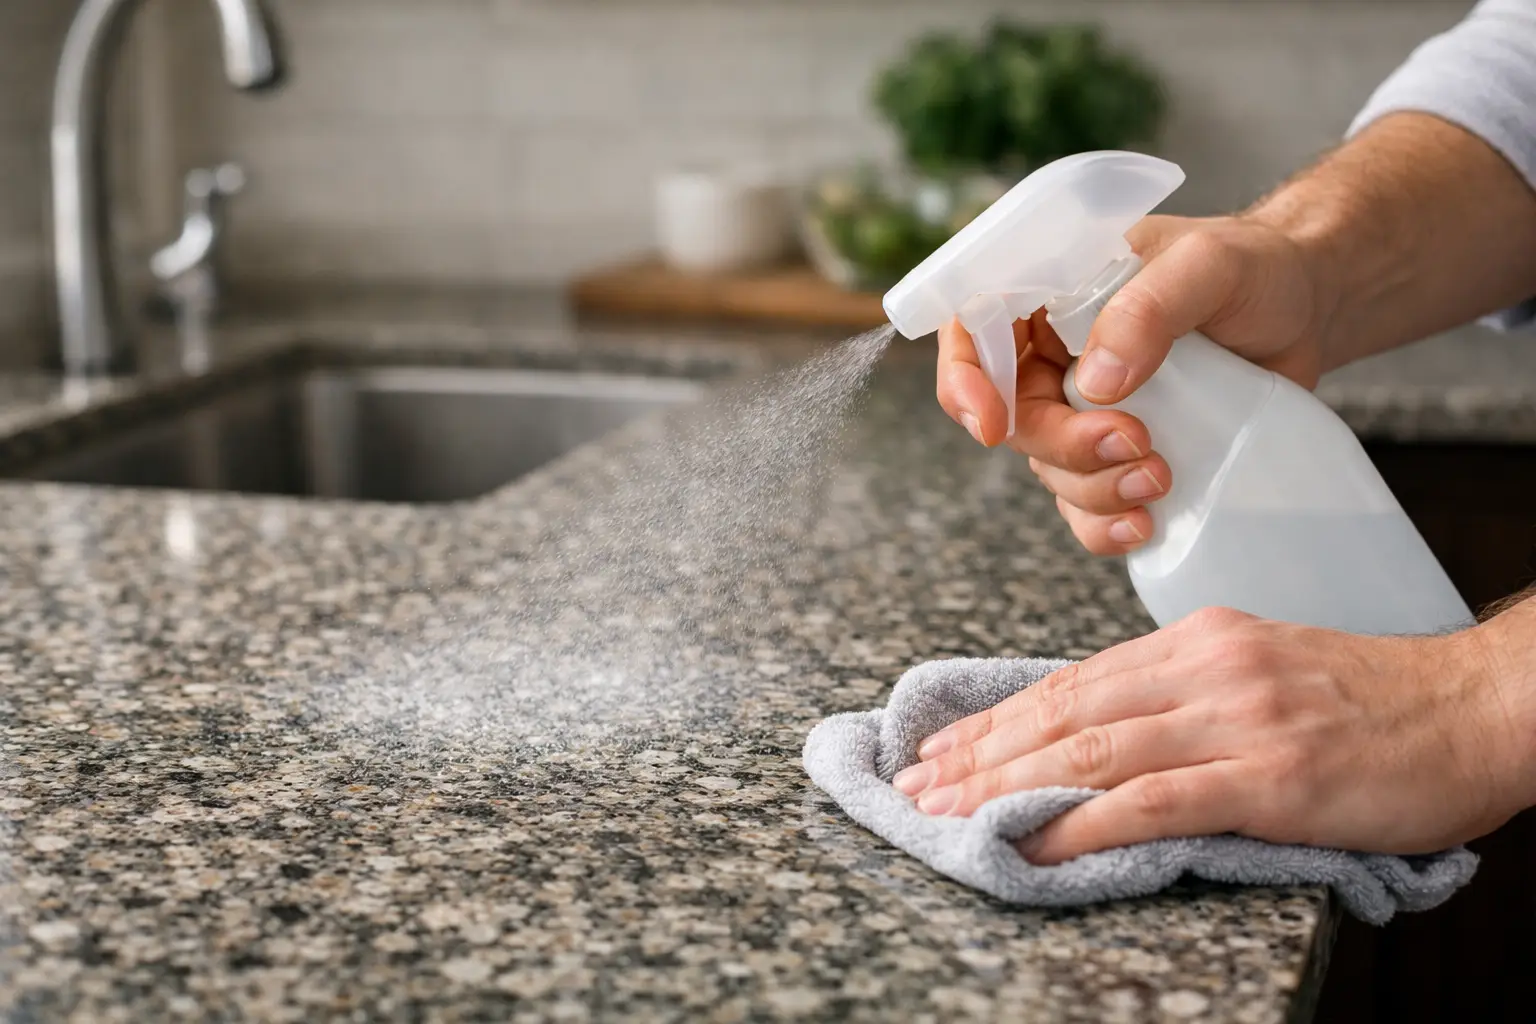
Most failures we see come back to prep, not product. Kitchens collect invisible grease – especially around handles, cookers, and kettle areas. If you paint over that film, your coating is only as strong as the grime beneath it.
Start by removing doors, drawer fronts, handles, knobs, and any rubber bump stops. Label every door and hinge position. It feels fussy in the moment, but it prevents the “why does this door sit funny now?” problem later.
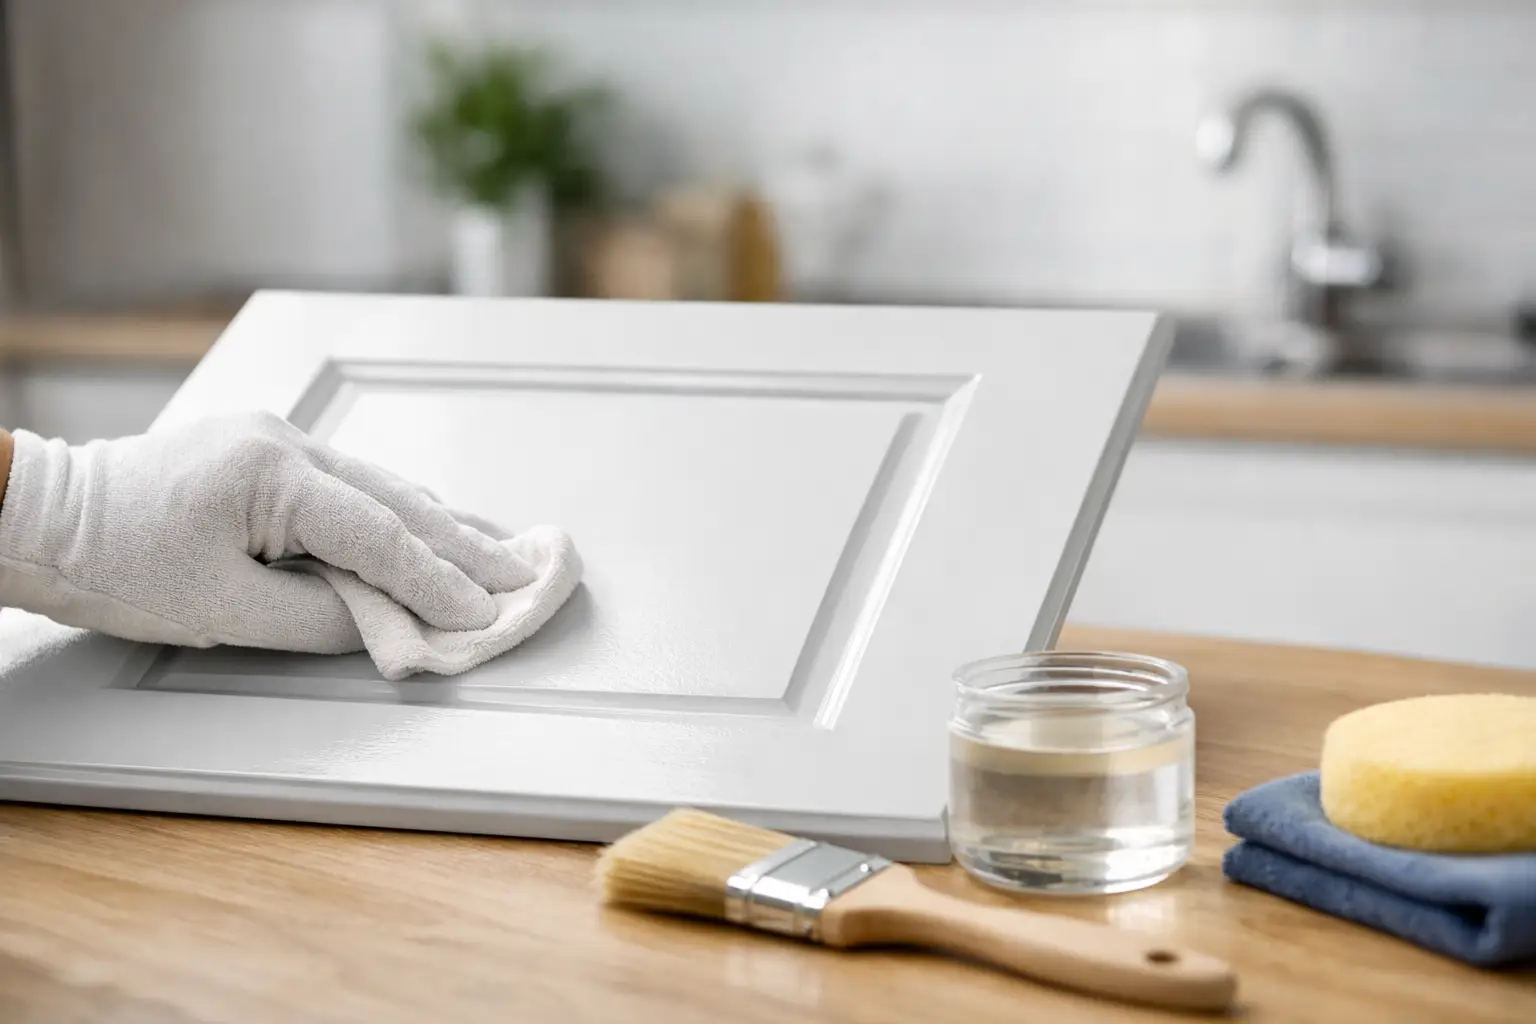
Clean thoroughly with a dedicated degreaser. Rinse well and allow everything to dry fully. Then sand – not to carve the door up, but to de-gloss and give the primer a proper key. Dust removal matters: vacuum, then wipe with a tack cloth or a slightly damp microfibre cloth and let it dry.
If you have dents or chips, fill them before priming. For MDF edges that have fluffed or swollen slightly, stabilise them: sand back to firm material, seal, then fill if needed. Rushing this stage shows up as bumpy edges that never look truly “new”.
Choose the right primer for the surface you actually have
Primer is not optional on cabinets. It is the bridge between your existing finish and the new topcoat, and it is where adhesion is won or lost.
For stained wood or anything with knots, you need a stain-blocking primer, otherwise tannins can bleed through and tint your fresh colour. For glossy laminate or previously painted doors with a very slick finish, you need a bonding primer designed for difficult surfaces.
A common DIY mistake is using a wall primer because it is on hand. Wall products are not built for constant handling, cleaning, and edge wear. Cabinets need hard-wearing systems – primer and topcoat that are compatible.
Paint choice: why cabinet paint feels different
Cabinet-grade finishes are formulated to cure harder, resist scuffs, and tolerate cleaning. That usually means a longer cure time and a different feel while you are working.
If you want a very smooth look, spraying tends to outperform brushing or rolling. A foam roller can reduce texture, but most DIY finishes still show some stipple in certain lighting.
Sheen matters too. Matt looks modern but can mark more easily in high-use kitchens. Satin or soft sheen often gives the best balance: it looks refined, wipes down well, and does not shout “high gloss”.
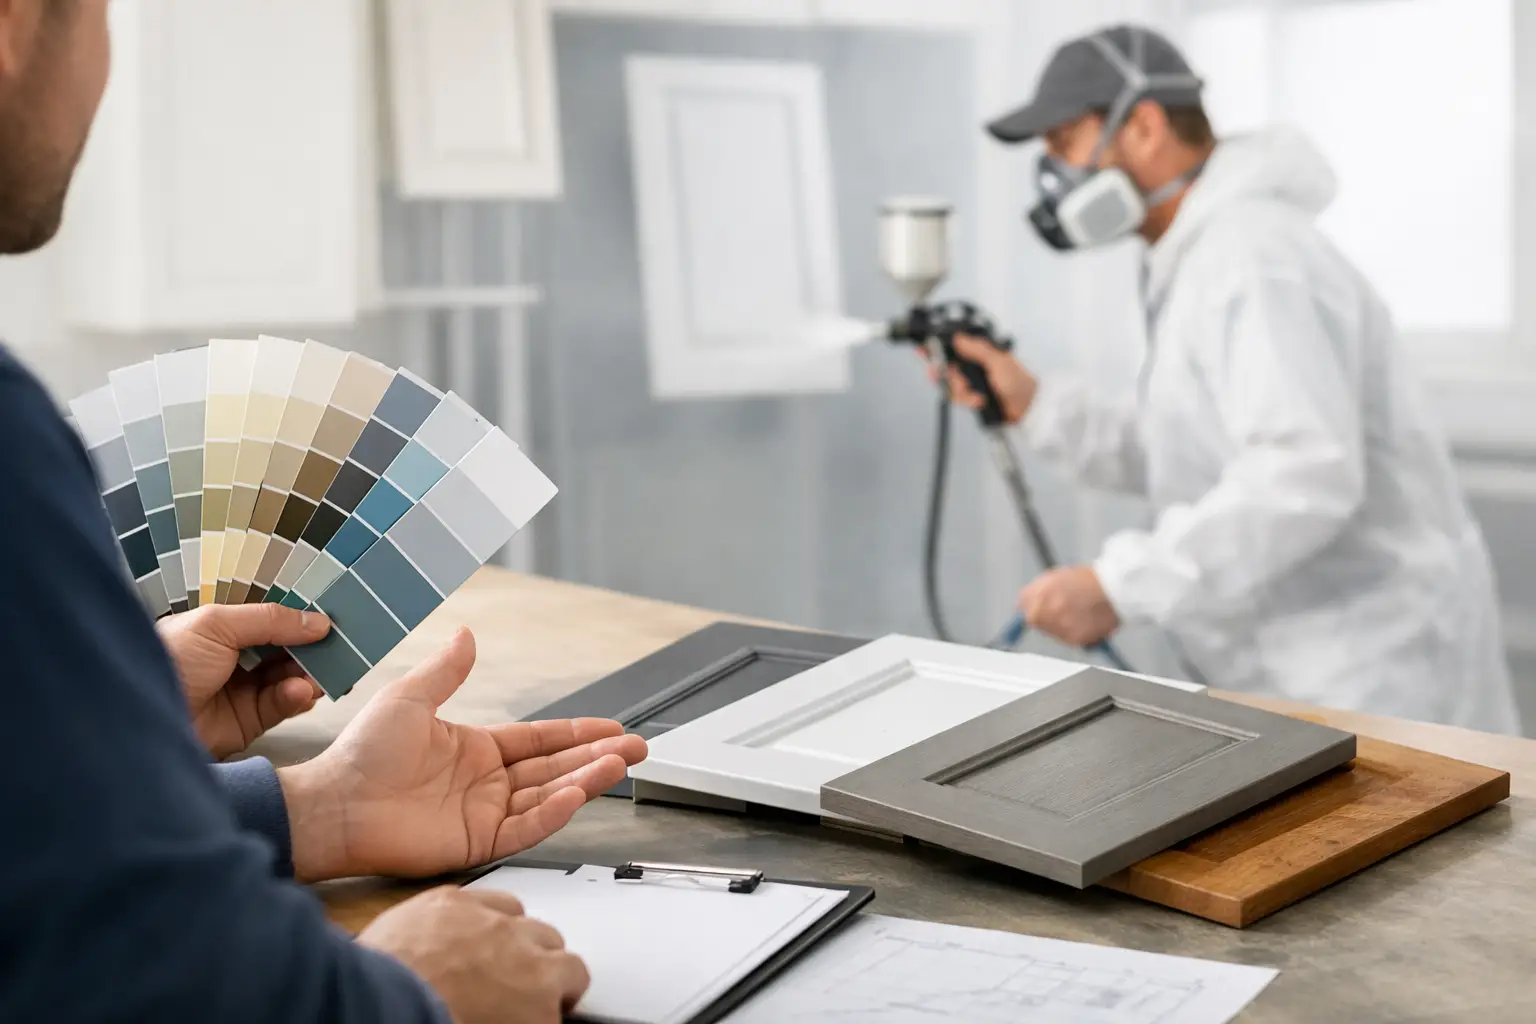
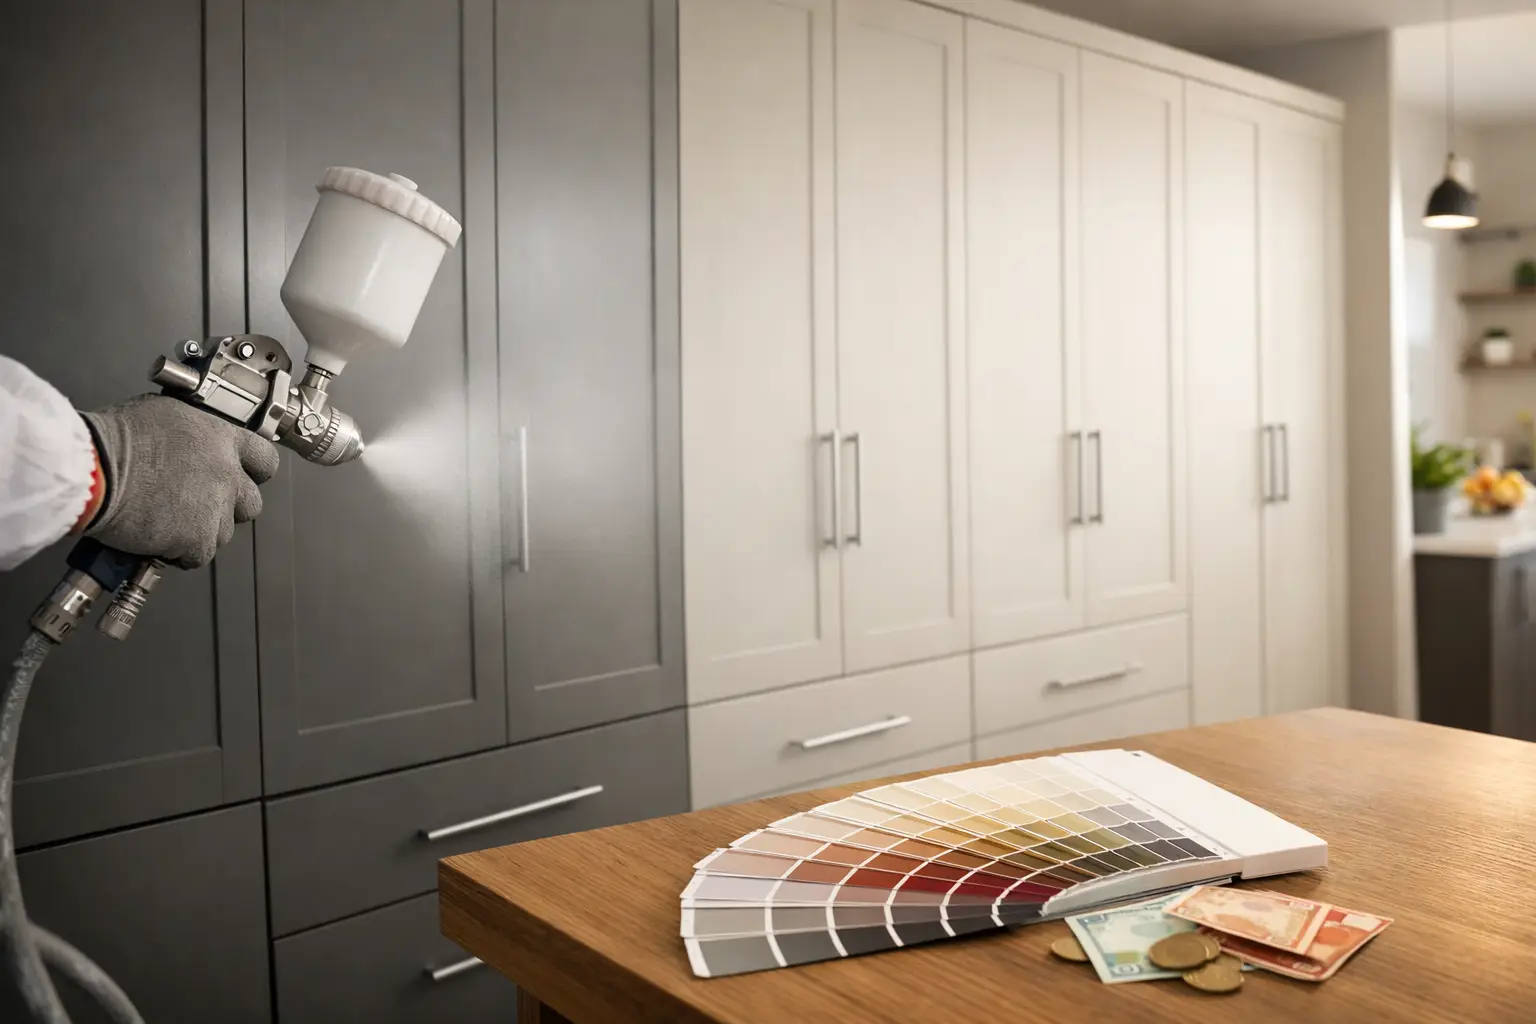
Spraying vs painting: the trade-off is control vs convenience
Painting in place can be the easier route if you have limited space and you are happy with a hand-finished look. Spraying, done correctly, delivers a more factory-like finish, particularly on shaker grooves and panelled doors.
The trade-offs are real. Spraying requires careful masking and dust control, and it is less forgiving if you are not experienced with gun setup, distance, and overlap. Too much material leads to sags; too little gives dry spray and roughness.
If you do spray at home, practise on a scrap panel first and keep your passes consistent. Also remember: a sprayed finish still relies on thorough prep. Spraying does not “hide” poor sanding or grease.
Don’t ignore the cabinet frames and end panels
Doors are the most visible part, so they get the attention. But if frames are yellowed, chipped, or a different sheen, the whole kitchen can look half-finished.
Refinishing frames in situ takes patience. Protect worktops and floors properly, and use painter’s tape carefully so you do not peel fresh paint when removing it. Light sanding and correct primer still apply here – especially around bin units and sink bases where knocks and moisture are common.
If you are changing colour dramatically (for example, dark to light), plan extra coats and do not expect perfect coverage in one pass. Cabinet edges and profiles often need a little more attention.
Hardware: small change, big impact
Handles can make a refinished kitchen look genuinely updated, not just repainted. If you are keeping existing holes, measure your current centres precisely and buy replacements that match. If you are changing to a different size, fill the old holes properly and drill clean new ones using a jig for consistency.
Consider soft-close hinges if your doors currently slam or sit unevenly. Good hinges improve the feel of the kitchen immediately, and they protect your new finish from impact damage.
Drying and curing: the patience piece nobody enjoys
You can rehang doors too early and leave permanent impressions where bump stops touch soft paint. Even careful homeowners do this.
Follow the manufacturer’s recoat times, but also think beyond them. Allow more time if the weather is damp, the room is cool, or ventilation is limited. When you do rehang, handle doors with clean hands and avoid stacking painted fronts face-to-face.
For the first couple of weeks, clean gently. Avoid harsh sprays and aggressive scrubbing until the coating has fully hardened.
When it makes sense to call in a professional respray team
If you want the smoothest finish, need a fast turnaround, or simply do not have the space to sand and paint doors safely, professional respraying is often the most stress-free option. It also reduces the risk of spending money on materials and still ending up with brush marks, chips, or adhesion issues.
A trusted specialist will assess your existing surfaces, choose a suitable primer and coating system, and prep properly before spraying. That process is what makes the finish durable and consistent.
If you are weighing up options in Dublin and surrounding counties, Dublin Kitchen Respray has been delivering professional cabinet transformations since 1999, with an approach that is affordable and eco-friendly because it upgrades what you already have instead of sending it to landfill.
Colour choices that suit Dublin light
Natural light in many Dublin kitchens can be soft, especially in north-facing rooms or homes with smaller windows. Very stark whites can look cold, while warm whites and gentle greiges often feel more inviting.
If you are tempted by deep colours (navy, forest green, charcoal), they can look stunning, but they show dust and fingerprints more readily on flat surfaces. A slightly higher sheen can help with wipeability, and good lighting (under-cabinet strips, warmer bulbs) stops dark colours feeling heavy.
Test your chosen colour on a removable panel or a primed sample board and view it morning and evening. The same paint can read completely differently under warm indoor light versus daylight.
A final word before you start sanding
The best cabinet refinishes are not about rushing to the “after” photo. They are about doing the slow, unglamorous steps properly – cleaning until water sheets off the surface, sanding evenly, priming for the material you have, and giving the finish time to harden. Once you commit to that standard, the result tends to feel less like a quick touch-up and more like getting your kitchen back in a fresh, like-new form.