You can spot a rushed cabinet paint job from the doorway. The doors look fine head-on, but the light catches the brush marks, the edges feel gritty, and a week later the first chip appears beside the handle. A high-quality cabinet finish is not about luck or a pricey tin of paint – it is about process, patience, and controlling the small things that most people miss.
If you want your kitchen to look professionally refreshed without the disruption of a full renovation, the goal is simple: a smooth, even film of paint that bonds properly, levels well, and cures hard enough to handle daily life. Here is how to get there.
What “high-quality” really means on cabinets
A high-quality cabinet finish has three non-negotiables: it looks smooth in raking light, it feels consistent to the touch (no nibs, dust bumps, or rough edges), and it performs – meaning it resists fingernail marks, knocks from pots, and repeated cleaning.
Kitchens are harsh environments. Steam, heat, grease, and constant handling will find any weakness in preparation or paint choice. That is why cabinets are less forgiving than walls. You are not just changing the colour – you are building a durable coating system.
How to achieve a high-quality cabinet finish: start with the right expectations
The biggest trade-off is time versus perfection. A “weekend refresh” can look nicer than what you had before, but a truly factory-smooth finish takes careful prep, controlled drying conditions, and enough curing time before heavy use.
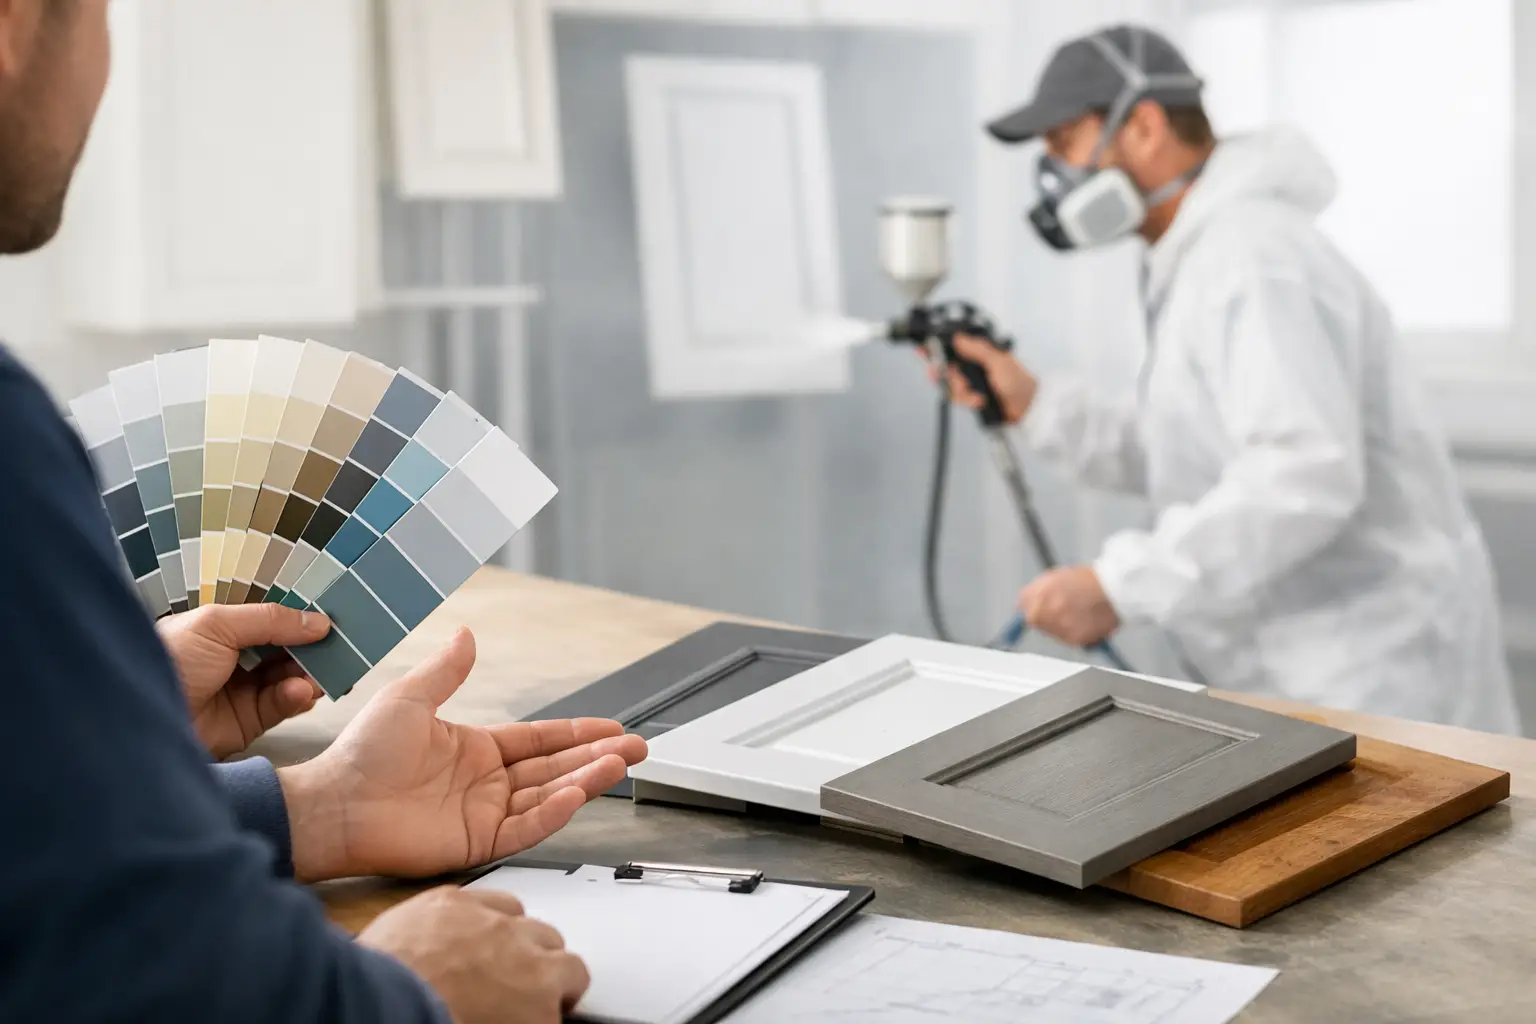
The second trade-off is equipment. Spraying generally gives the most even finish, but it demands masking, ventilation, and technique. Brushing and rolling can still look excellent if you use the right tools and accept that ultra-flat reflections are harder to achieve.
If you are aiming for that like-new look, plan for the job to take longer than you think – and to be done in stages.
Preparation is where the finish is won
Paint does not fail because it is “bad paint”. It fails because it cannot grip the surface underneath.
Start by removing doors, drawers, hinges, handles, and any rubber bumpers. Label everything as you go. A simple numbering system inside hinges and on the inside edge of doors saves hours of frustration later.
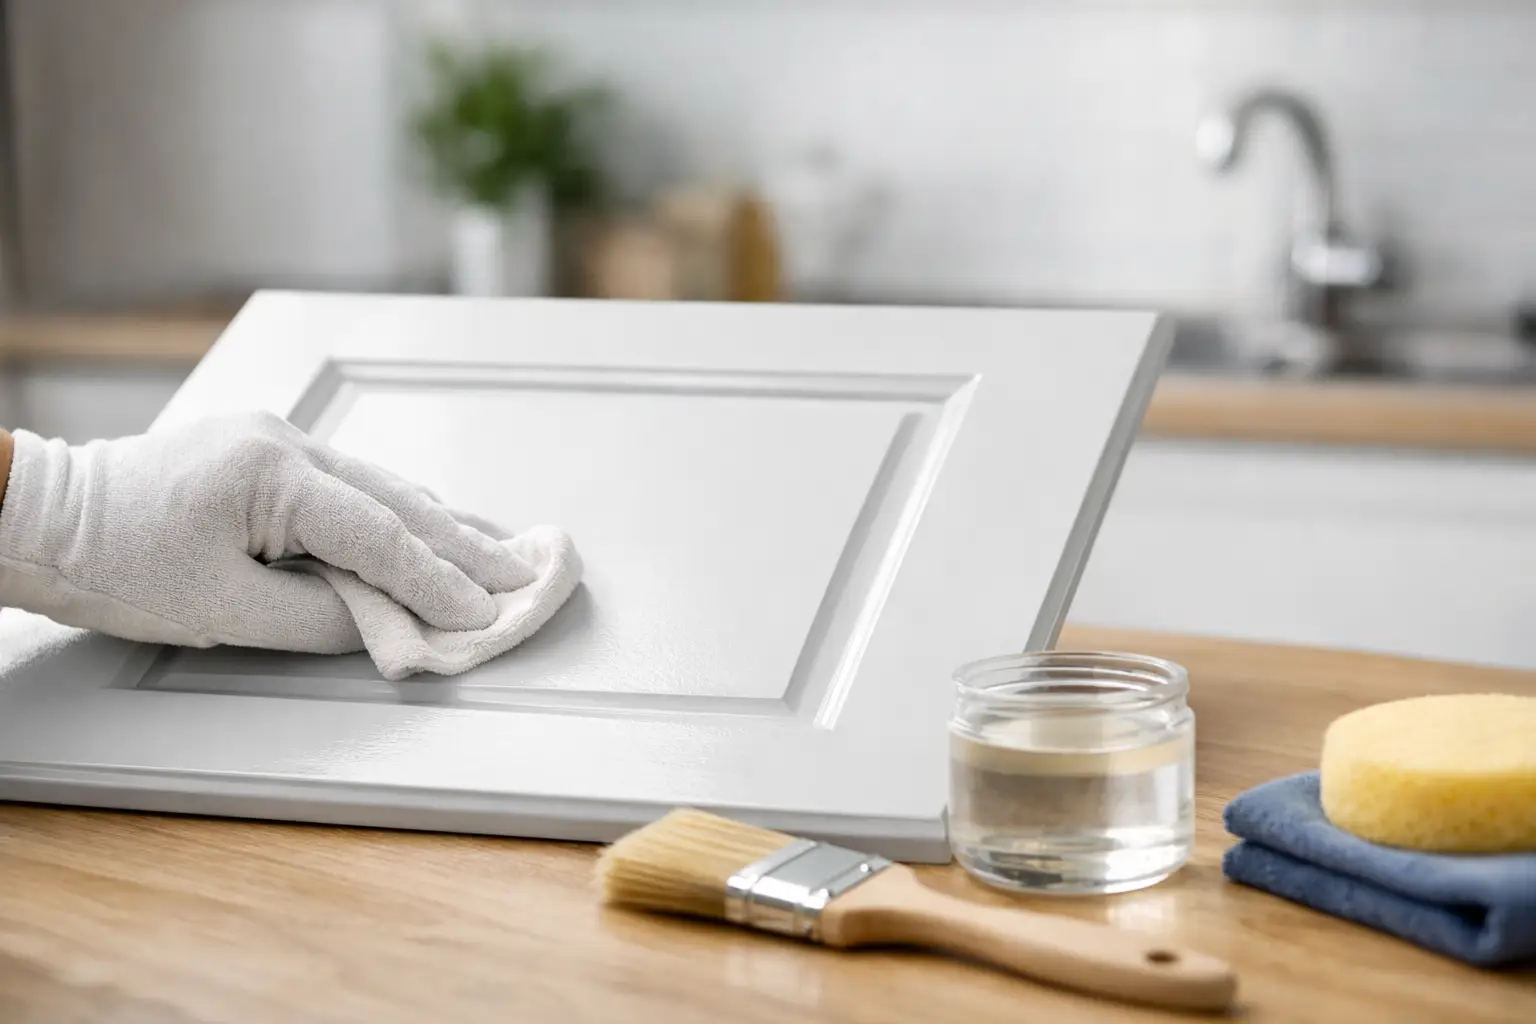
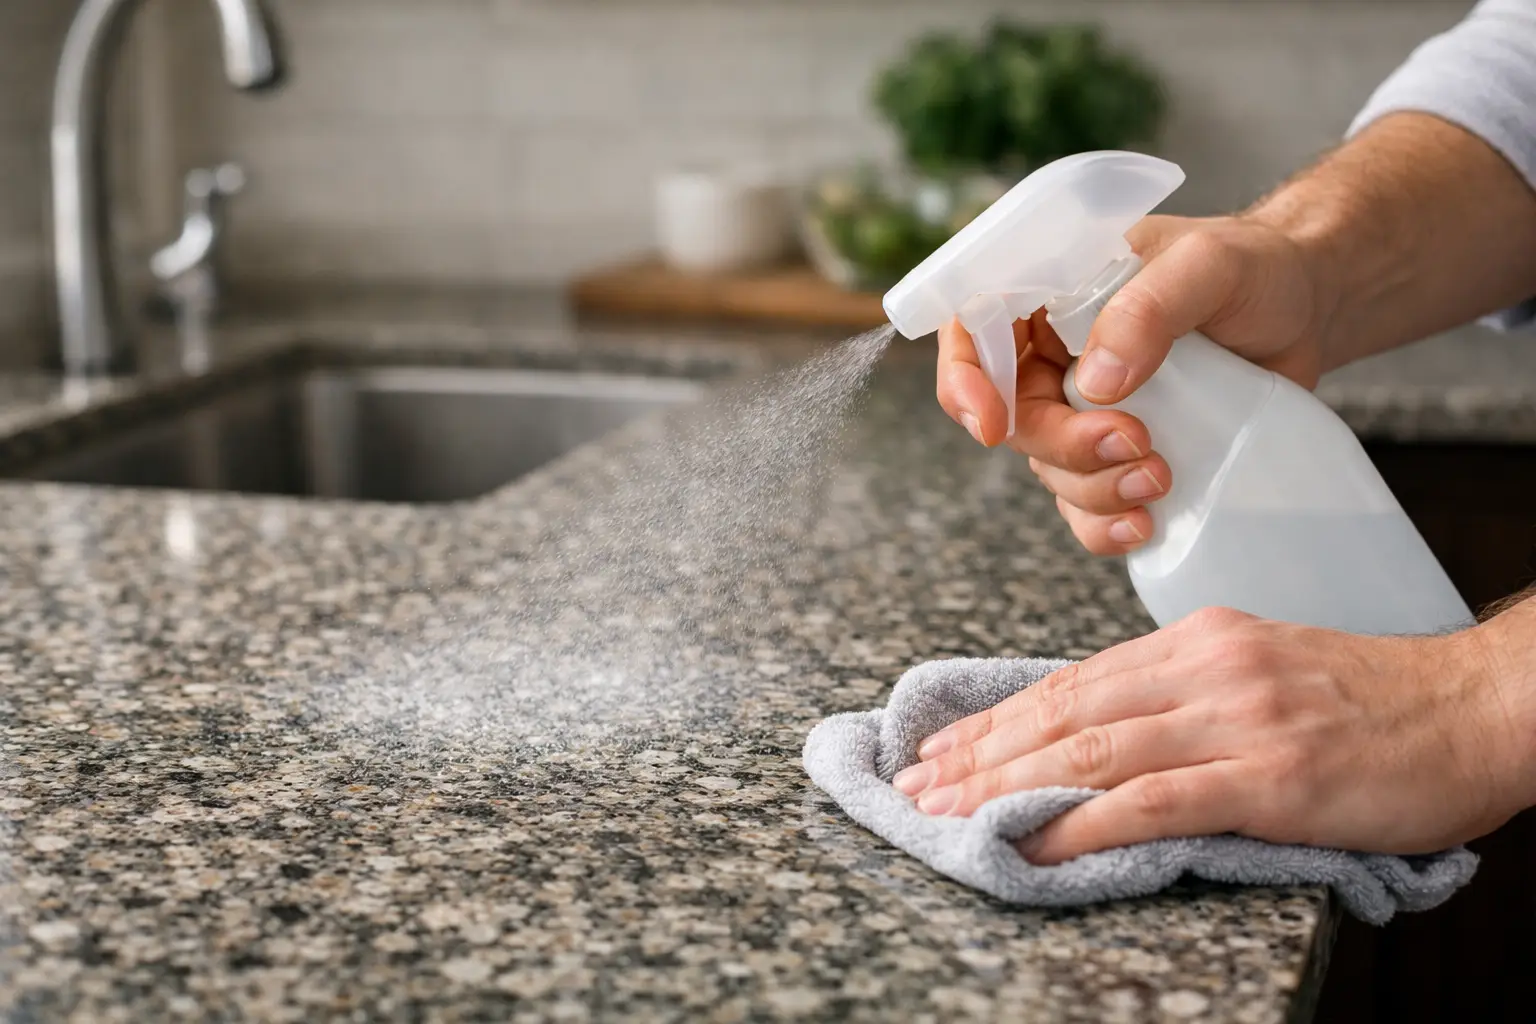
Next comes cleaning. Kitchens build up invisible residue that sanding alone will not remove. Use a dedicated degreaser and rinse thoroughly, then let everything dry completely. If you skip this step, primer may fisheye (pull away in small craters) or the finish may chip around high-touch areas.
Dealing with damage and old coatings
After cleaning, inspect closely. Fill dents and chips with a suitable filler, then sand flush. Pay attention to the profile edges and handle areas – that is where wear shows first.
Old finishes matter. If your cabinets are previously painted and flaking, you must remove loose material until you reach a stable edge. If the existing coating is sound, you can key it (lightly abrade it) so primer can bond.
For glossy lacquered or melamine-style doors, proper abrasion and the correct primer are essential. These surfaces are designed to repel moisture and grime, which also makes them less welcoming to paint.
Sanding for adhesion and smoothness
Sanding is not just about scuffing. It is about creating an even surface so the new coating levels out.
Use a sanding sponge or paper that follows the door profile without gouging. Aim for a uniform dull finish, especially on shiny areas. Vacuum the dust, then wipe down with a tack cloth or a lint-free cloth slightly dampened with a suitable cleaner.
Be careful not to over-sand sharp edges. Paint films are thinnest on corners, so aggressive sanding can make future wear worse. If edges are already worn through, build them back up carefully during priming and painting rather than trying to sand them “perfect”.
Prime like you mean it
Primer is the bridge between your existing surface and your topcoat. If you want to know how to achieve a high-quality cabinet finish that lasts, this is the step you do not compromise on.
Choose a primer suited to the cabinet material and the existing coating. For tricky, glossy substrates, you need a bonding primer designed for adhesion. For timber that may bleed tannins (common in some woods), you may need a stain-blocking approach. The right primer prevents discolouration, improves grip, and helps the topcoat lay flatter.
Apply primer evenly and do not flood details. Heavy primer can pool in corners and soften crisp profiles, which is one reason DIY finishes can look thick.
Once dry, sand the primer lightly. This is the moment you create that silky base. You are not trying to remove it – you are knocking down texture and dust nibs so the topcoat glides.
Pick a cabinet-grade topcoat, not wall paint
Kitchens need a hard-wearing finish with good chemical and abrasion resistance. Many standard interior wall paints feel lovely at first but stay too soft for doors that are opened dozens of times a day.
Look for a durable enamel or specialist trim system designed for joinery and cabinetry. Consider the sheen level carefully. Satin and soft-sheen are popular because they look modern while still being wipeable. Matt can look stunning, but it tends to show grease marks and burnishes in high-touch zones. Gloss is very durable but highlights any surface imperfections.
If you are choosing between water-based and solvent-based systems, it depends. Modern water-based options can be very tough and have lower odour, quicker recoat times, and less yellowing. Solvent-based products can level beautifully and cure hard, but have stronger odours and longer drying times. Either can work – the key is using a system that is made for cabinets and following its instructions precisely.
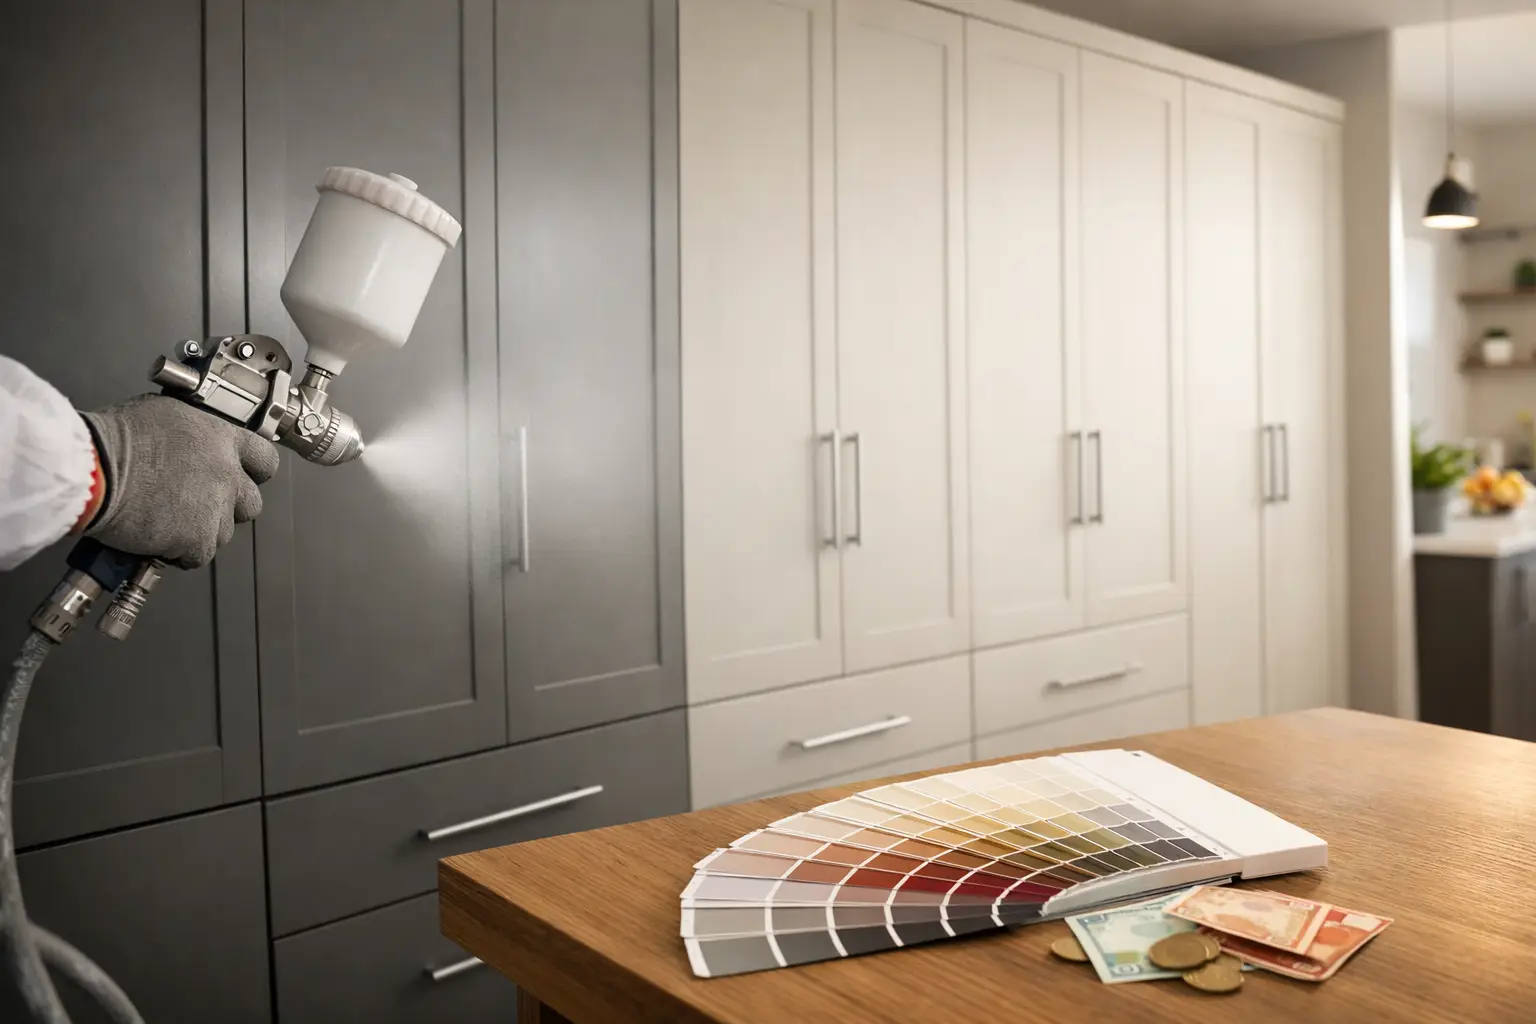
Spraying versus brushing: what actually gives the best finish?
Spraying is the most reliable route to a uniform, factory-style surface, especially on flat slab doors. A fine spray lays down an even film without brush marks, and it is easier to achieve consistent thickness across a whole kitchen.
Brushing and rolling can still produce an excellent result when done carefully, particularly on framed doors where some texture is less obvious. Use a high-quality fine-finish roller and a good brush for edges and profiles. Work in thin coats and keep a wet edge so the paint levels rather than dragging.
Whichever method you choose, thin coats win. Thick coats sag, take longer to cure, and chip more easily.
Control your environment for a smoother result
Dust is the enemy of a perfect finish. If you are spraying, proper masking and a clean area matter as much as technique. If you are painting in a garage or utility space, sweep and vacuum first, then leave it to settle before you start.
Temperature and humidity affect drying and levelling. Too cold and paint may not flow and cure properly. Too warm and it may dry before it levels, leaving texture. High humidity can slow curing and encourage a slightly cloudy look in some finishes.
A practical approach is to work on calm days, avoid painting late at night when temperatures drop, and give each coat the full drying time before sanding or recoating.
The between-coat routine professionals rely on
After each coat dries, inspect under strong side lighting. You will see bumps you missed in normal overhead light. Lightly sand to remove imperfections, clean the surface properly, then apply the next coat.
This routine feels slow, but it is what creates that smooth, consistent feel when you run your hand across the door.
Most cabinet systems need at least two topcoats over primer. Some colours and sheens benefit from a third. The aim is full, even coverage with enough film build for durability, without burying detail.
Reassembly and the curing window
Dry to the touch is not cured. Many finishes feel ready within hours but remain vulnerable for days. If you rehang doors too soon, you can end up with sticking, imprint marks from bumpers, or chipped edges around hinge screws.
Give the paint time. If your kitchen must be functional, reassemble gently and treat doors with care for the first couple of weeks. Avoid harsh cleaners early on – use a soft cloth and mild washing-up liquid if needed.
When fitting handles, take your time. A slipped screwdriver can undo hours of careful work in a second. Consider replacing old bumpers so doors close quietly and do not knock the fresh finish.
When it’s smarter to bring in a professional sprayer
Some kitchens are perfect candidates for a DIY approach, especially if the layout is simple and the doors are easy to remove and work on. But if your cabinets are high-gloss, the room is busy and hard to isolate from dust, or you want a flawless sprayed finish in a short time, professional respraying can be the more cost-effective route once you factor in tools, materials, and your own time.
A trusted team will also know how different substrates behave, how to prevent adhesion issues, and how to achieve consistent sheen across every door and panel. If you are considering a professional transformation in Dublin and the surrounding counties, Dublin Kitchen Respray specialises in cabinet respraying that delivers a stunning, durable finish without the hassle of a full renovation.
The best part is that respraying is inherently eco-friendly – you keep the cabinets you already have and refresh what you see and touch every day.
A final thought before you pick up a brush (or a spray gun)
If you remember one thing, make it this: the finish you want is built in layers, not in shortcuts. Give preparation the time it demands, keep coats thin and controlled, and let the paint cure properly – your future self will thank you every time a door closes with that satisfying, like-new feel.