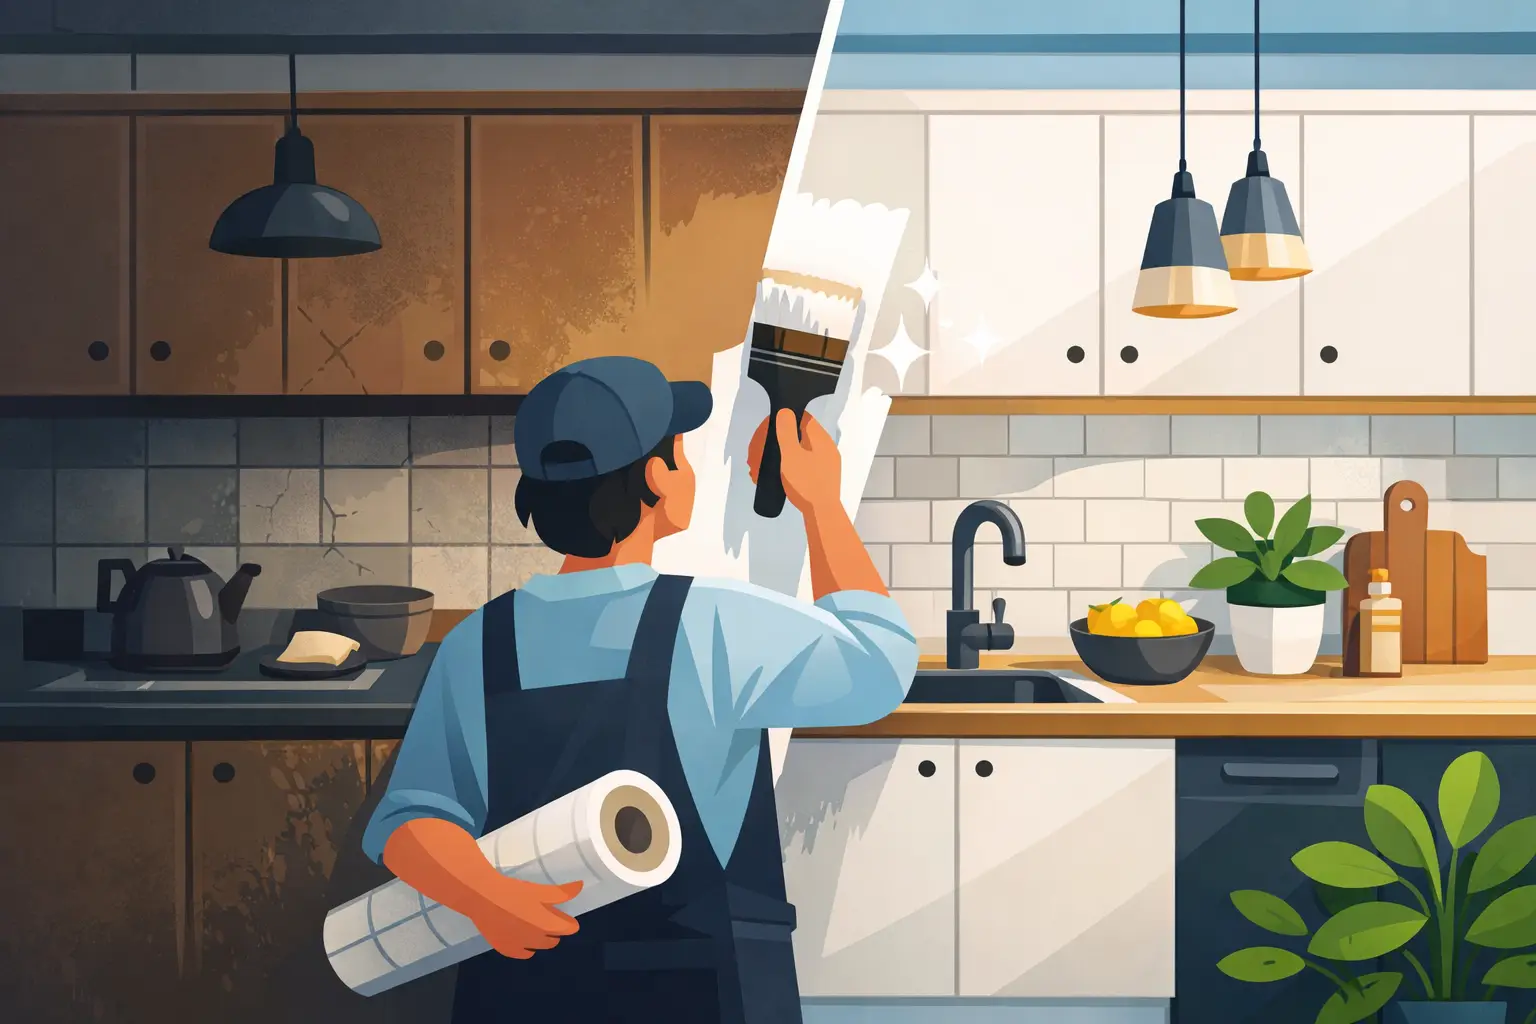
You can spot a rushed cabinet respray from the doorway. The finish looks a bit plasticky, the edges feel rough, and within months you start seeing chips around handles and hairline cracks near hinges. Done properly, though, a respray can look like a brand-new fitted kitchen – with far less disruption than ripping everything out.
This practical guide explains how to respray kitchen cabinets effectively, with the same attention to detail we use on professional jobs across Dublin and the surrounding counties. The aim is simple: a smooth, durable finish that stands up to daily cooking, steam, cleaning products, and busy family life.
Decide if respraying is the right solution
Most kitchen cabinets are excellent candidates for respraying, even when they look tired. Solid timber doors, MDF doors, and many factory-finished doors can all take a new coating well. The deciding factor is usually condition, not age.
If doors are swollen from long-term water damage, delaminating, or the board is crumbling around hinge holes, paint will not fix that – those pieces typically need repairing or replacing first. Likewise, if grease has soaked deep into raw chipboard edges, you may spend more time chasing contamination than it is worth.
For many homeowners, the real question is not “can I respray?” but “should I DIY?” Spraying requires controlled prep and a clean, ventilated area. If you are working in a cramped kitchen with limited drying space and lots of foot traffic, it becomes harder to keep dust out of the finish and maintain consistent results.
The key to an effective cabinet respray: preparation
A professional-looking respray is mostly prep. The spraying is the visible part, but prep is what stops peeling, fish-eyes, and uneven sheen.
Start by clearing the area properly. Empty cupboards, protect floors and worktops, and plan how you will label and store doors and hardware. Number each door and drawer front, and mark hinge positions. It sounds fussy, but it prevents the common headache of misaligned doors and handles when reassembling.
Next comes degreasing. Kitchens build up a film of cooking oils that can defeat primers and cause paint to separate. Use a dedicated degreaser and work methodically, especially around handles, near the hob, and the top edges of doors. Rinse or wipe down as required and allow everything to dry fully. If you can run a clean cloth over the surface and it squeaks rather than drags, you are much closer to a reliable bond.
Then inspect for damage. Fill dents and chips with a suitable filler, let it cure, and sand it flush. Pay special attention to the bottom edges of doors near dishwashers and sinks where moisture takes its toll. If those edges are soft, stabilise them with the correct repair approach before you even think about primer.
Sanding: not just to “rough it up”
Sanding is about creating a consistent surface so the primer and topcoat can level out evenly. If you sand too lightly, the coating may not key properly. If you sand too aggressively, you can cut through factory finishes unevenly and leave scratches that telegraph through glossy paints.
For many cabinet doors, a medium grit followed by a finer grit works best. Use a sanding block or a suitable sander to avoid finger marks and hollows, and always sand profiles and grooves carefully. Once sanded, remove dust thoroughly with vacuum and tack cloth. Dust left behind becomes texture in your finish.
If you are dealing with a high-gloss or laminate-style surface, you may need a specialist bonding primer rather than relying on heavy sanding alone. This is one of those “it depends” moments: the right primer can save hours and produce a more dependable result than trying to grind the surface into submission.
Priming properly (this is where durability is made)
Primer is not optional when you want a professional, long-lasting finish. It blocks stains, improves adhesion, and gives your topcoat an even base so the colour reads consistently.
Choose primer based on what is underneath. Bare timber and MDF usually benefit from a primer that seals and stabilises the surface. Previously painted doors may need a stain-blocking primer if there are tannins, old knots, or discolouration that could bleed through. If you have silicone contamination from polishes or cleaning sprays, you must deal with that first – primer will not magically make it disappear.
Apply primer in thin, even coats. Thick primer can sag at edges and pool in detailed profiles, leaving you with a lumpy look that no topcoat can hide. After priming, allow the correct drying time, then sand lightly to knock down any raised grain or dust nibs. Wipe clean again.
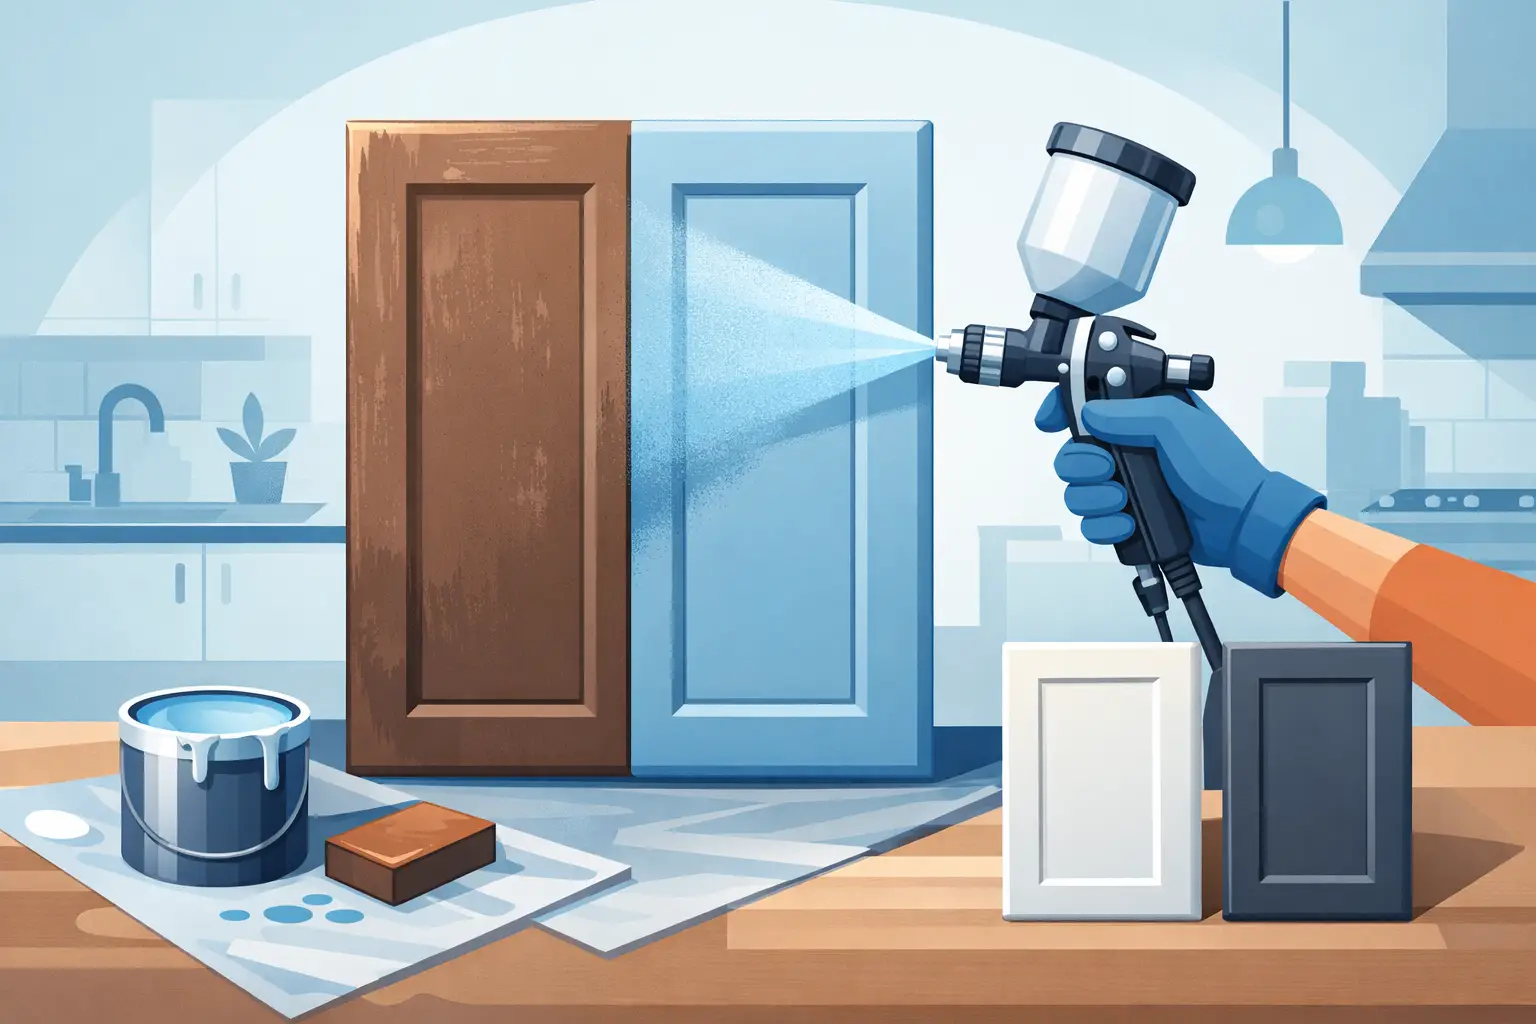
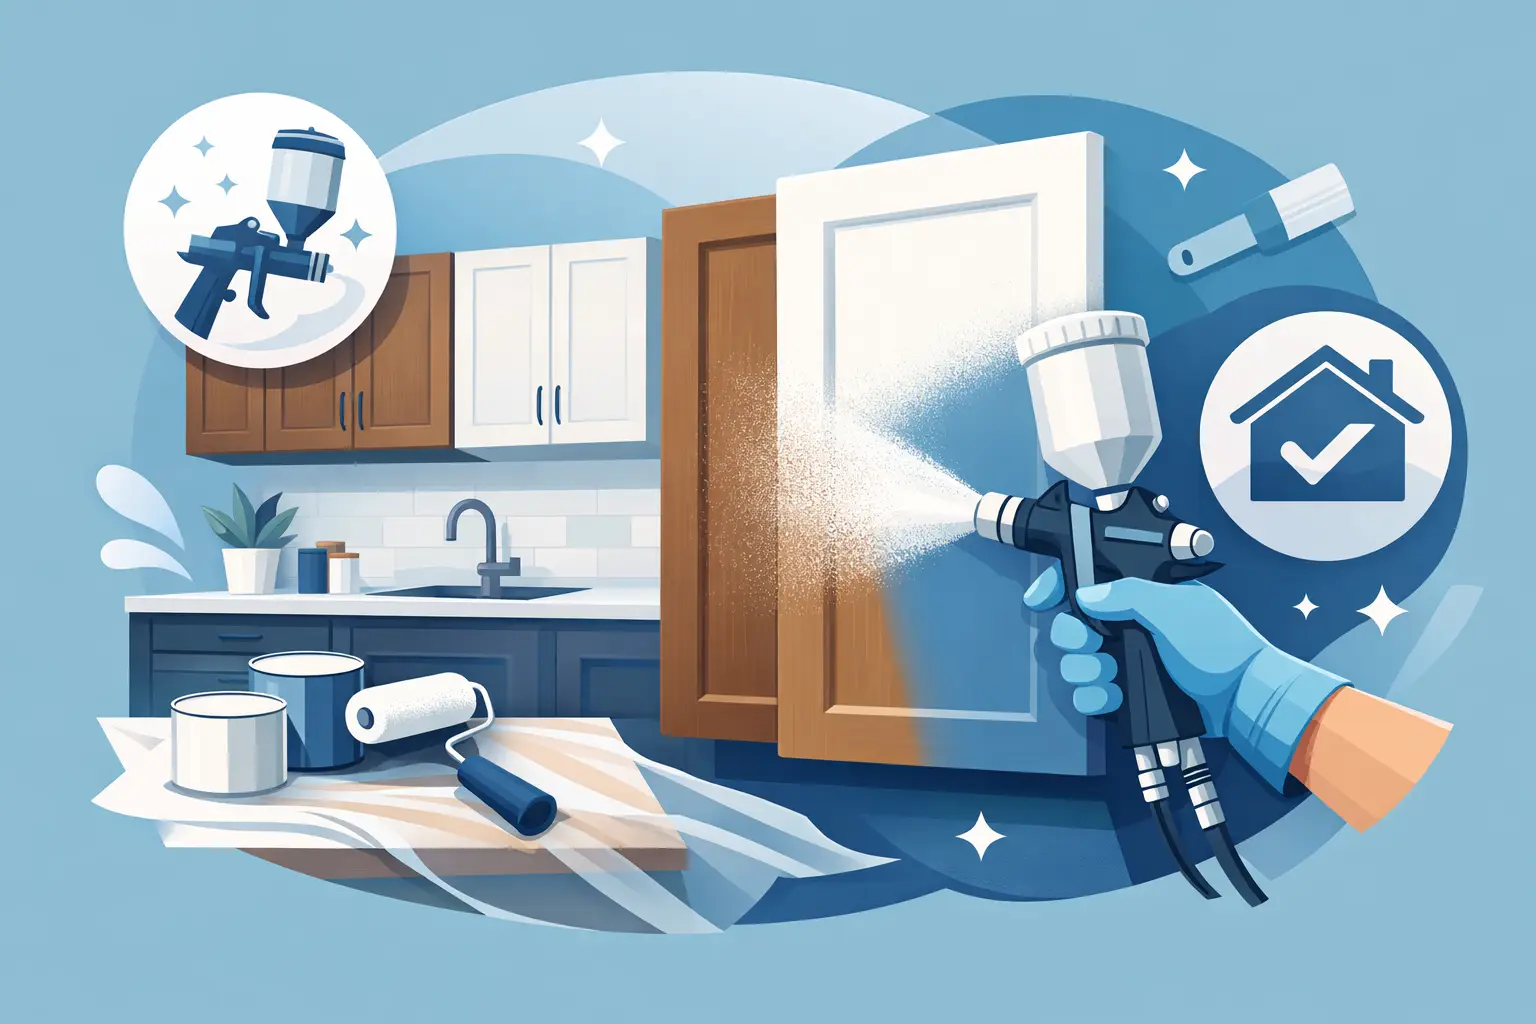
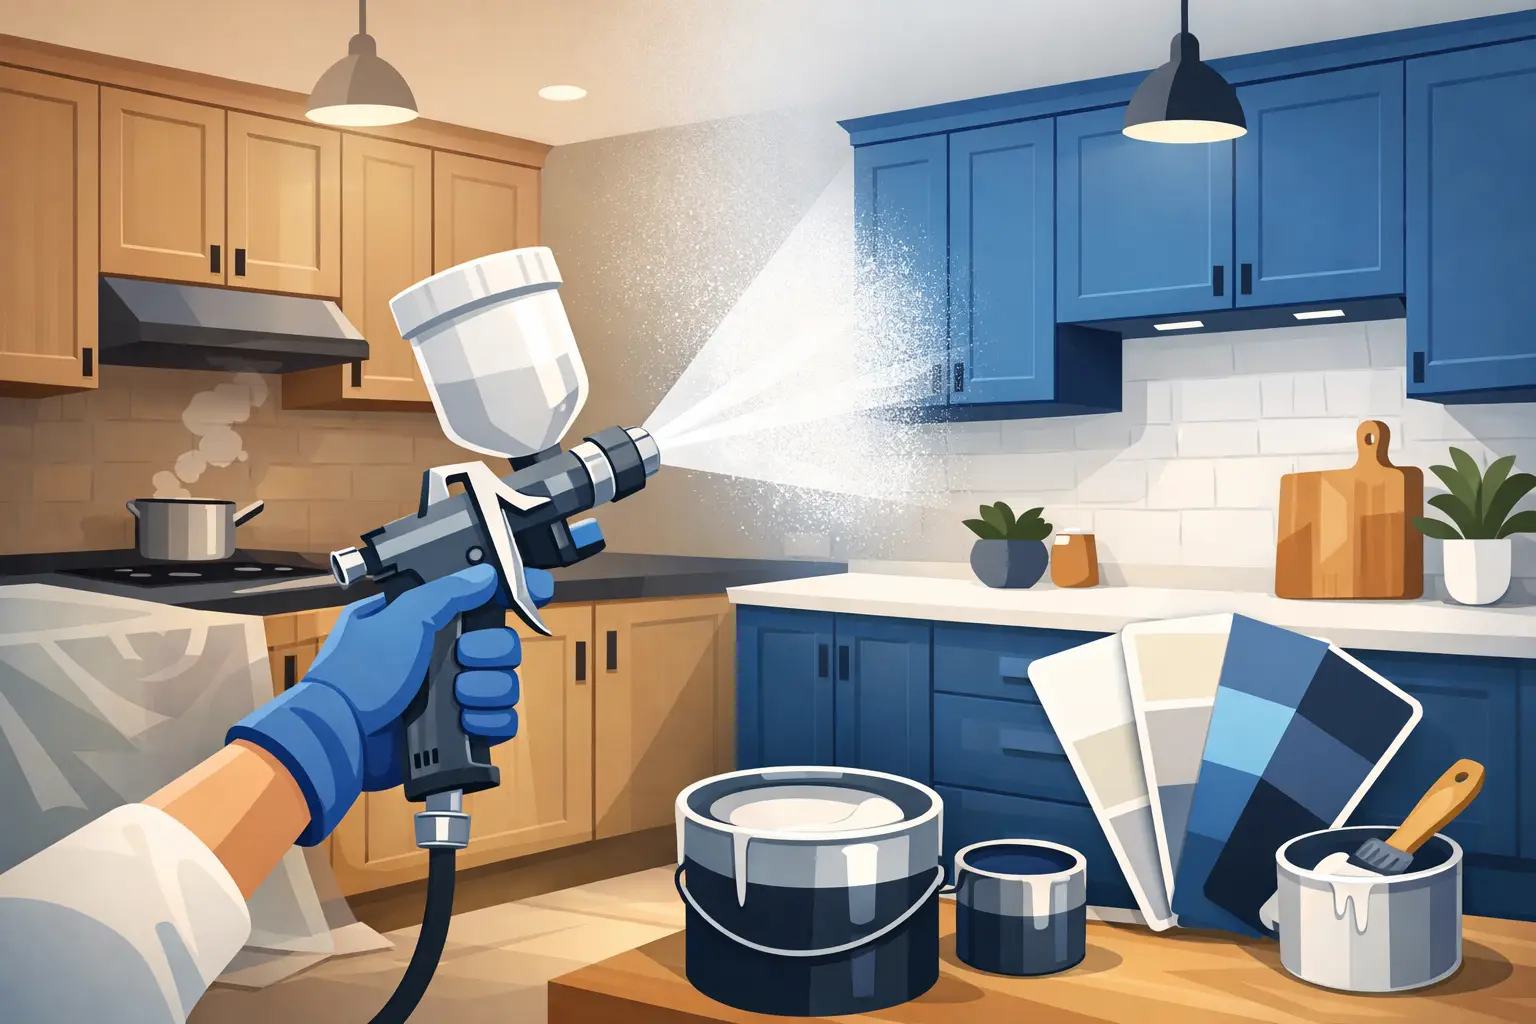
How to respray kitchen cabinets effectively: spraying technique
Spraying is about control. If you have never used a spray system before, practise on spare board first. You are aiming for even coverage without flooding the surface.
Keep the gun at a consistent distance and move at a steady speed, overlapping passes slightly. Start the spray off the edge of the door and release after you pass the far edge, so you do not dump extra material at the start and end. Corners and profiles need a lighter touch, because paint builds quickly there.
Work in a clean space with good lighting. Kitchen finishes show everything, especially in darker colours and satin sheens. If you spray in a dusty garage or a draughty shed, you are inviting grit into the finish. Ventilation matters too – not just for comfort, but because correct airflow helps coatings flash off evenly.
Pay attention to temperature and humidity. On a cold, damp Irish day, paint can stay open longer, attracting dust and increasing the risk of sags. In very warm conditions, it can dry too quickly and create dry spray texture. If conditions are not on your side, adjust your plan rather than pushing through and hoping.
Choosing the right paint and sheen
Cabinet coatings need to be tougher than standard wall paint. You want a finish designed for woodwork and high-touch areas, with good chemical resistance for everyday cleaning.
Sheen is a personal choice, but it also changes what you see. Matt hides minor imperfections but can mark more easily depending on the product. Satin is a popular middle ground: it looks modern, wipes well, and does not shout about every fingerprint. Gloss is striking and very wipeable, but it highlights surface defects and needs the neatest prep.
Colour choice has a practical side too. Very bright whites can show cooking stains near the hob, while very dark colours can show dust and chips more readily. If you are updating hardware at the same time, test how the new handles look against your chosen colour in both daylight and evening lighting.
Drying, curing, and handling: where DIY jobs often go wrong
Paint can feel dry to the touch quickly, but curing takes longer. Handling doors too soon is how you get fingerprints, dents, and stuck-on protective sheets.
Give each coat the recommended drying time, and be patient between coats. Once the final coat is on, allow enough time before rehanging. Even after rehanging, treat the doors gently for the first week or two. Avoid harsh cleaners early on; a soft cloth and mild soap is usually best until the coating has fully hardened.
If you are changing hinges or handles, measure twice and drill once. Freshly painted doors are unforgiving of slipped drill bits. Consider using jigs or templates for consistency.
Common problems and how to avoid them
If the finish is peeling at edges, it usually points to poor degreasing, insufficient keying, or the wrong primer. If you see craters or “fish-eyes”, contamination is the likely culprit – often silicone or grease. If you get runs and sags, the coats are too heavy, the gun is too close, or conditions are too cold for the product.
Orange peel texture can come from paint that is too thick, spraying too far away, or poor setup. Dust nibs are almost always an environment issue: the area is not clean enough, or you are stirring up dust by moving around while the paint is drying.
The trade-off is time. The more you slow down to control prep, cleanliness, and drying, the better the finish and the longer it will last.
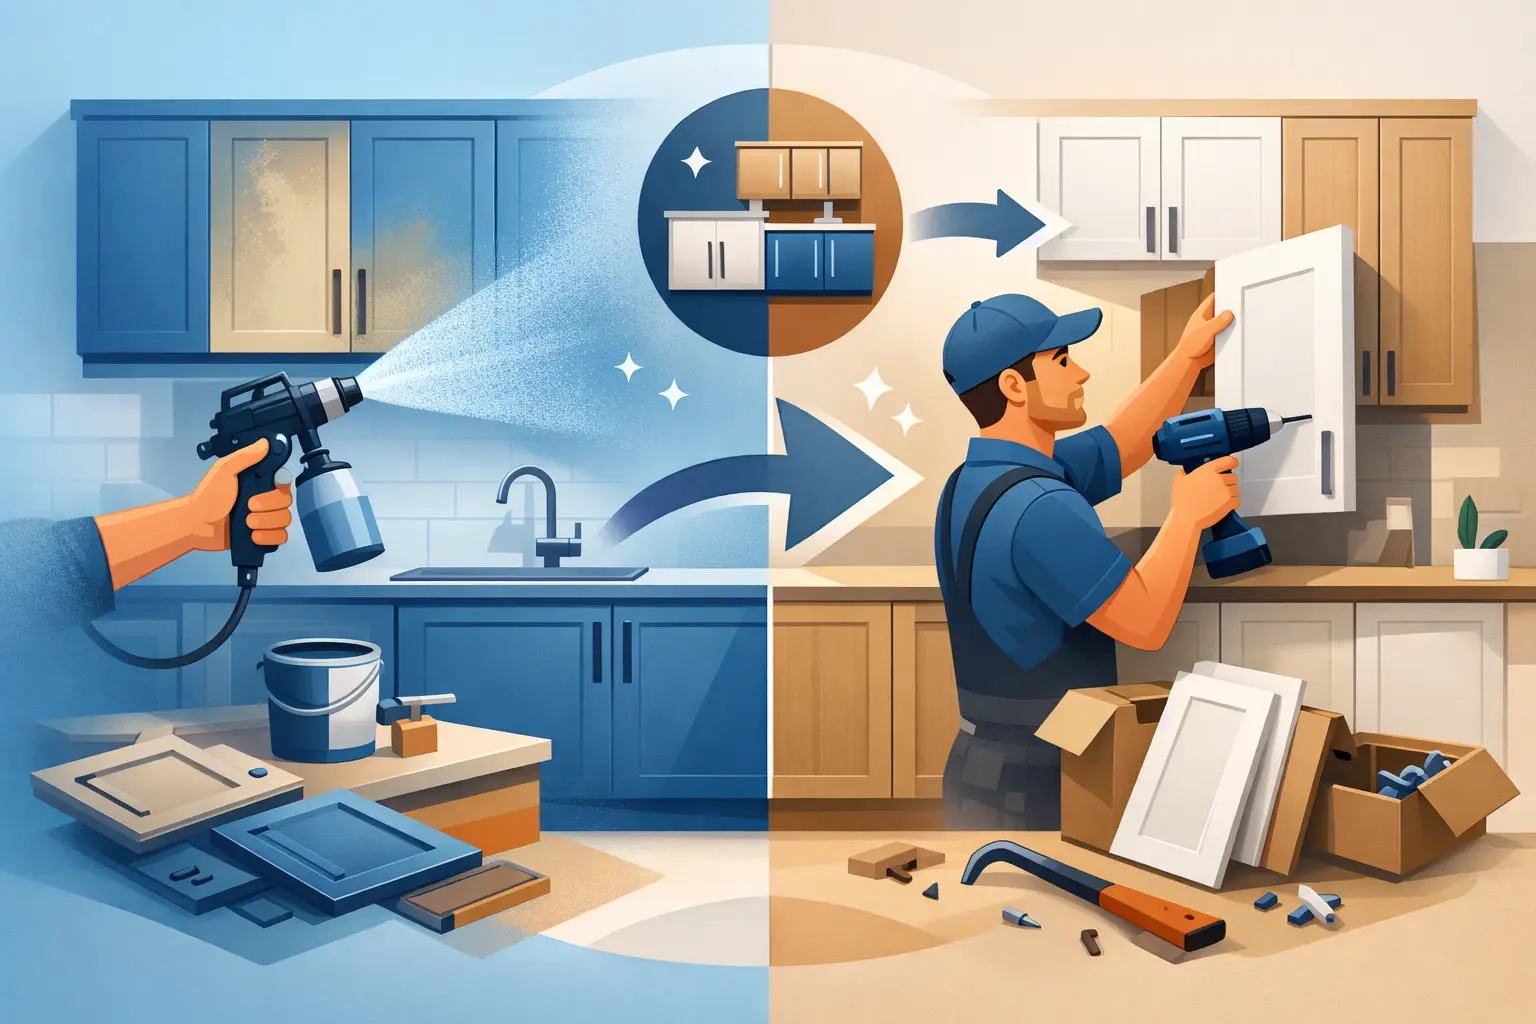
When it makes sense to bring in a professional
If you want a factory-smooth finish, minimal disruption, and confidence that the coating system is matched to your cabinet material, professional respraying can be the most cost-effective route in the long run. It is also a strong choice if you are respraying during a busy period at home, or if your kitchen layout makes it hard to create a clean spray area.
For homeowners across Dublin, Wicklow, Kildare, Meath, and Louth, Dublin Kitchen Respray provides trusted, professional cabinet resprays designed to look stunning and stand up to real life – without the waste and upheaval of a full replacement.
A cabinet respray rewards patience and standards. Treat each stage like it matters because it does, and you will end up with a finish you are happy to live with every day, not just on the day you peel off the masking tape.