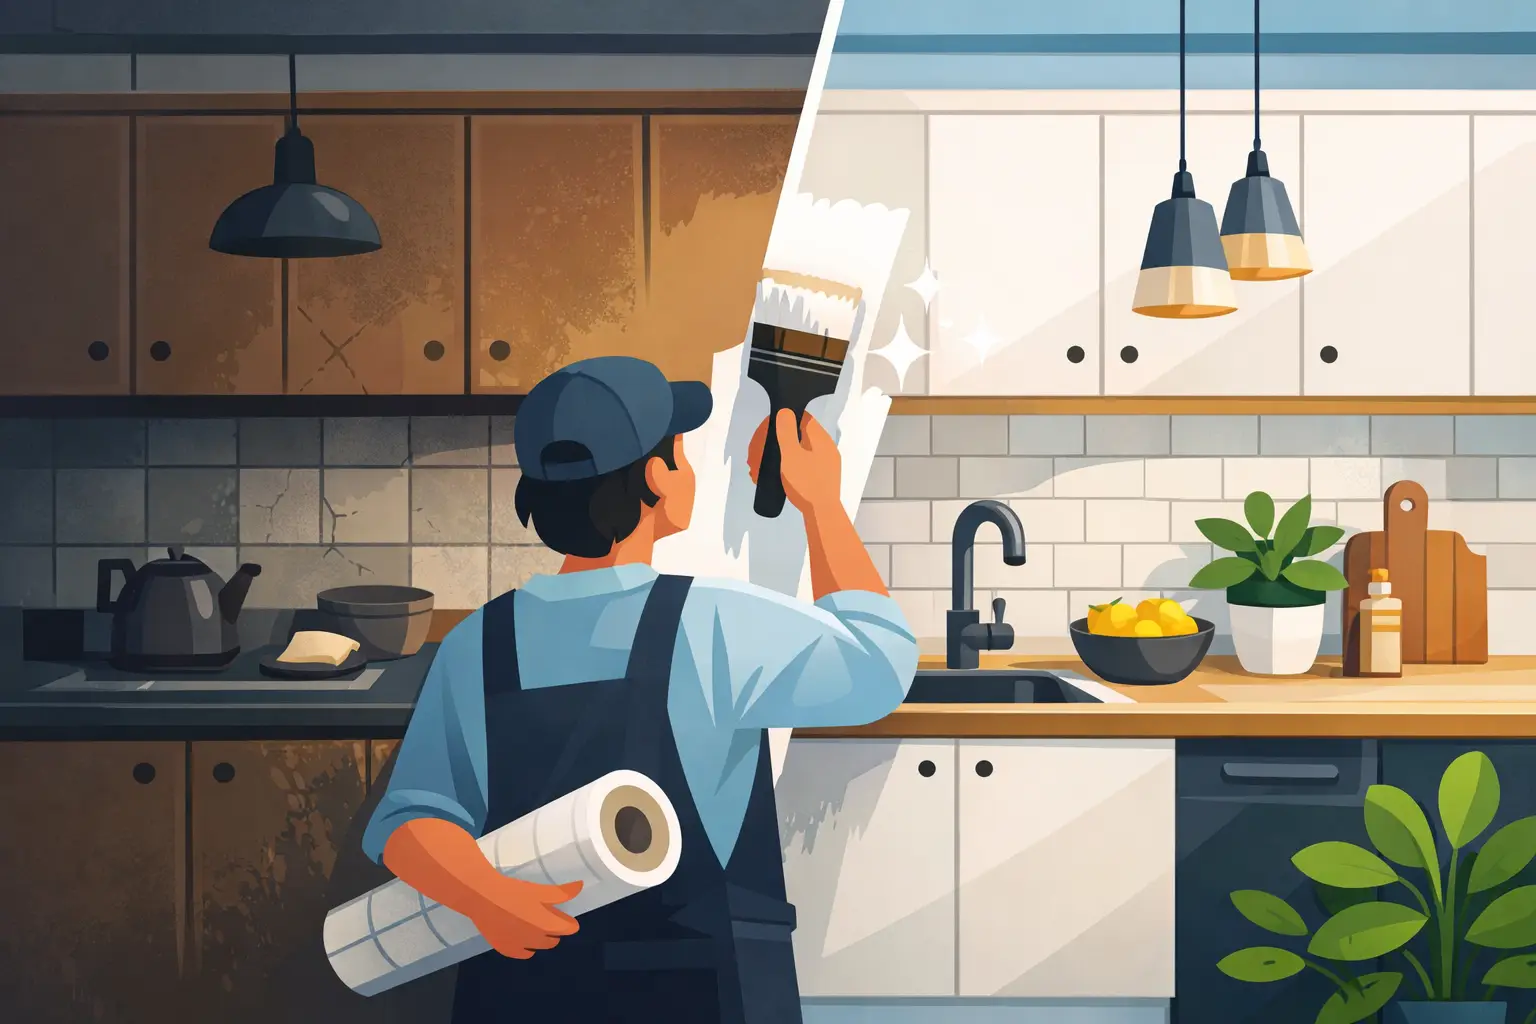
You know the feeling: you’re scrolling through kitchen makeover shots and suddenly your own cabinets look tired, yellowed, or just… a bit stuck in the past. Then you see it – those glossy kitchen facelift before after photos where everything looks brand new, brighter, and somehow bigger.
The catch is that photos can flatter a space. Lighting, lenses, and styling can make an average change look miraculous, or hide the details that matter in day-to-day living. If you’re considering a facelift for your kitchen in Dublin or the surrounding counties, here’s how to read those photos properly, what a true facelift usually involves, and what kind of results you can realistically expect when the main issue is worn or dated cabinetry.
What “kitchen facelift” really means (and what it isn’t)
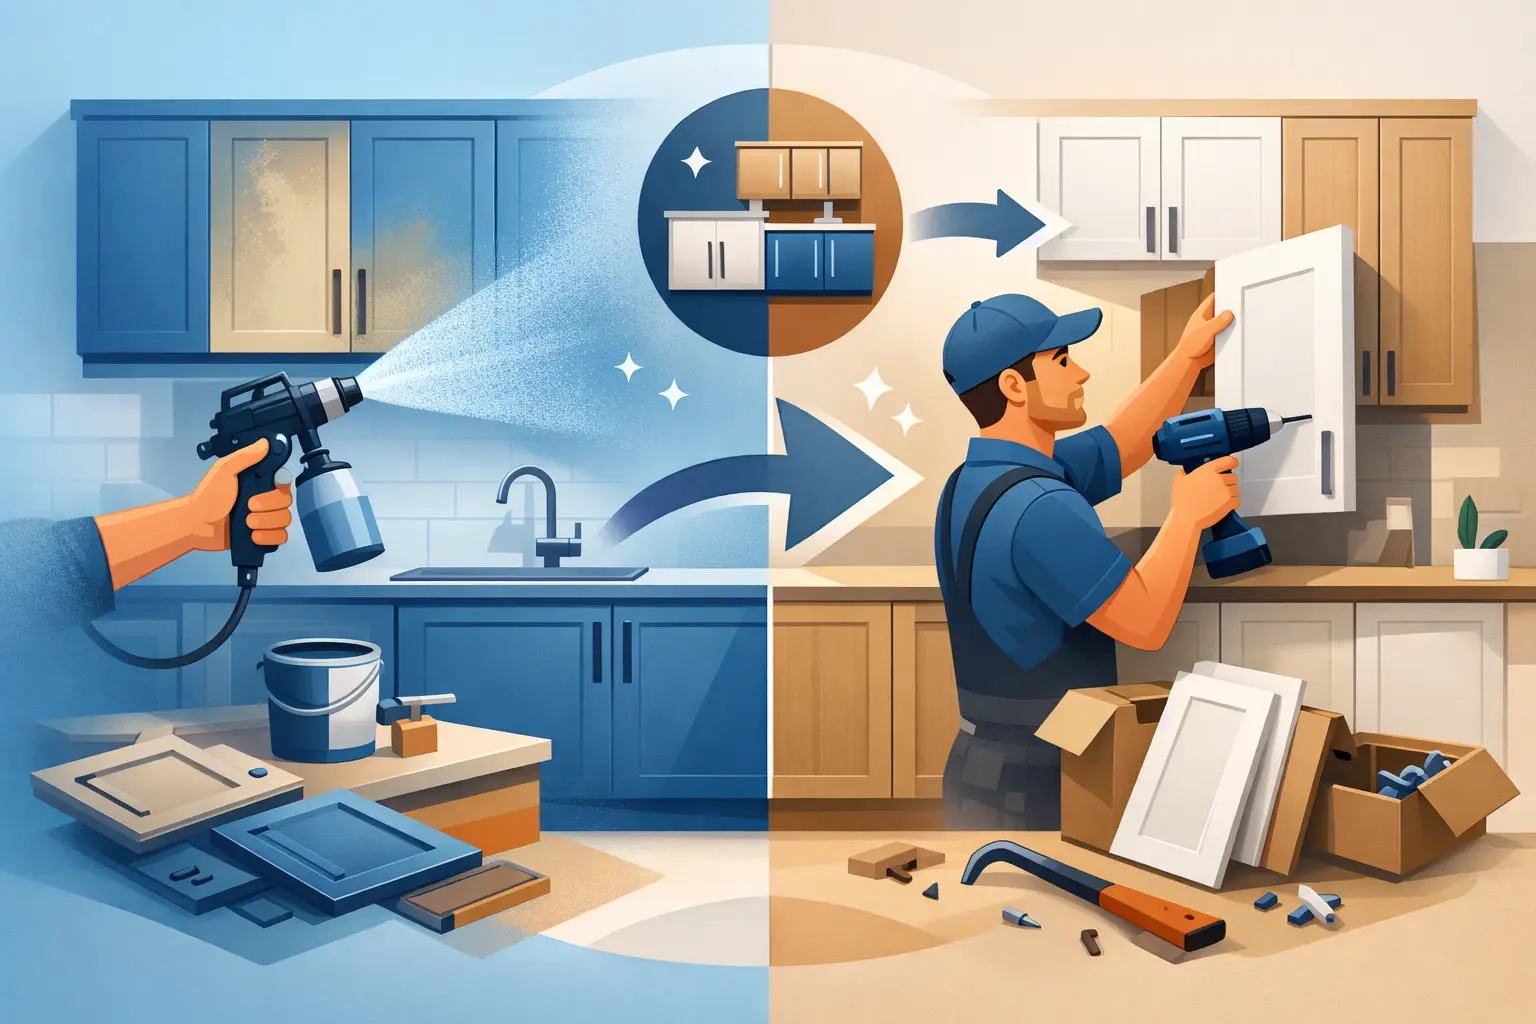
A kitchen facelift is not a full renovation. You’re not ripping out units, moving plumbing, or living through weeks of dust and disruption. A facelift focuses on what you already have – and upgrades the visible, touchable surfaces that date a kitchen most.
For many Irish homes, especially where the cabinet carcasses are still solid, the biggest visual problem is the door fronts and frames: faded finish, chips around handles, grime ground into corners, or a wood tone that makes the whole room feel darker than it needs to. A facelift targets these pain points while keeping the underlying structure.
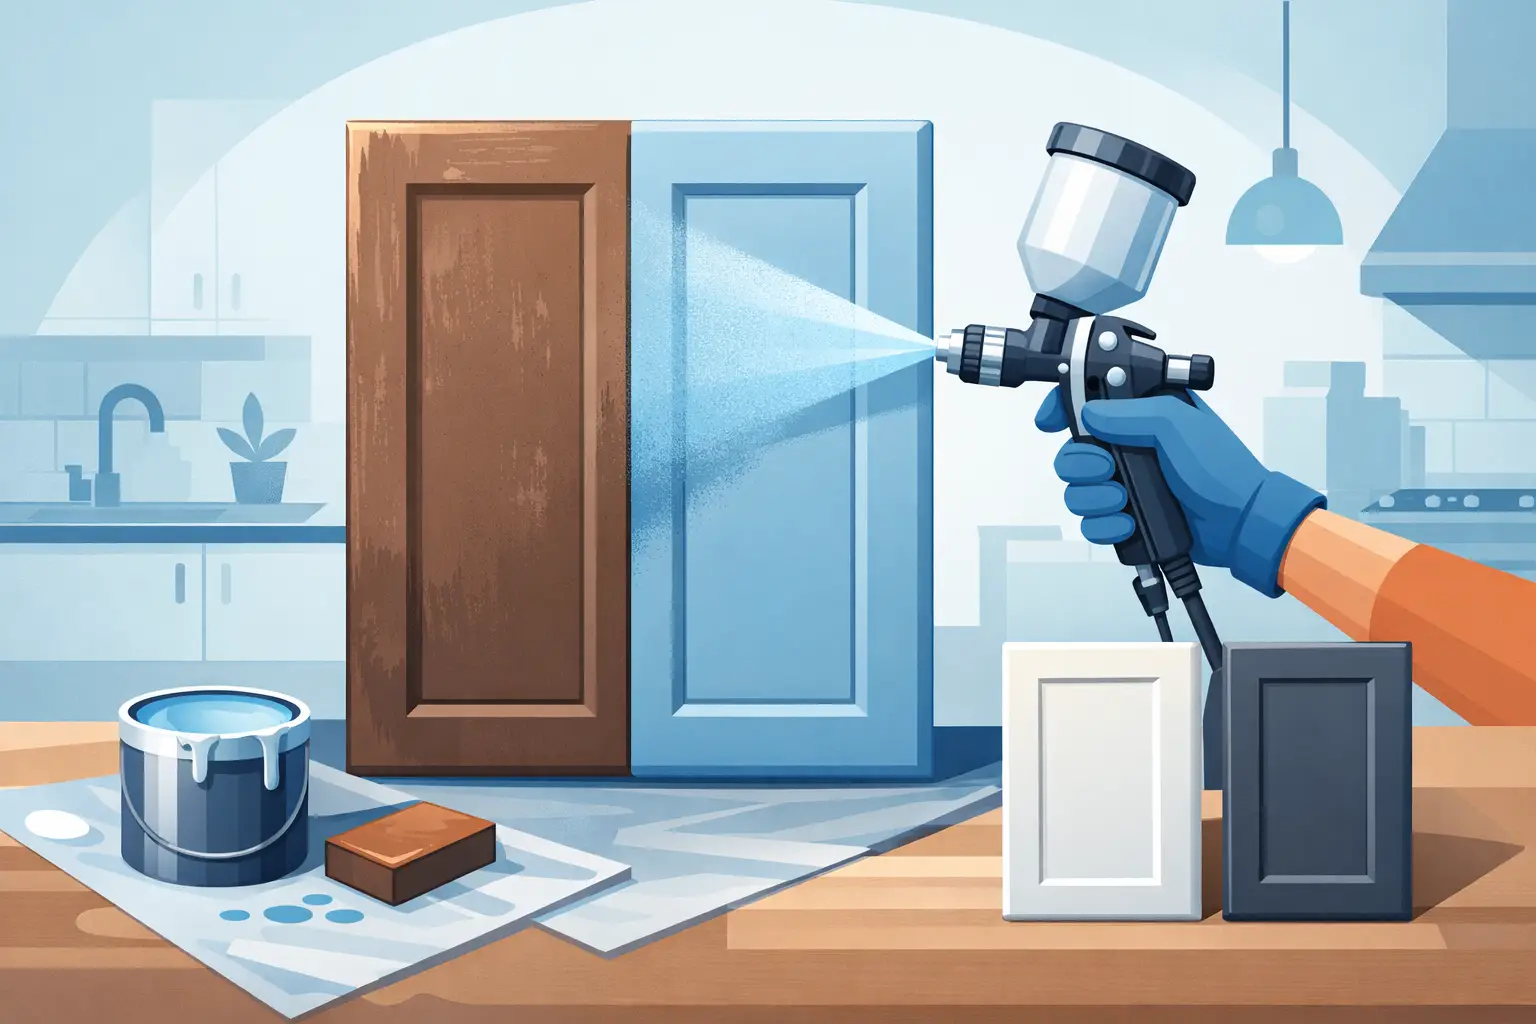
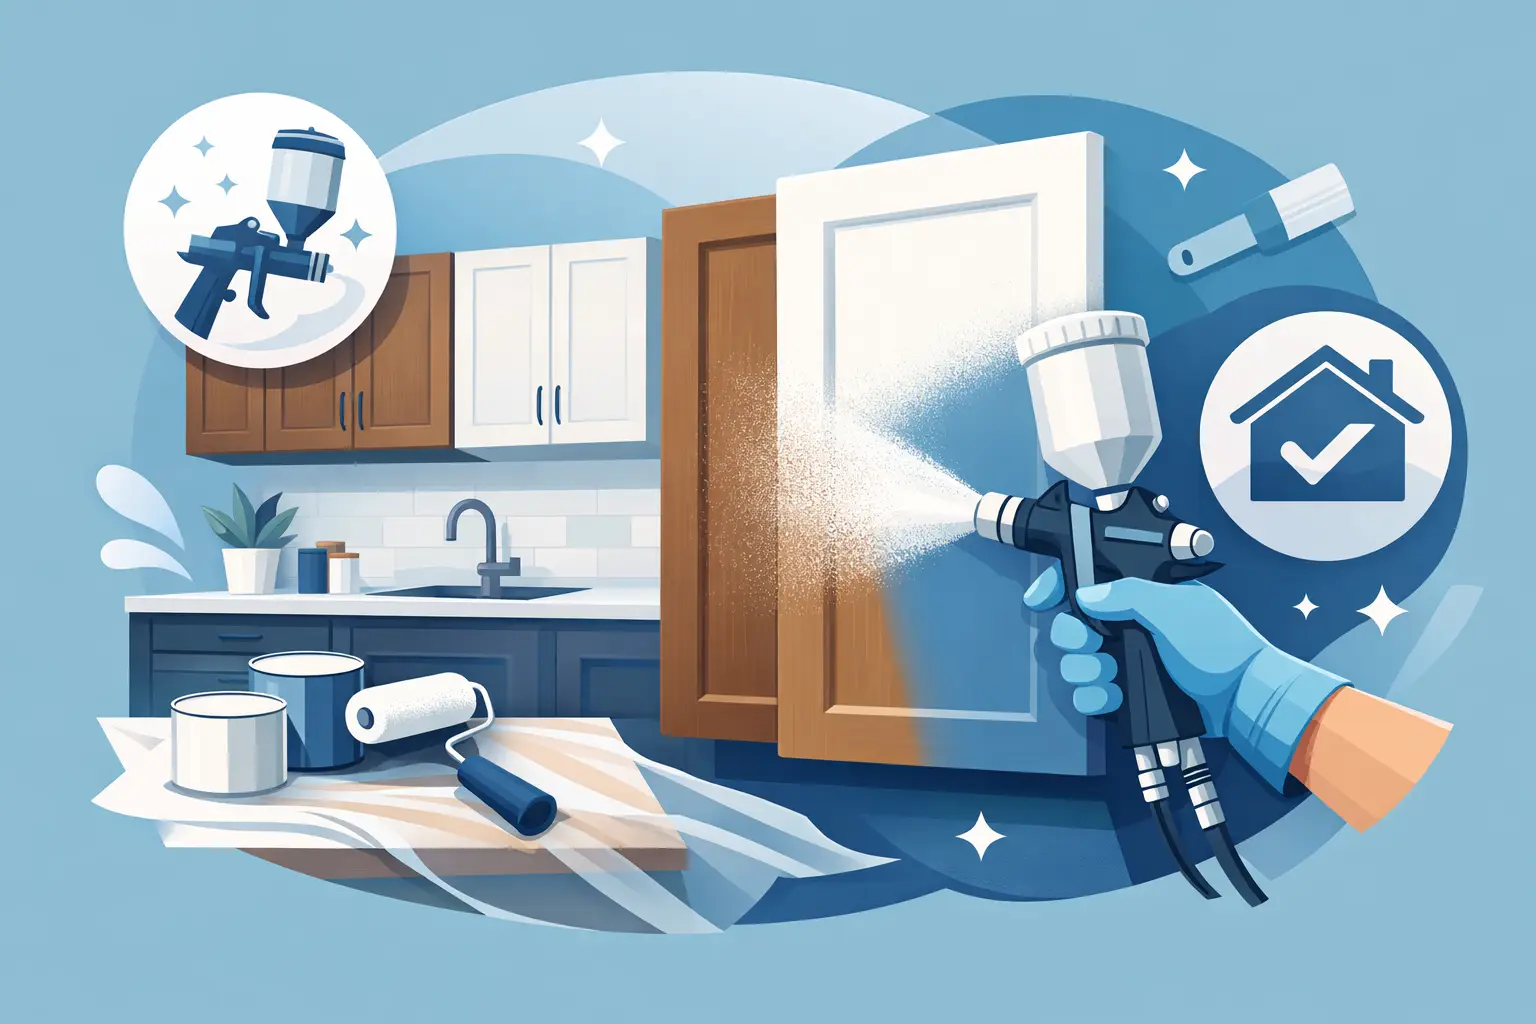
That’s why respraying is so often at the centre of a successful facelift. Done properly, it delivers that “new kitchen” feeling without the skip, the lengthy trades schedule, or the waste of binning perfectly sound cabinetry.
How to judge kitchen facelift before after photos like a pro
It’s easy to fall for the dramatic reveal. A better approach is to treat before-and-after photos like evidence. Look for the clues that tell you whether the improvement is purely cosmetic styling, or a genuine upgrade in finish quality and practicality.
Start with the light, not the colour
The same kitchen can look completely different depending on time of day, bulb temperature, and whether the photographer has boosted exposure. In the best before/after sets, you’ll see consistent angles and similar lighting. If the “before” is taken on a grey evening and the “after” is flooded with sunlight, that’s not a fair comparison.
A reliable transformation still looks better even when lighting is similar. The cabinet surfaces should read as smoother, cleaner, and more even – not just “brighter”.
Zoom in on the boring bits
The corners, edges, and handle areas tell the truth. In a strong after photo you should see crisp lines around frame profiles, consistent sheen across doors, and no patchy coverage near hinges or end panels.
If you can, look for photos that show close-ups of:
- the area around handles where hands touch daily
- the lower cabinet edges where mops and shoes cause scuffs
- the panels near the hob where grease and heat test the coating
- any mouldings, beading, or detailed door profiles
These zones separate a quick cosmetic refresh from a professional finish that’s built to last.
Look for continuity across surfaces
A facelift looks most convincing when it’s cohesive. In after photos, check whether the end panels match the doors, whether the kickboards look refreshed, and whether the colour is consistent across different light directions.
Some kitchens look “half done” when only doors are changed and everything else remains tired. A well-planned respray avoids that mismatch.
The changes that create the biggest “after” impact
Most striking before/after transformations aren’t complicated. They’re the result of a few smart upgrades that work together.
Cabinet colour and finish
Colour choice is the headline act. Going from a heavy oak or dated cream to a modern neutral, soft greige, or deep contemporary tone can instantly move a kitchen forward by a decade.
Finish matters just as much as colour. A professional sprayed finish gives a smooth, factory-like look that brush-and-roller painting struggles to match, especially on raised panel doors. In photos, that’s the difference between “nice from afar” and “wow, that looks fitted”.
Handles (yes, they matter)
Handles are small but visually loud. Swapping tired brass curves for clean modern bars, or choosing a softer traditional knob in the right finish, can bring the whole look together. In before/after photos, handle changes often make the “after” feel more intentional, even if nothing else has moved.
Worktops and the role of “spray granite”
Worktops dominate the sightline in most kitchens. If cabinets are updated but the worktop remains worn, stained, or very dated, the after result can feel incomplete.
For homeowners who want the look of a premium stone surface without the cost and upheaval of replacement, spray-applied granite style finishes can transform a laminate worktop into something that photographs and performs far more like a solid surface. The best before/after photos show a more cohesive palette – cabinetry and worktops speaking the same design language.
The “supporting cast”: taps, sinks, and splashbacks
Not every facelift includes these, and that’s fine. But if a photo shows a dramatic difference, it’s often because one or two of these items were updated to remove visual clutter.
It’s worth remembering the trade-off: if you upgrade everything at once, the after will look ultra-polished, but you’ll spend more. If you focus on cabinetry first, you can phase improvements over time and still get a stunning change quickly.
What you can’t always see in photos (but will notice at home)
Photos don’t show how a kitchen feels to use. That’s where the quality of preparation and finishing becomes non-negotiable.
A proper respray is won or lost before any topcoat goes on. Degreasing, sanding, repairing chips, and priming correctly are what stop future peeling and ensure the finish cures hard. In the “after” photo, you’re seeing the result of those steps, but you’re not seeing the hours of methodical work behind them.
If you’re comparing providers, ask what happens to hinges and hardware during the process, how surfaces are prepared, and what coatings are used for durability. A professional approach isn’t just about a pretty picture – it’s about a finish that can handle the reality of cooking, cleaning, steam, and everyday knocks.
Realistic timelines and disruption: what a facelift feels like
One of the biggest reasons homeowners choose a facelift over a full renovation is the speed. The exact timeline depends on kitchen size and what’s included (doors only, doors plus frames, worktops, wardrobes to match), but the lived experience is generally much easier than a rip-out.
You can expect some disruption – doors may be taken away for spraying, access can be limited during prep, and you’ll want to plan around drying and curing times. The trade-off is that you’re not rebuilding the room. No plaster dust drifting through the house, no chasing pipes, no waiting on multiple trades to align.
That practicality matters if you’re juggling work, school runs, or simply don’t fancy turning mealtimes into a camping exercise for weeks.
“Will it suit my kitchen?” – it depends on what’s already there
A facelift works brilliantly when the cabinet carcasses are structurally sound and the layout still serves you. If doors are warped from long-term water damage, units are crumbling, or you need a completely different footprint, then respraying alone won’t solve the underlying issue.
But many kitchens across Dublin, Wicklow, Kildare, Meath, and Louth fall into the sweet spot: solid units, dated look. That’s where a respray can deliver the most cost-effective transformation.
If you’re unsure, the quickest way to decide is to focus on two questions you can’t answer from photos alone: do you like your layout, and are the cabinets physically in good condition? If yes, a facelift is usually a sensible next step.
How to create your own “after photo” result at home
The best-looking after photos tend to share one thing: restraint. A facelift lands when you make a few confident choices rather than chasing every trend at once.
Start by choosing a cabinet colour that works with your flooring and natural light. North-facing kitchens often benefit from warmer neutrals, while brighter rooms can carry cooler tones or deeper colours without feeling heavy. Then decide whether you want the cabinets to blend in (soft neutrals) or become the feature (deep greens, charcoals, navy tones).
Next, match the finish level to your lifestyle. Higher sheen can look striking but may show fingerprints more readily. More muted finishes can feel calmer and are often forgiving in busy family kitchens. It’s not about right or wrong – it’s about what you’ll enjoy living with.
Finally, if your worktops let the kitchen down, consider upgrading them at the same time or planning it as phase two. A thoughtful facelift doesn’t have to be all-or-nothing.
If you want an expert, trusted team to assess your current kitchen and advise what’s worth refreshing, Dublin Kitchen Respray can help you plan a professional, affordable transformation with minimal disruption: dublinkitchenrespray.ie.
The photo you should aim for
The most satisfying “after” isn’t the one that looks perfect on a screen. It’s the one where you walk in on a rainy Tuesday, flick on the lights, and the kitchen still feels clean, current, and cared for – with doors that shut properly, surfaces that wipe down easily, and a finish that stands up to real life.
If your favourite kitchen facelift before after photos make you want to start, take that as a sign – then make decisions the photo can’t make for you: durability, preparation, and a look you’ll still like long after the trend has moved on.