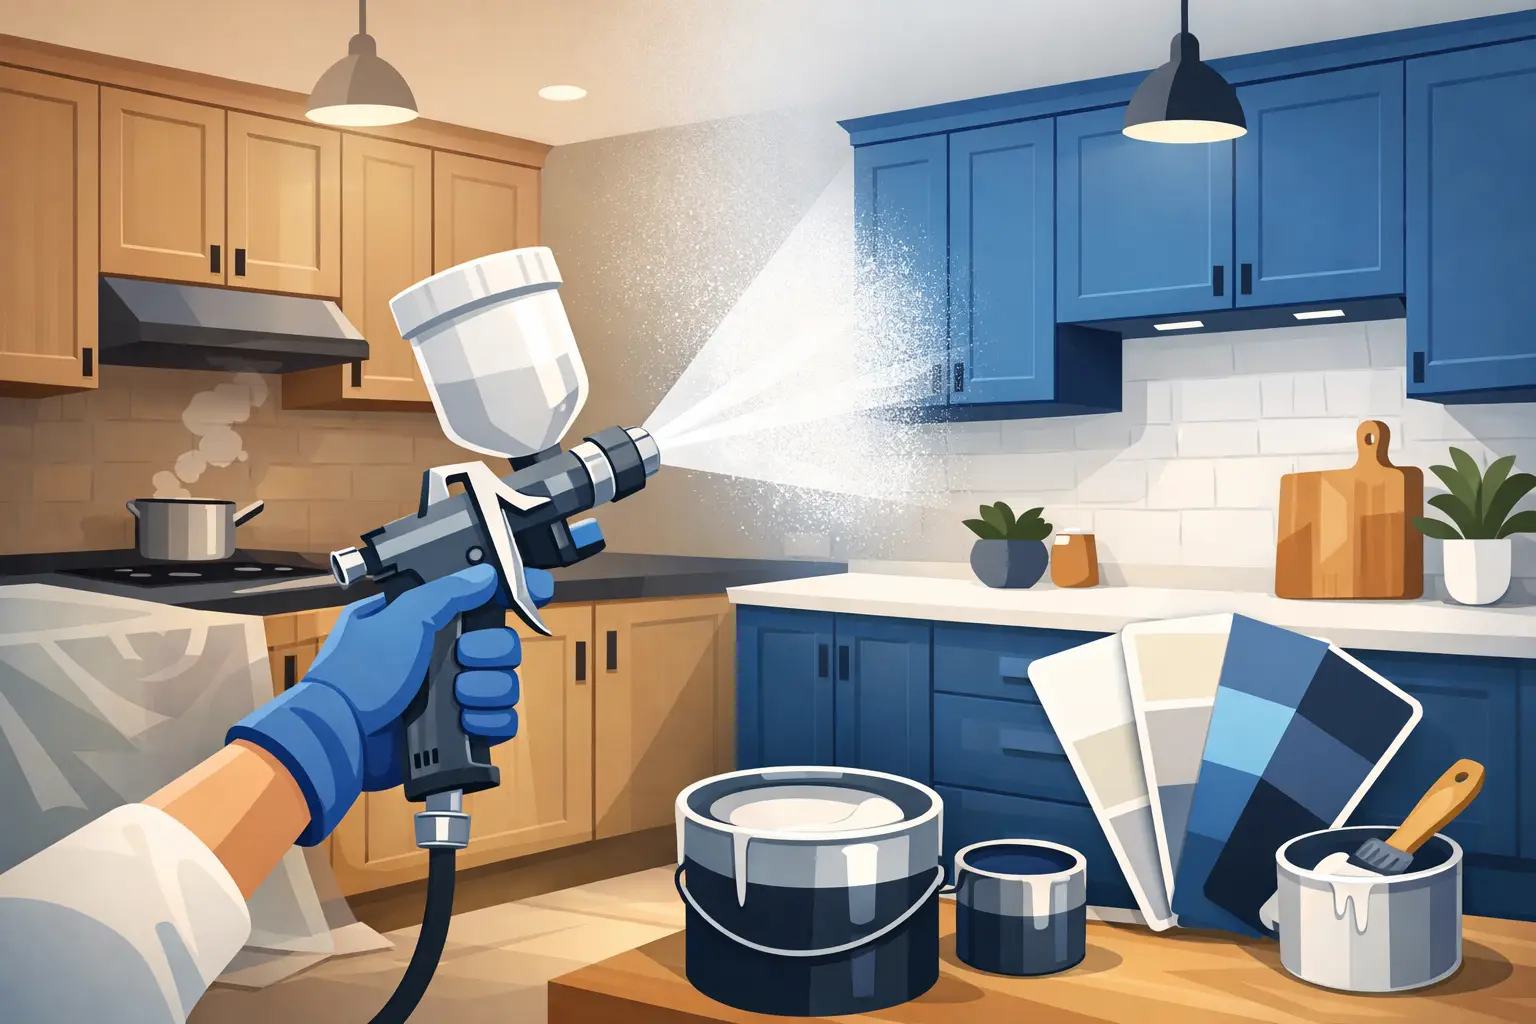
You want a smooth, durable finish without replacing your cabinets. A Kitchen Respray is the fastest way to get that factory look at a fraction of the cost. The key is careful prep, clean technique, and the right products.
Most problems—peeling, orange peel, drips—come from rushing early steps. We’ll keep it simple: remove doors and hardware, degrease, mask, sand, prime, and spray two thin finish coats. By the end, you’ll know exactly what to buy, how to set up a safe spray area, and how to avoid the mistakes that waste time and paint.
What Prep Comes Before A Kitchen Respray?
Furthermore, the finish you see later is decided by what you do now: remove doors, clean everything, mask the room, and scuff‑sand before spraying. That upfront work makes the coating bond and lay flat.
Label Doors And Bag Every Piece Of Hardware
Notably, a simple numbering map avoids rehang headaches. Mark each door and drawer, bag hinges and screws by location, and keep them together inside that cabinet box. This reduces alignment issues and protects threads and hinge cups from stray paint. It also keeps your workflow fast when you flip and spray both sides on risers or a rack. Good labeling and storage speed up reassembly and prevent scratching freshly cured enamel while you hunt for parts.
Clean Surfaces And Degrease Near Cooktops
Specifically, paint fails on grease, so wash cabinets, rails, and stiles with a strong cleaner such as a Degreaser TSP, then rinse with clean water. Focus on areas near the hob and extractor where oils collect. A clean, dull surface lets primer grab and reduces fisheyes. Wear gloves, ventilate, and never skip the rinse; residue can block adhesion. Dry fully before sanding.
Sand Lightly And Vacuum Away Fine Dust
Moreover, scuff with 220–320 grit to knock down sheen (bonding, not bare wood removal), then vacuum and tack‑cloth the dust. Light sanding before primer and between coats creates tooth and flattens nibs so your topcoat looks “factory.” Keep sanding with the grain on doors and frames to avoid swirl marks that telegraph through enamel.
Which Tools And Materials Do You Really Need?
Consequently, you’ll get best results with an HVLP paint sprayer, a bonding primer matched to your surface, a durable cabinet enamel paint, masking film, sandpaper, and proper PPE. One well‑chosen kit covers most kitchens.
Core Tools And Materials For Cabinet Respray
| Item | Purpose | Notes | Typical Cost |
|---|---|---|---|
| HVLP sprayer | Fine, even finish | Test pattern; 50% overlap | $60–$250 (buy/rent) |
| Bonding primer | Adhesion and stain block | Match to wood, laminate, or MDF | $20–$50/gal |
| Cabinet enamel | Hard, washable topcoat | Satin to semi-gloss finish | $35–$90/gal |
| Masking film + tape | Containment and edges | Seal appliances, floors, walls | $10–$40 |
| Sandpaper (220–320) | Scuff and denib | Light pressure with the grain | $5–$15 |
| Tack cloth + vacuum | Dust removal | Essential between coats | $5–$25 |
| Respirator + goggles | Safety and comfort | Vent outward while spraying | $25–$60 |
| Risers or racks | Spray and dry doors | Stable, low-touch drying | $15–$120 |
How Do You Mask And Set Up A Spray Area?
In practice, isolate the kitchen with plastic sheeting and create outward airflow so overspray exits the space. Tape edges tightly and cover floors, appliances, and sockets before you lift a sprayer.
Create Containment And Direct Airflow Outward
Therefore, close off doorways with zip walls or taped plastic and aim box fans to exhaust outside. Negative pressure keeps mist inside your workspace and off the rest of the house. Press tape firmly into corners and along ceilings, then run masking film over tops and splashbacks. Good airflow also speeds dry times between coats, reducing dust nibs and smell buildup.
Build A Stable Door Station Or Drying Rack
On the other hand, flat spraying beats vertical for beginners. Use sawhorses with risers or a door rack so you can coat both faces in sequence without sticking. Stable supports let you start and end passes off‑edge and keep a constant distance. A dedicated station protects fresh enamel while it tacks and cures.
Protect Worktops And Avoid Spraying Granite
In turn, cover counters with film and rosin paper, and tape the sink and hob edges. Do not attempt to “Spray Granite Countertops”; they need protection, not paint. Mask backsplash grout lines to stop primer creep and use light coats near verticals to prevent runs. Remove or wrap taps if you’re spraying frames in place.
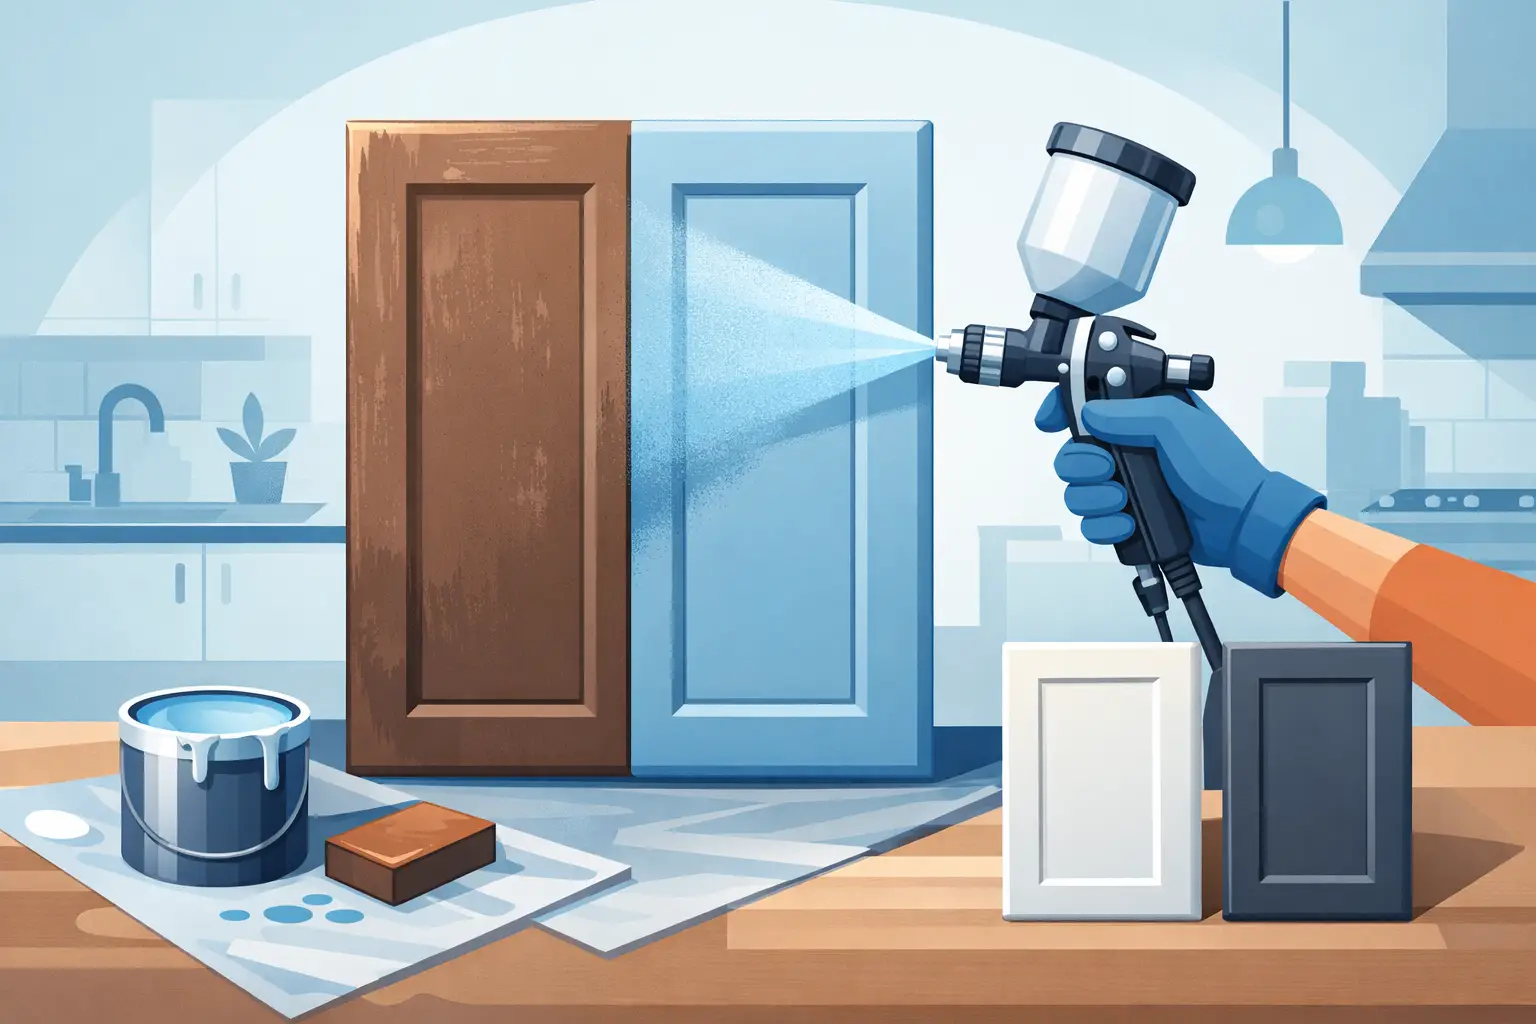
What Is The Right Sprayer Technique For Cabinets?
Then, hold the gun 6–12 inches from the surface, move parallel to the work, and overlap each pass about 50%. Start and finish off the edge to avoid blotches. Thin coats win.
Dial Sprayer Settings And Test On Cardboard
Overall, set your air and fluid flow for a fine, even fan before touching a door. Shoot a test panel, watching for dry spray (increase fluid) or orange peel (reduce flow or add distance). Rotate the air cap for vertical rails or wide flats, and strain paint if needed. A 50% overlap evens coverage and hides lap lines across rails, panels, and stiles.
Keep A Consistent Distance And Speed
Besides, lock your elbow and sweep with your shoulder to keep the fan square to the surface. Maintain speed so the wet edge stays uniform without dumping material on inside corners. If you do get a sag, resist chasing it; let it tack, then level gently and denib before the next coat. Practice on scrap to groove timing.
Sand Between Coats For A Factory Finish
Consequently, light denibbing with 220–320 grit between coats removes dust and texture so enamel lays glass‑smooth. Vacuum and tack each time. Two thin color coats after primer are typical; more may be needed for dramatic color shifts. Respect the recoat window on the can.
When Should You Prime, Recoat, And Reassemble?
Moreover, match primer to substrate (wood vs. laminate), apply one to two coats, then spray two finish coats. Let paint cure before rehanging to avoid imprinting and sticking.
Choose Primer For Wood, Laminate, Or MDF
Specifically, solid wood and veneer usually take standard bonding primer; laminates often need specialty bonding primers; MDF benefits from sealing edges. Primers level grain, block stains, and give enamel bite. If you’re unsure, test adhesion in a hidden spot before committing the whole kitchen.
Time Coats And Respect Cure Windows
Thus, follow the label for dry‑to‑touch, recoat, and handle times; humidity and temperature matter. Many pros allow overnight between color coats and several days before heavy use. Full cure can take weeks, so be gentle early on—use bumpers and soft‑close habits to protect edges.
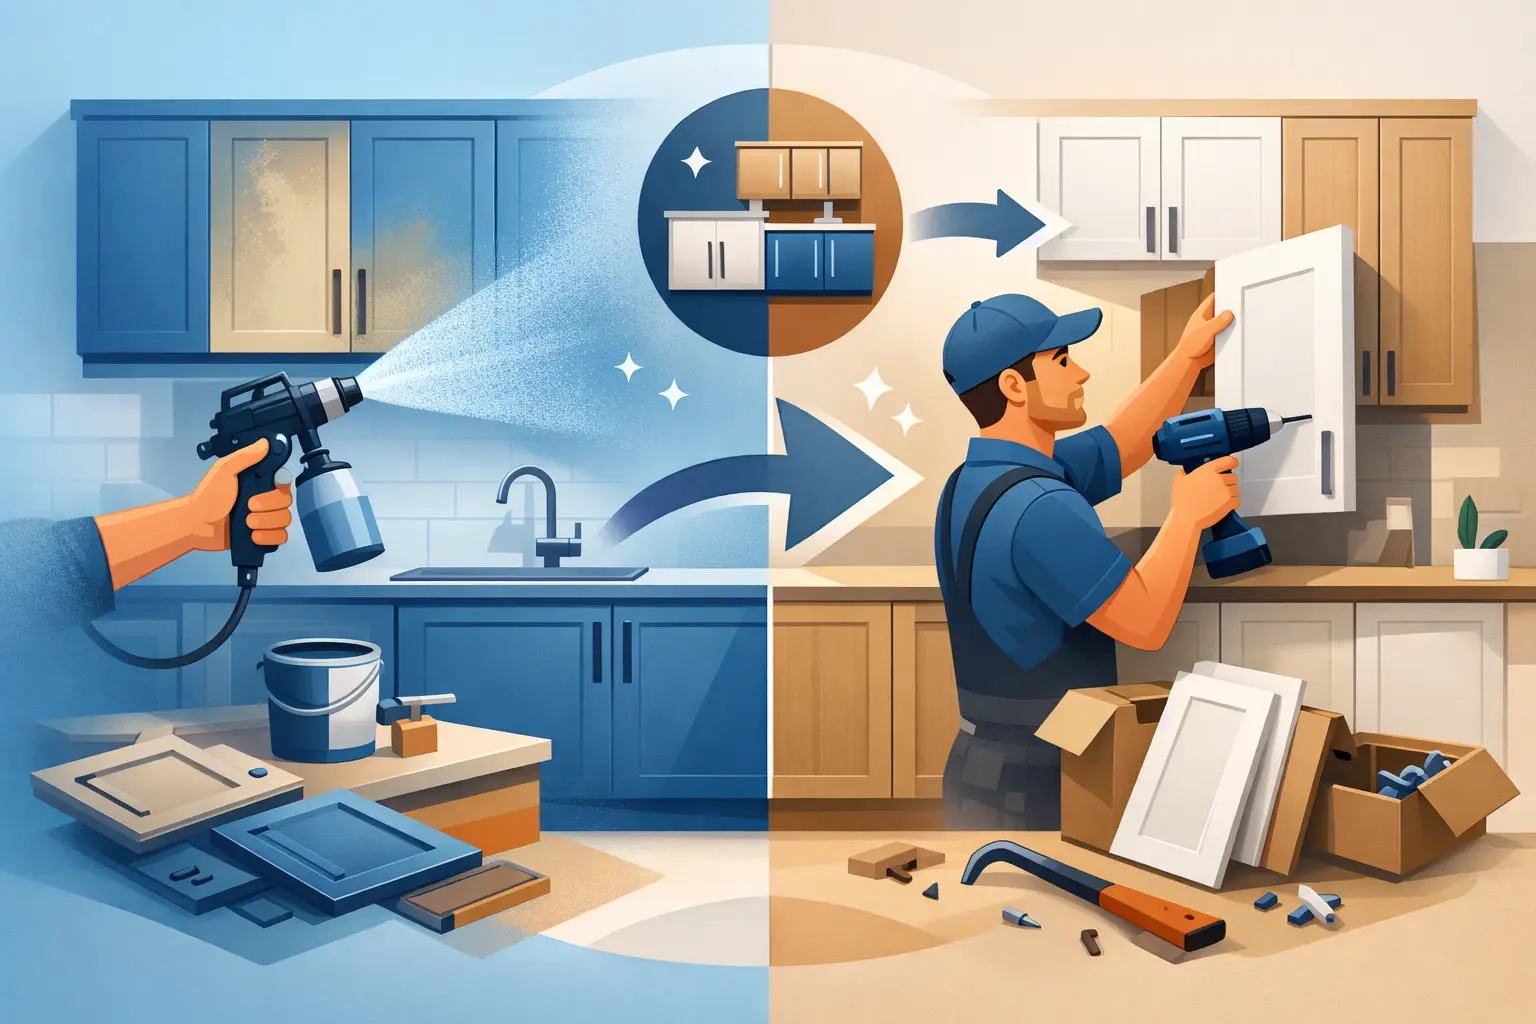
Rehang Doors And Align Cleanly
Namely, scrape paint from hinge cups or pilot holes, rehang using your labels, and adjust reveals. Install new bumpers and consider fresh pulls for a full refresh. Work on a padded bench and avoid stacking cured doors face‑to‑face. This step is where good labeling pays off.
What Will A Kitchen Respray Cost And Take?
On balance, DIY materials often total a few hundred dollars, while pro painting is typically priced by square or linear foot. Expect three to five days of elapsed time including prep, coats, and early cure.
- DIY materials: primer, enamel, masking, sandpaper, and consumables commonly land around $200–$600 depending on kitchen size and products.
- Pro pricing: ranges often quoted at $3–$10 per square foot or $30–$60 per linear foot, with labor making up most of the total.
- Timeline: 1 day prep, 1–2 days spraying with dry time, 1 day reassembly, then gentle use while paint hardens.
- Evidence Pack: keep product cans/labels, color codes, batch numbers, photos of masking and coats, and a dated timeline to support any warranty claims later.
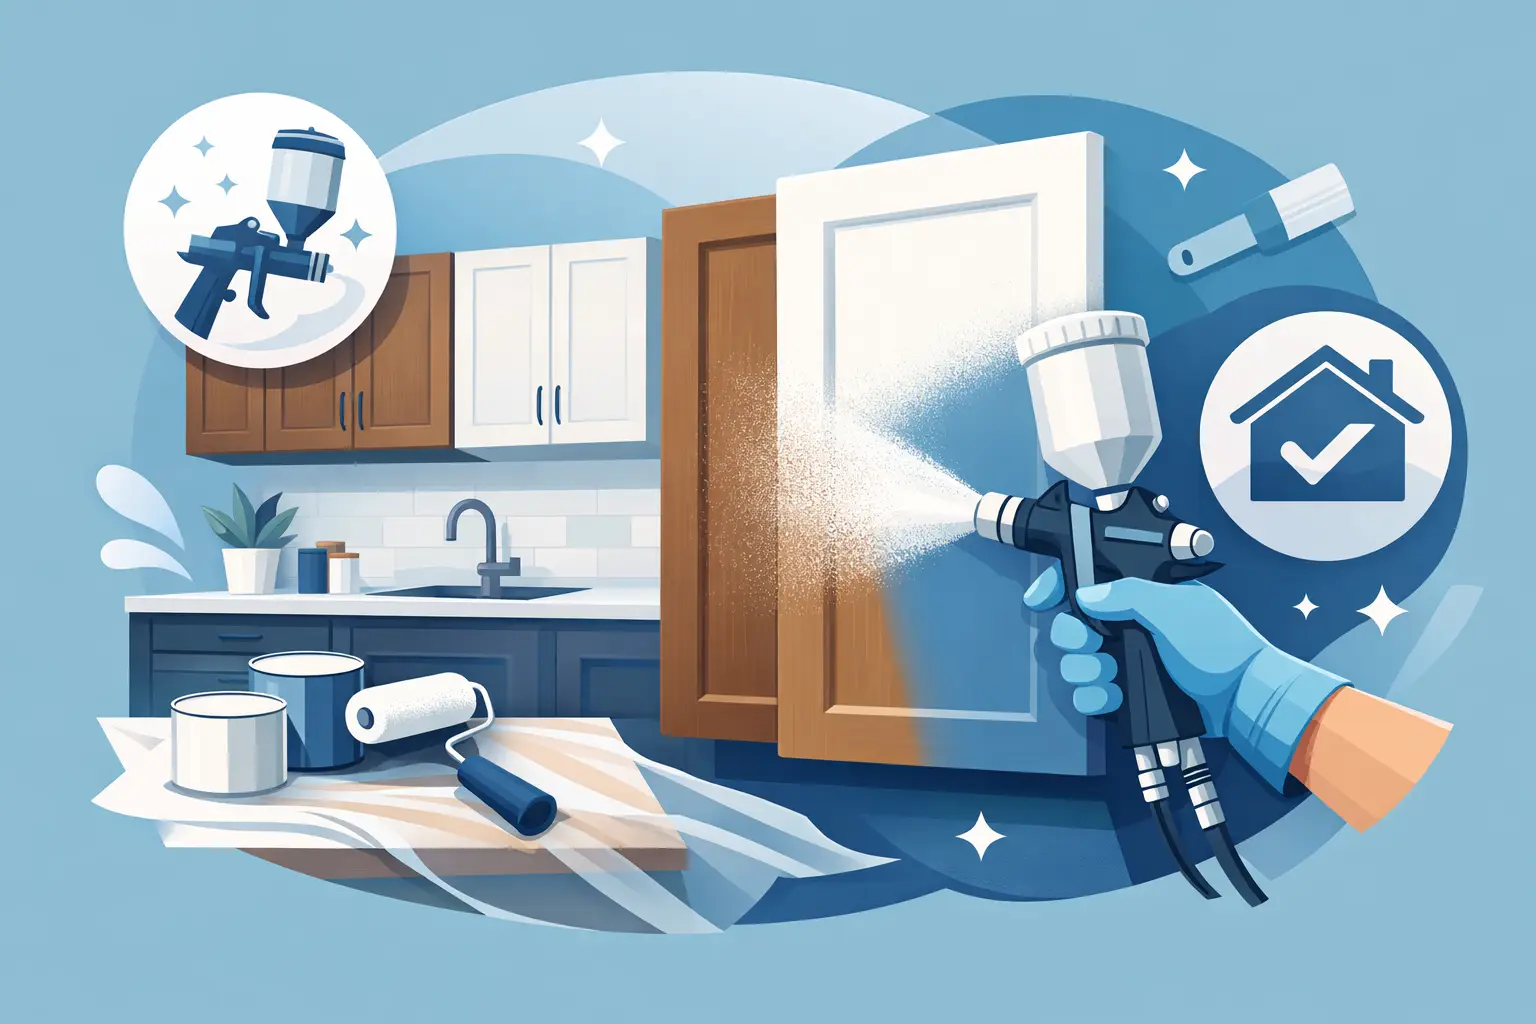
Where Can You Book A Trusted Kitchen Respray?
Therefore, if you’d rather hire a pro, ask for a written scope (prep, products, coats, cure, and cleanup) plus references and a finish warranty. You can explore options or book a visit via our Dublinkitchenrespray.ie . Also see our contact page for service areas.
FAQ
Can I spray without sanding at all?
Liquid deglossers can help, but a light scuff still improves adhesion and durability, especially on glossy or previously coated doors. Test first on a hidden edge
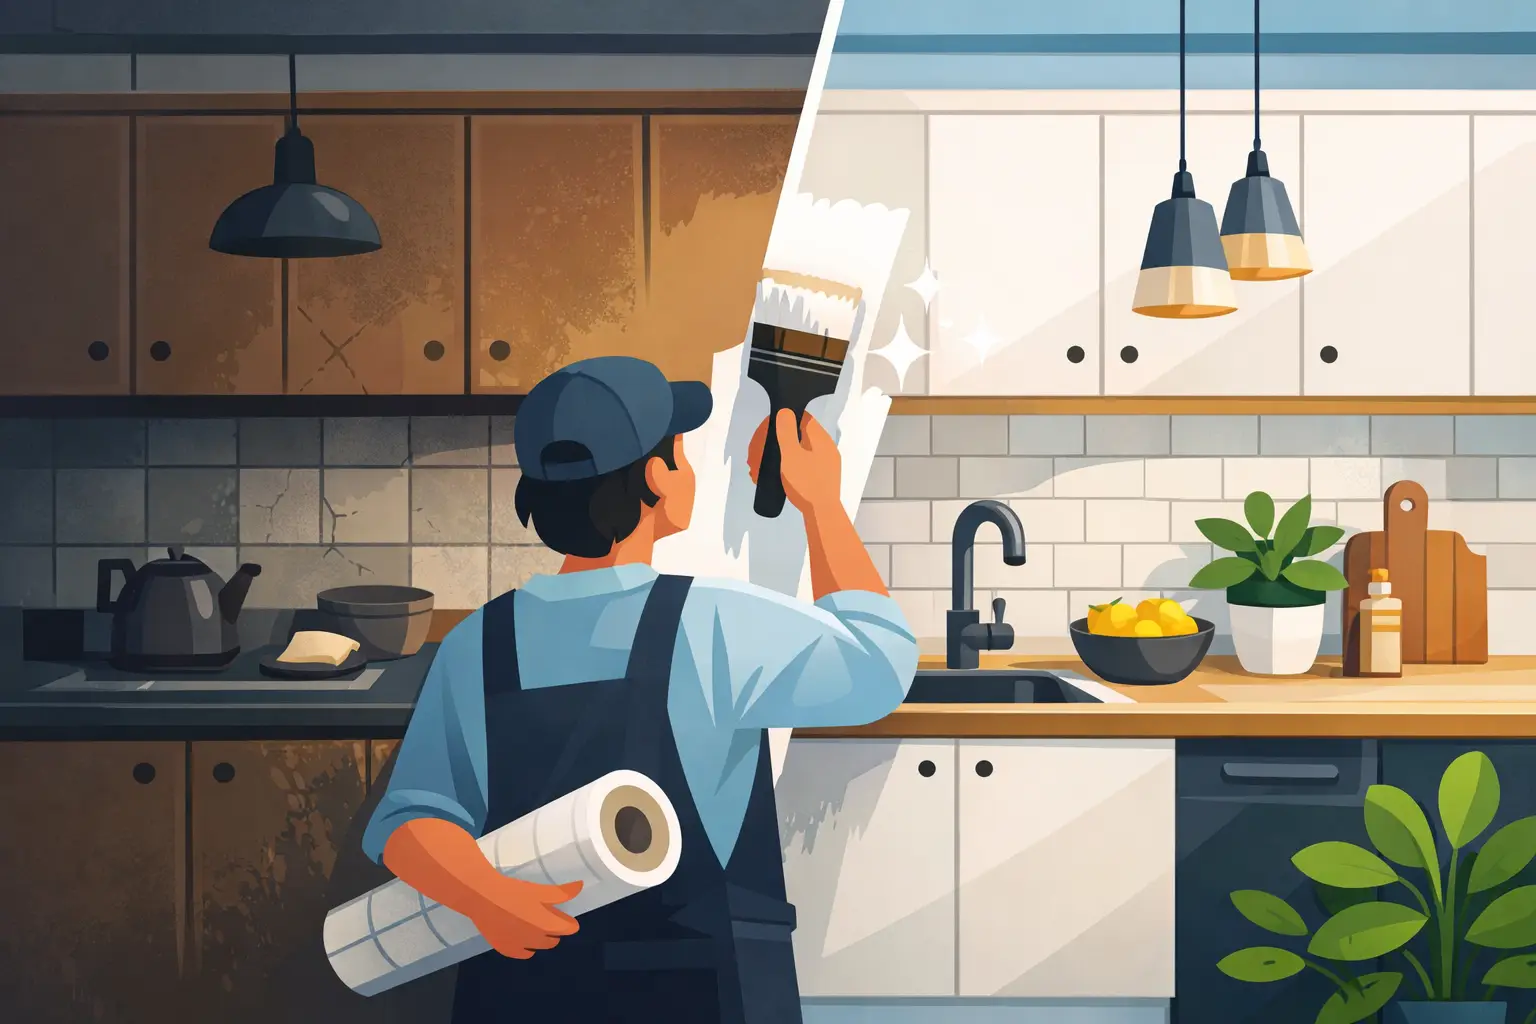
Is a brush or roller ever better than spraying?
Spraying gives a smoother, faster finish when the room is well‑masked; brushing/rolling can work in tight spaces or when you cannot set up containment.
How long before I can use the kitchen normally?
You can rehang after early cure, but avoid heavy cleaning or banging doors for several days; full hardness may take weeks depending on product and conditions.
What if my cabinets are laminate or MDF?
Use a compatible bonding primer, seal MDF edges, and test adhesion. If primer scratches off easily after drying, switch products before proceeding.
Conclusion
Overall, a great Kitchen Respray comes from patient prep, light overlapping passes, and respecting dry and cure times. Remove and label everything, degrease well, mask thoroughly, scuff between coats, and keep your sprayer distance steady for a factory‑smooth finish. If you want help or a second set of hands, explore services at Dublinkitchenrespray.ie to compare a professional scope against your DIY plan. You’ll end up with a durable, easy‑to‑clean finish and a kitchen that looks new without the cost of replacement.