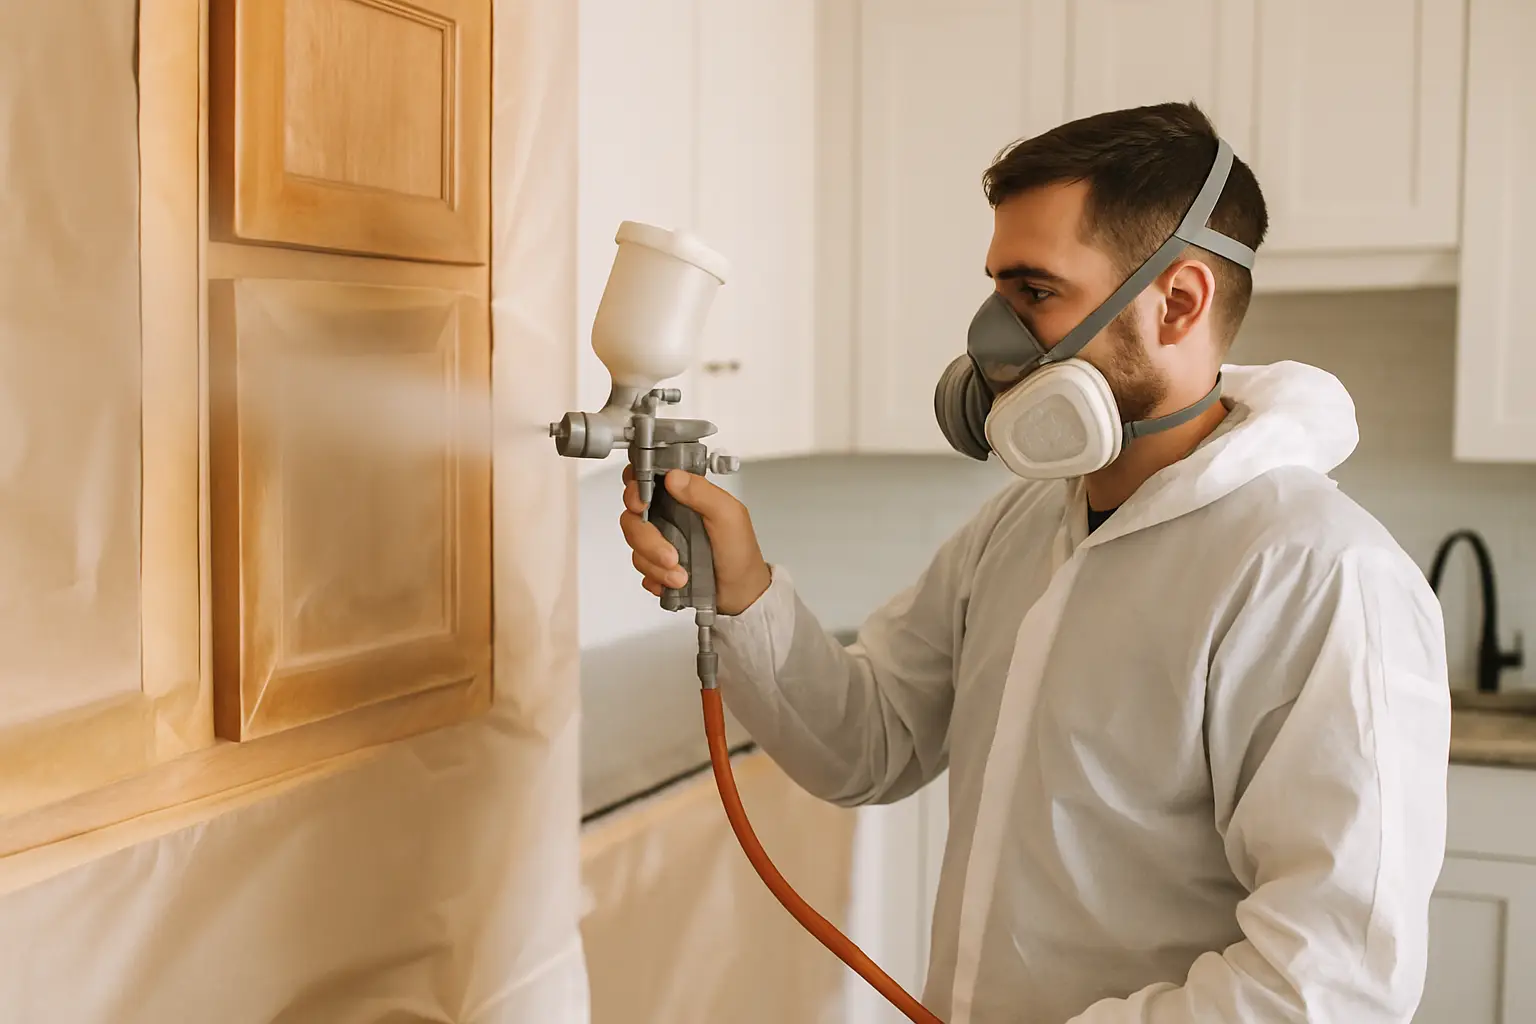
A freshly painted kitchen looks brilliant for a reason – the light hits clean, even surfaces and everything feels sharper and newer. But kitchens are tough environments. Steam from the kettle, splashes from the hob, sticky fingerprints, and the odd knock from a saucepan all add up. If you want your finish to stay stunning (and avoid premature chips, dull patches, or staining), the care you give it matters as much as the paint itself.
This guide is the practical, homeowner-friendly answer to how to maintain painted kitchen cabinets in real Irish family kitchens – the sort where dinner happens quickly, the dishwasher is always on, and the weather can mean damp coats and busy mornings.
What you are actually protecting (and why it changes the rules)
Painted cabinets are not just “paint on wood”. A professional finish is typically a system: preparation, primers, topcoats, and cure time. That top layer might look hard after a day, but it continues to cure and toughen over the next couple of weeks.
That matters because the first month is when most accidental damage happens. Over-cleaning, using the wrong products, or letting moisture sit around edges can mark a finish that has not fully hardened. After curing, painted cabinets become far more resilient – but they are never indestructible. The goal is to reduce abrasion, limit long exposure to moisture and grease, and deal with marks early before you need more invasive fixes.
The everyday routine that keeps cabinets looking new
Most cabinet maintenance is simply “less drama, more consistency”. You do not need specialist sprays for daily care – you need the right habits.
Wipe light marks little and often with a soft microfibre cloth slightly dampened with warm water. If you see splashes near the sink or hob, deal with them the same day. Paint finishes are most likely to discolour when oils and cooking residue are left to sit and then heat cycles harden them.
Drying is as important as wiping. Painted doors and frames often have routed edges and corners where water can linger. A quick dry buff with a clean cloth prevents moisture soaking into joints or sitting along the bottom edge of doors.
If you only do one thing: keep the areas around the sink, dishwasher and kettle dry. Those spots do the most long-term damage.
Weekly cleaning: the safe way to lift grease and fingerprints
Kitchen grease is sneaky. It is rarely obvious until the light hits a door at an angle and you notice a haze. Weekly cleaning prevents build-up so you do not feel tempted to scrub later.
Use a mild solution of warm water with a small amount of gentle washing-up liquid. Apply it to the cloth, not directly to the cabinet, then wipe with the grain where possible. Follow with a second cloth dampened with plain water to remove any soap residue, and finish by drying.
Avoid “kitchen degreasers” unless you know they are suitable for painted joinery. Many are designed for hard industrial surfaces, and they can soften or dull paint over time, especially on satin and matt finishes.
What to avoid (because it will shorten the life of the paint)
You will get better results by avoiding a few common culprits than by buying expensive products. Steer clear of abrasive cream cleaners, scouring pads, melamine sponges, and anything containing bleach or ammonia. They can take the sheen off, create patchy dull areas, or microscratch the surface so it attracts dirt faster.
Also skip furniture polishes and waxes on kitchen cabinets. They can leave a slippery film that grabs dust, and if you ever need touch-ups, that residue can interfere with paint adhesion.
Moisture management: the quiet cause of peeling and swelling
In Irish homes, moisture is the number one factor that makes a painted kitchen age badly. It is not always a leak – it is repeated steam and condensation getting into seams.
Use your extractor fan every time you cook, and let it run for a few minutes afterwards. Wipe condensation from doors near the hob and kettle. If you have a dishwasher, avoid hanging wet tea towels over adjacent doors and do not leave the machine door ajar so steam vents directly into the cabinet faces.
Check the sink area regularly. A slow drip inside the cabinet can swell the base panel and push joints apart before you spot it. If you keep cleaning products under the sink, place them in a tray so small spills do not sit against painted surfaces.
Handling marks and stains without making them worse
Not all marks are equal, and the best approach depends on what caused them.
For fresh food splashes (tea, tomato, curry), start with warm water and a microfibre cloth. If it lingers, use the mild washing-up liquid mix and wipe gently. For greasy marks around handles, that same solution usually works, but you may need a second pass with clean water to remove the oily residue.
For tougher spots like crayon or pen, test in an inconspicuous area first. A tiny amount of diluted washing-up liquid is often enough. If you jump straight to strong solvents, you may remove the stain and the finish at the same time. Nail varnish remover, paint thinners, and strong alcohol cleaners are especially risky – they can soften topcoats and create a permanent “bloomed” patch.
If a stain has penetrated or the finish has dulled, stop scrubbing. At that stage, the fix is usually a controlled touch-up rather than more cleaning.
Hardware habits: small adjustments that prevent chips
Chips and edge wear are often caused by impact, not poor paint. A few practical tweaks make a big difference.
If doors slam, adjust the hinges. Most modern hinges allow simple alignment and tension tweaks, and soft-close mechanisms can be added in many cases. When a door repeatedly knocks the frame, it is not just noisy – it is gradually breaking the paint film at the contact point.
Be mindful of rings, watches, and belt buckles, particularly on handleless or push-to-open doors where hands touch the paint more than the hardware. If you are seeing “grey shadows” around touch points, it is usually oils and fine grime compacted into micro-scratches, so gentle frequent cleaning is the cure.
Heat and sunlight: why some colours fade faster
Kitchens have hotspots. Cabinets near ovens, range cookers, and integrated microwaves are exposed to repeated warmth. Over time, heat can slightly soften finishes and make them more prone to imprinting or dulling, especially if you lean baking trays against them.
Direct sunlight is another factor, particularly in brighter months. Some colours show fading faster than others – deep blues and certain greens can be more noticeable if one side of the kitchen gets strong sun daily. The solution is not to live in the dark, but you can reduce extremes with blinds during peak sun and by rotating countertop items so you do not end up with “shadow outlines” where a coffee machine sat for a year.
Scratches, chips and worn edges: what you can fix yourself
Even with careful use, most kitchens pick up a few battle scars. The key is to treat small damage early, before moisture and grime get under the paint.
For tiny chips on an edge, clean the area first and let it dry fully. Lightly smooth any lifted paint with very fine sandpaper (gentle is the word), then apply a small amount of matching touch-up paint with a fine artist’s brush. Several thin layers look better than one thick blob. Once dry, avoid cleaning that spot aggressively for a couple of weeks.
If the chip has exposed raw timber or MDF, you may need a primer before the topcoat, otherwise the repair can look darker or absorb the paint differently. That is where it starts to depend: if you do not have the original paint specification, matching can be difficult, and a “nearly right” touch-up can draw the eye more than the chip did.
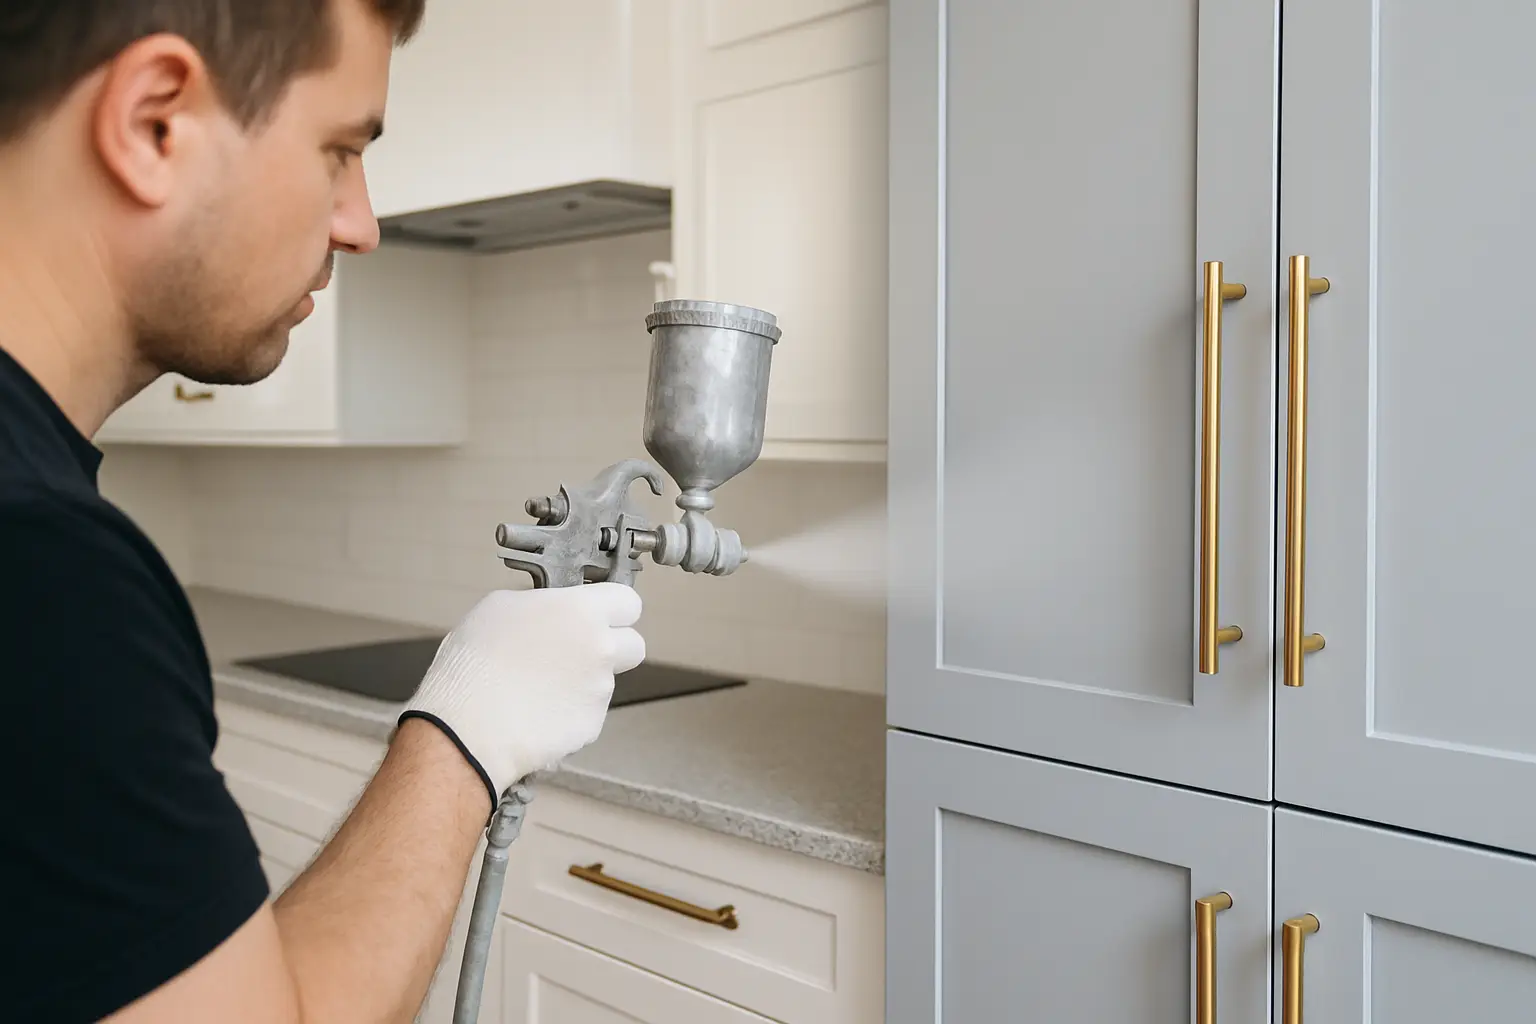
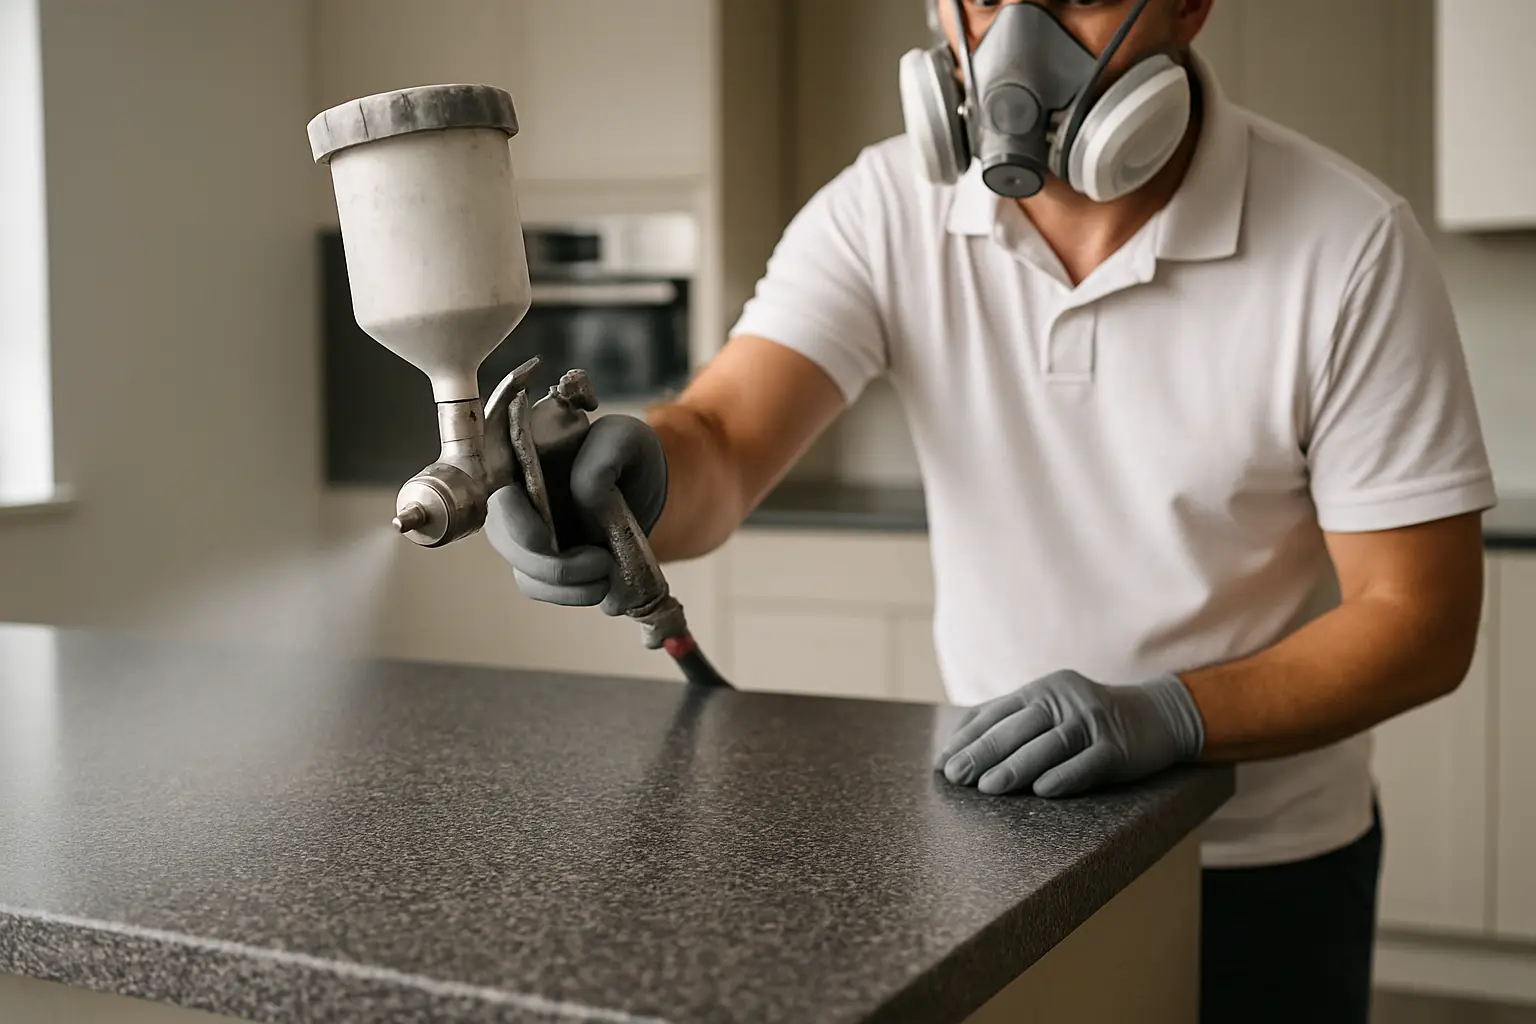
For broader wear around handles or along bottom edges, spot repairs often look patchy because the surrounding finish has aged slightly. In those cases, a professional respray of the affected doors can be more cost-effective than repeated DIY touching-in.
When cleaning is not the answer: signs your finish needs attention
A well-applied painted finish should clean up nicely. When it stops doing that, it is usually telling you something.
If you see paint peeling at corners, persistent bubbling near the sink, or a soft tacky feel that never seems to harden, there may be moisture getting in or the surface may have been cleaned with harsh chemicals. Likewise, if cabinet faces look permanently dull or cloudy no matter how carefully you wash them, the topcoat may be worn.
At that point, you can keep things tidy, but you will be fighting the surface rather than protecting it. This is often where homeowners in Dublin, Wicklow, Kildare, Meath, and Louth choose a respray rather than a full rip-out. If you want a professional, affordable refresh that keeps your existing layout and reduces waste, Dublin Kitchen Respray specialises in durable kitchen cabinet respraying that delivers that like-new finish without the disruption of a full renovation.
A quick seasonal reset that pays off
Once or twice a year, give your kitchen a slightly deeper check-in. Clean the top edges of doors (they collect unseen grease), wipe the plinth area, and check hinge screws and door alignment. Look closely around the sink, bin unit and dishwasher for any early signs of moisture.
This sort of maintenance is not glamorous, but it is exactly what keeps painted cabinets looking professional year after year. Done regularly, it prevents the kind of slow damage that only shows up when you are suddenly wondering why the kitchen looks tired.
Painted kitchens are meant to be lived in, not tiptoed around. Treat the finish like a quality surface: keep it clean, keep it dry, and deal with small knocks promptly, and it will keep making the whole room feel brighter every time you walk in.