If your kitchen looks tired but the units are still solid, the fastest route to a fresh, modern look is often the one that creates the least disruption: refinishing what you already have. That is exactly why kitchen cabinet painting without removal has become so popular across Dublin and the surrounding counties. You keep your kitchen functioning, avoid the mess of a full rip-out, and still get a dramatic change in colour and style.
Done well, painting in place can look like a factory finish. Done poorly, it can peel around handles, chip at the edges, and show brush marks every time the light hits it. The difference is rarely “better paint”. It is almost always preparation, method, and knowing when the job is better suited to a professional spray finish.
Kitchen cabinet painting without removal: the real trade-offs
Painting cabinets while they are still hanging is absolutely possible, but it comes with a few realities that homeowners should understand upfront.
First, access is tighter. Cabinet frames, hinges, and the inside edges of doors are fiddly. You can paint them, but it takes time to avoid heavy build-up on corners and around hardware.
Second, dust and airflow become part of the job. Kitchens are lived-in spaces. Even with careful masking, fine dust from sanding can drift, and drying paint can attract airborne particles.
Third, drying and curing matter more than most people expect. Paint can feel dry within hours, but it may take days to harden properly. If you start re-hanging doors, fitting handles, and wiping down grease marks too soon, you can leave imprints or cause early wear.
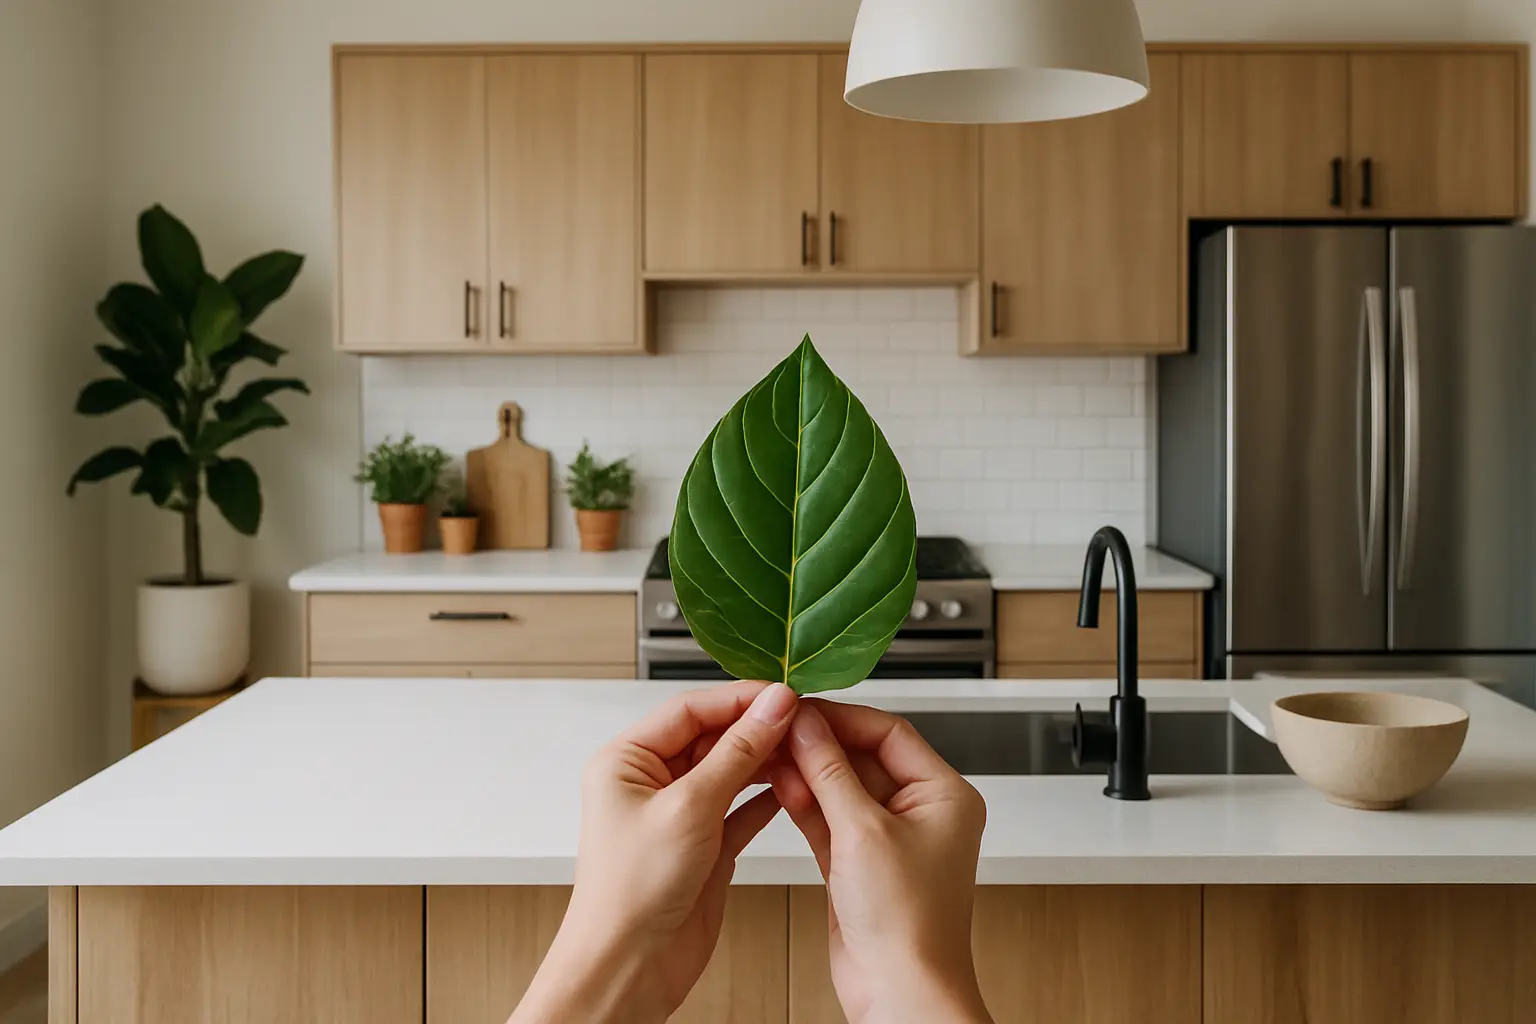
The upside is clear: no dismantling a full kitchen, no storing cabinets, and no waiting weeks for new units. For many homes, it is the sensible, affordable, eco-friendly option.
When painting in place is a good idea (and when it is not)
If your doors and frames are structurally sound, and the finish is not peeling extensively, painting in place can work brilliantly. It is especially well suited to MDF and timber doors, and many previously painted surfaces once they are properly keyed and primed.
Where it gets trickier is on high-gloss laminates, thermofoil-style wraps, or surfaces that are already failing. Paint can stick to these, but adhesion becomes more dependent on the right primer and thorough abrasion. If the existing coating is lifting, painting over it is like putting a plaster on a loose tile – it might look fine briefly, then fail at the edges.
Also consider usage. A busy family kitchen with constant cooking, steam, and frequent wipe-downs demands a tougher system than a rarely used space. If you want a very durable, even finish that mimics a new kitchen, spraying is often the better route.
The prep that makes or breaks the finish
Most problems blamed on paint are actually prep issues: grease left behind, sanding skipped, or primer mismatched to the surface.
Start by clearing the room as much as you reasonably can. Countertops should be free of appliances and anything that can catch dust. Then clean the cabinets like you mean it. Standard household cleaners often struggle with invisible cooking oils, especially around the hob and near handles. A dedicated degreaser is worth using, followed by a clean-water wipe to remove residue.
Once dry, you need to key the surface. For many cabinets, a light to moderate sand is enough to take the shine off and create a good profile for primer. The goal is not to remove everything back to bare timber. It is to create consistent dullness and smooth out any nicks. If there are chips or dents, fill them and sand flush. Edges and corners deserve extra attention because they are the first places paint will wear.
Dust control matters. Vacuum, then use a tack cloth or a damp microfibre cloth to pick up fine particles. If you paint over dust, you will feel it in the finish, and it can weaken adhesion.
Keep the doors on the units, but take them off the hinges
This is where “without removal” can be misunderstood. Leaving cabinet boxes on the wall is the big win – you avoid disruption and reinstallation issues. But painting doors and drawer fronts while they are hanging usually makes the finish worse, not better.
Removing doors and drawer fronts gives you cleaner edges, fewer drips, and a far smoother surface. You can lay them flat, which helps paint level out. It also lets you work on the frames properly without trying to paint around swinging doors.
Label each door and hinge position as you go, and keep screws in small bags. A few minutes of organising saves a lot of frustration later.
Masking: the unglamorous step that protects your kitchen
Good masking is not just about neat lines. It is about preventing overspray or stray roller flecks from landing on your splashback, worktops, appliances, and flooring.
Use quality masking tape and protective film or dust sheets. Tape off the inside of the cabinet boxes if you are not painting interiors. Cover hinges you are leaving in place, and be realistic about how far paint mist can travel if you are spraying.
If you are working in a home that is being lived in during the project, create a practical “no-go” area and plan drying time. It is better to keep the kitchen out of action for a day than to spend a week fixing accidental marks.
Picking the right products: primer first, then a hard-wearing topcoat
Cabinet painting is a system, not a single tin of paint. Primer is what bonds to the surface and gives your topcoat the best chance of lasting.
For previously painted timber or MDF, a high-adhesion primer is typically the safest option. For glossy or difficult surfaces, you may need a bonding primer designed specifically for challenging substrates. Skipping primer can save a few hours now and cost you months later when the finish starts to chip near the handles.
For topcoats, choose a durable interior enamel or a cabinet-specific paint with good washability. A satin or eggshell finish tends to be the most forgiving – it looks modern, cleans well, and does not highlight every tiny ripple like a full gloss can.
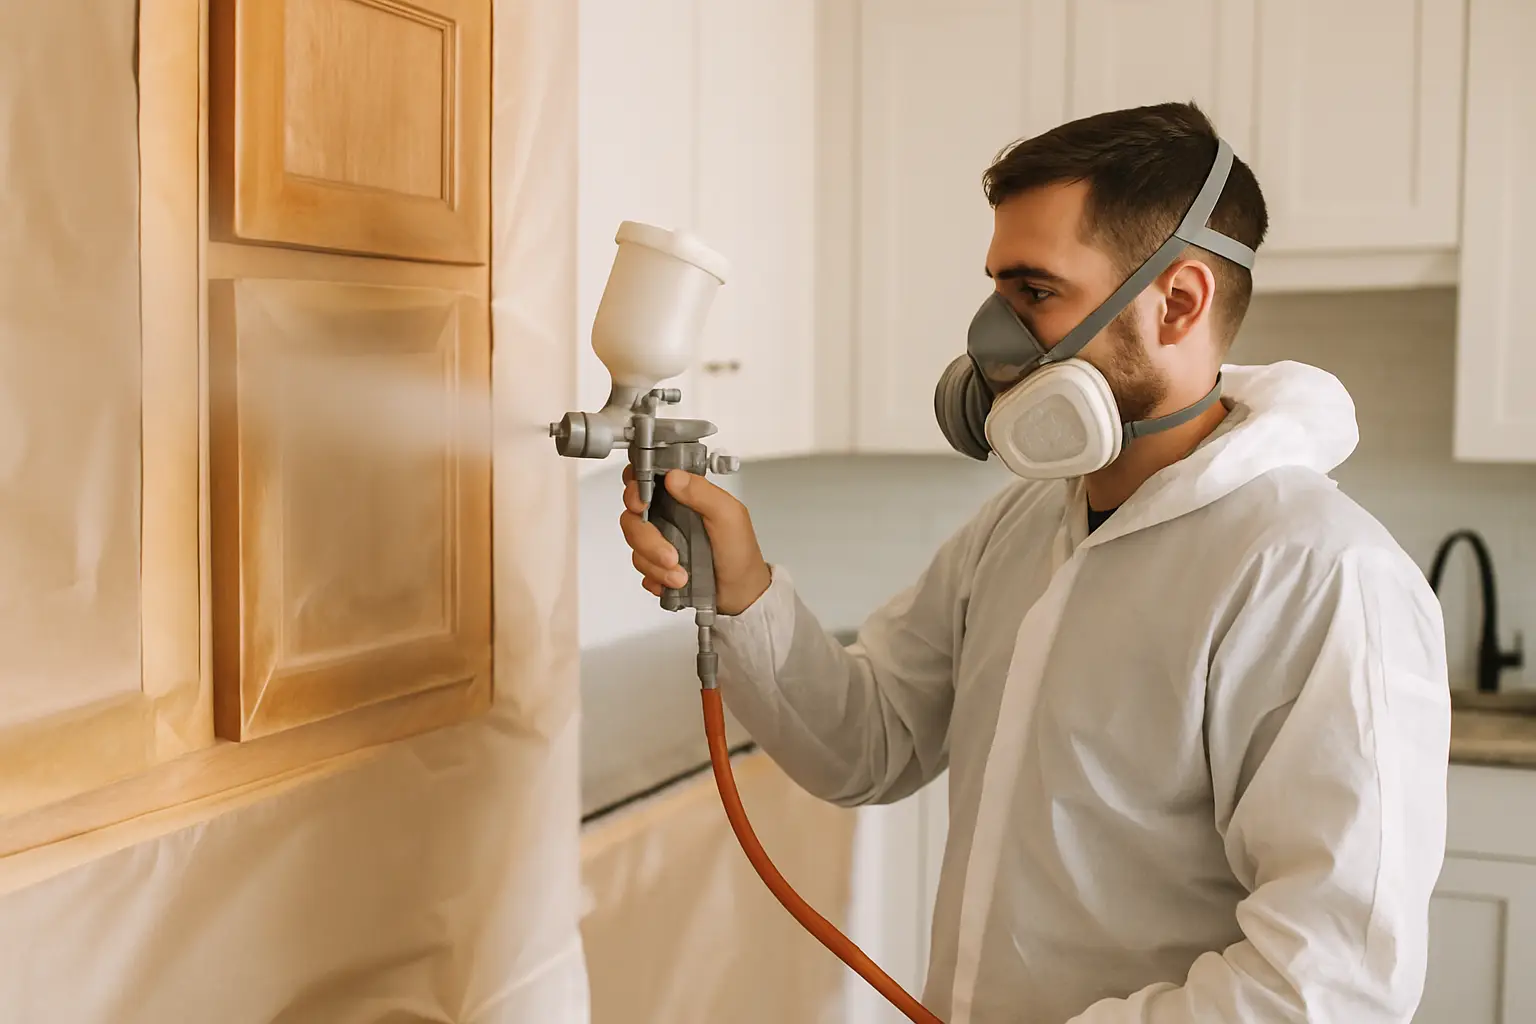
Brush, roller, or spray: what gives the best result in a real kitchen?
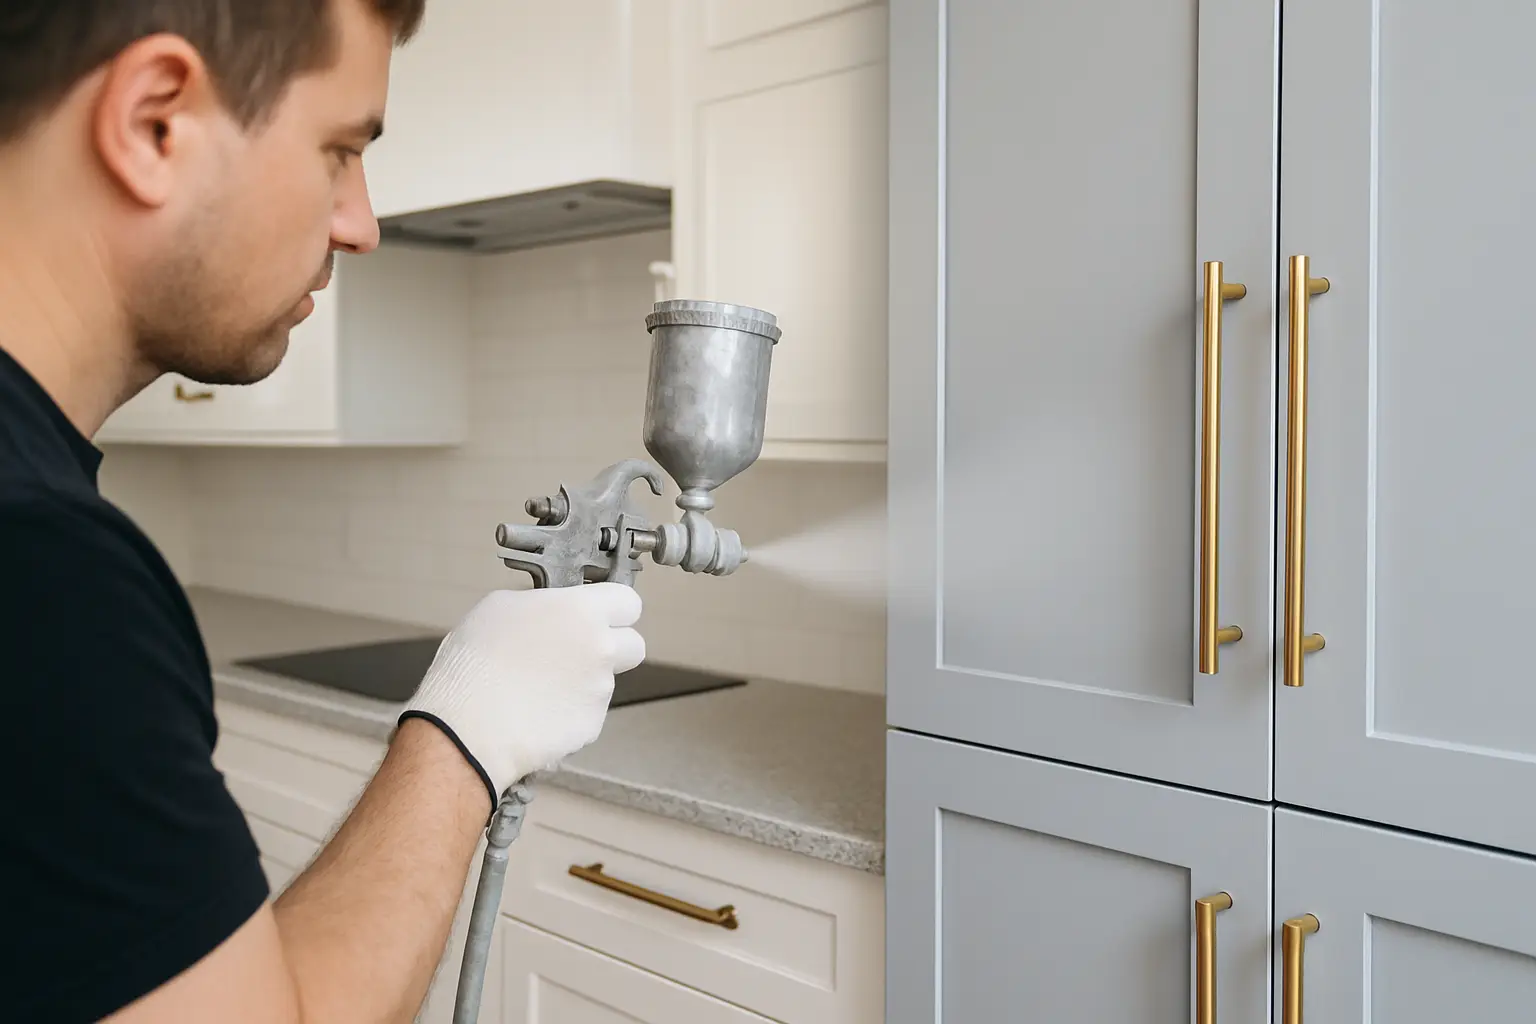
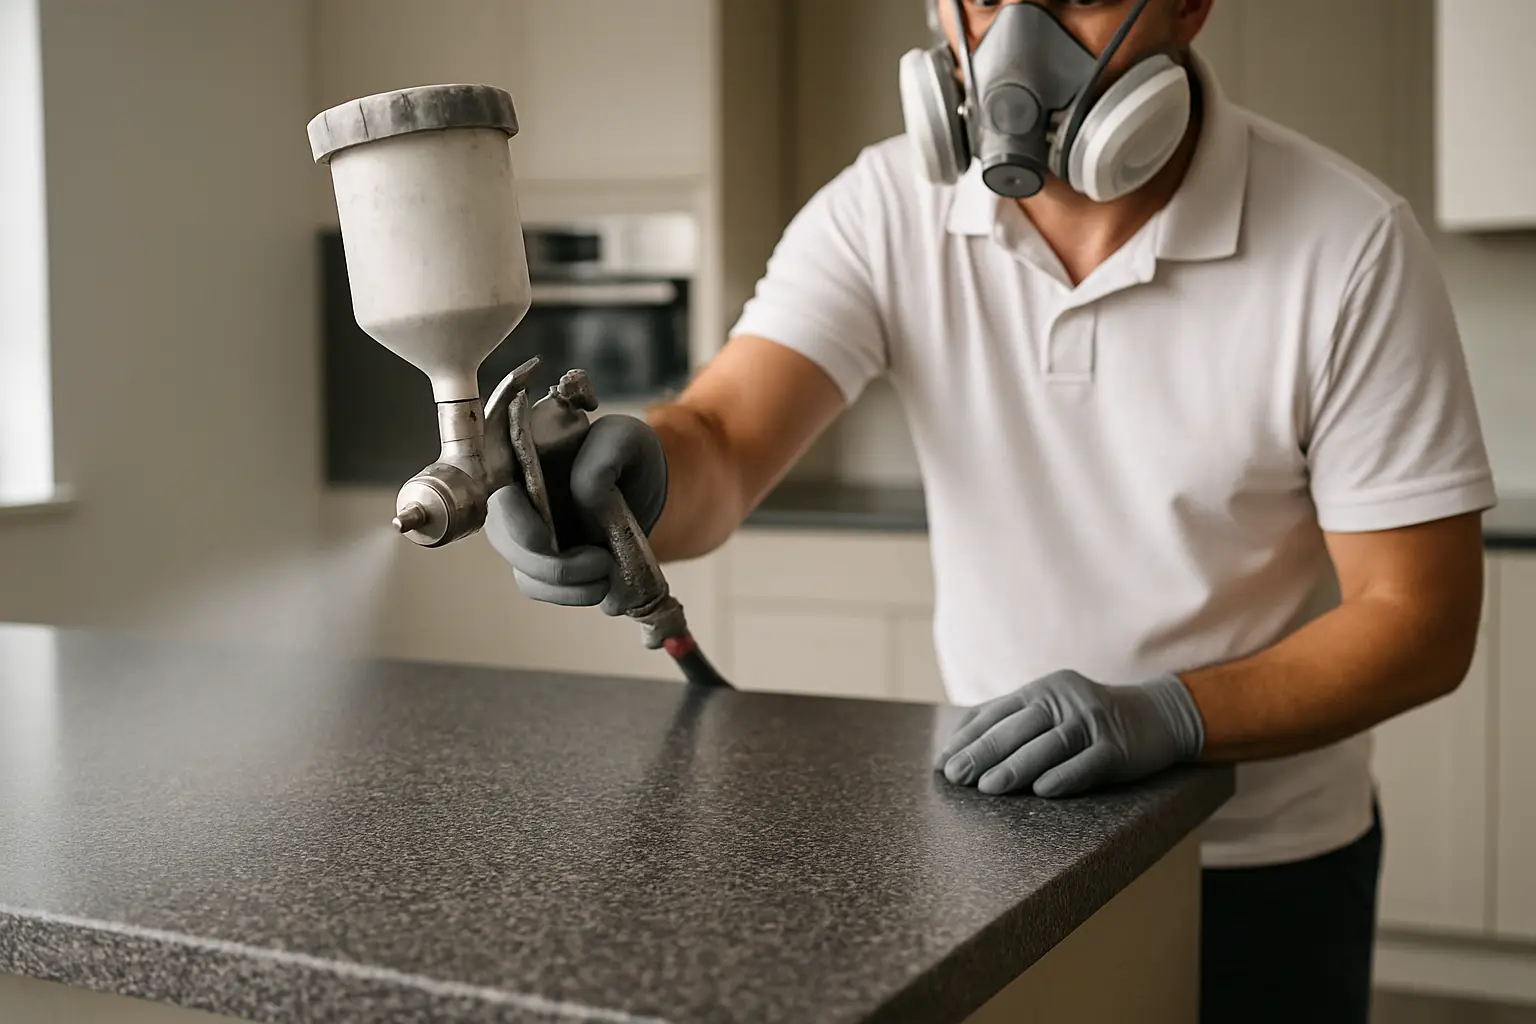
If you want the smoothest possible finish, spraying wins. It lays paint evenly and can look closer to a factory-applied coating. The downside is control. Spraying in a lived-in home requires meticulous masking, dust management, and confidence with equipment.
A microfibre mini roller combined with a quality brush for corners can deliver an excellent finish too, particularly on shaker-style doors. The key is thin coats. Heavy coats lead to runs, soft edges, and a “painted-on” look.
Whichever method you choose, two to three thin topcoats over a solid primer base usually outperform one thick coat. Allow proper drying time between coats, and avoid painting in very cold or humid conditions where curing slows down.
Handling hinges and hardware without headaches
You can paint with hinges on, but it is rarely the best finish. Removing hinges lets you sand and paint right up to the edge, and it prevents paint build-up that can cause doors to stick.
If you are changing handles, fill old holes neatly before priming, then drill new ones once the paint has cured. Drilling into soft paint can cause chipping around the hole.
Also consider soft-close hinges. If your kitchen is older, upgrading hinges during a repaint can make the space feel newer without changing the cabinets themselves.
Curing time: the bit that protects your hard work
Dry to the touch is not the same as cured. Most cabinet paints need several days to harden, and some take longer depending on temperature and ventilation.
Be gentle with the doors for the first week. Avoid harsh cleaners, do not scrub, and consider using felt bumpers if doors knock against frames. This is also why professional spray systems that cure hard and evenly can be so appealing – they are designed for daily wear.
When a professional respray is the smarter option
If you want a consistently smooth, durable finish across doors, frames, and panels – especially in a busy family kitchen – professional respraying can be the most cost-effective choice long term. It reduces the risk of brush marks, improves edge coverage, and typically delivers a tougher coating system than most DIY approaches.
It also helps when the kitchen has awkward details, lots of glazing bars, deep grooves, or previous coatings that are difficult to stabilise. In those cases, expert prep and spraying equipment can turn a stressful DIY into a quick transformation.
For homeowners in Dublin and nearby counties who want that like-new finish without replacing the kitchen, Dublin Kitchen Respray specialises in professional cabinet respraying designed to be affordable, eco-friendly, and completed with minimal disruption.
A final thought before you start
If you treat kitchen cabinet painting without removal as a careful refurbishment rather than a quick weekend makeover, the results can be genuinely stunning. Take your time on prep, respect curing time, and be honest about the finish you want – because the best decision is the one that still looks great when you are wiping down the doors six months from now.