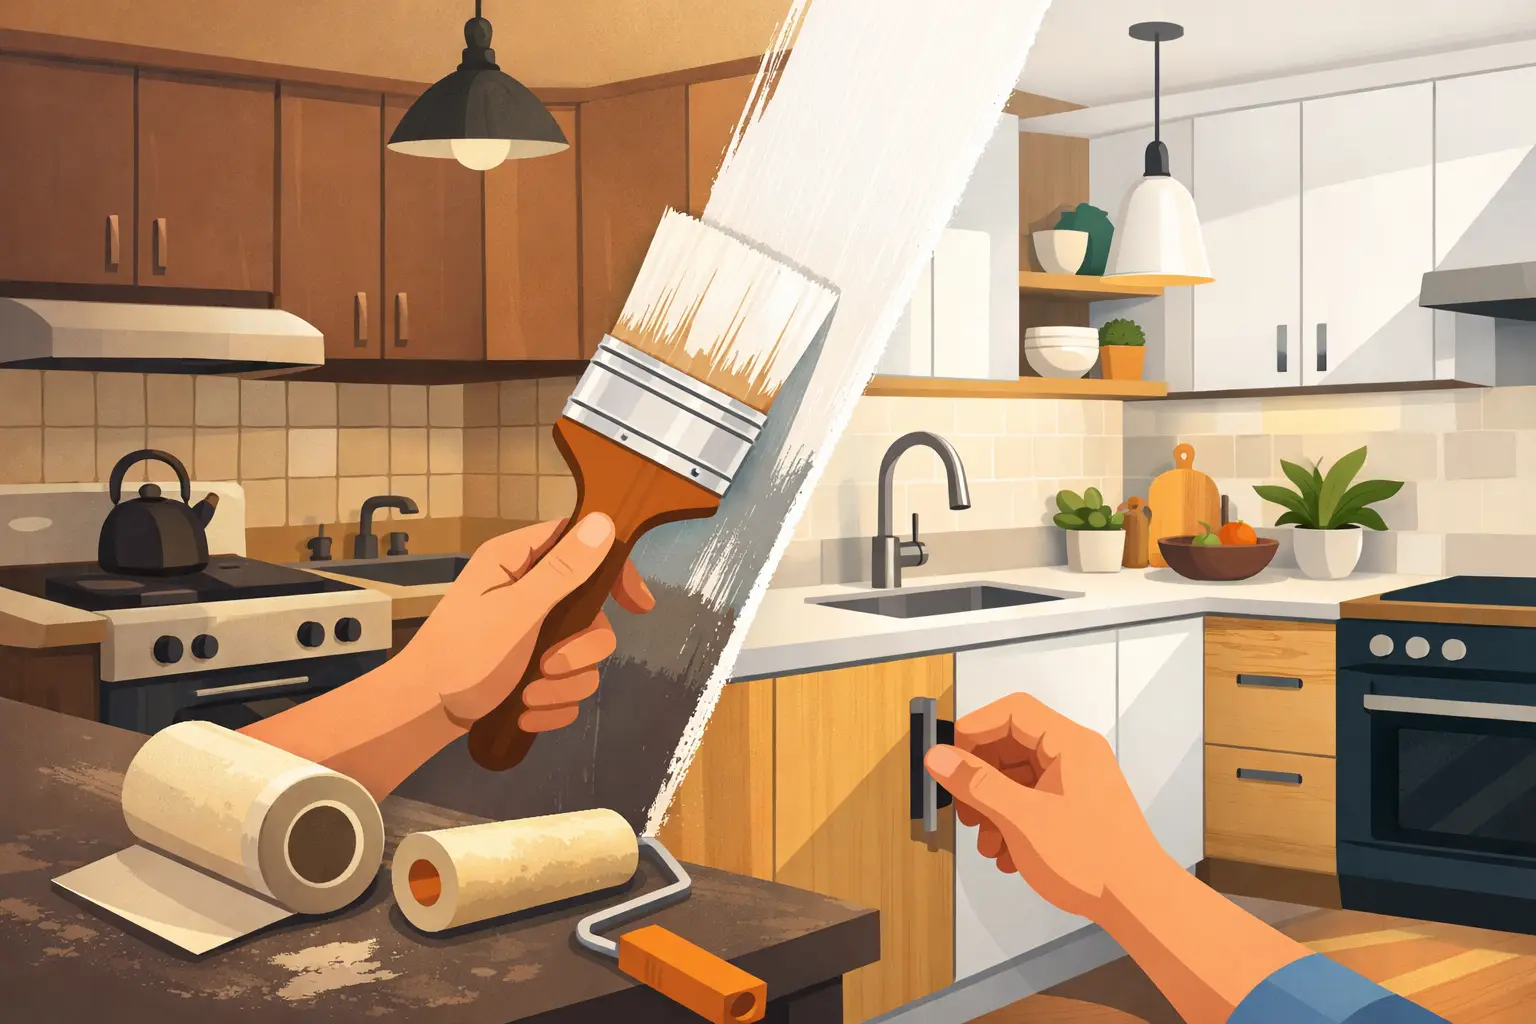
If you’ve ever seen a freshly resprayed kitchen where the finish looks like factory-new, it wasn’t luck. It was preparation. Most paint failures on cabinets—chipping on the edges, peeling near handles, a rough “orange peel” texture—can be traced back to what happened (or didn’t happen) before the first coat went on.
This is a practical, professional walkthrough of how to prepare kitchen cabinets for respraying, written for homeowners who want a stunning result without turning the house upside down. Some kitchens will be ready in a day; others need a bit more care, especially in older Dublin homes where years of cooking residue and polish build-up can be deceptively stubborn.
Why preparation is the make-or-break stage
Cabinet doors and frames live a hard life. Steam, grease, cleaning sprays, heat from ovens, and constant contact around handles all add up. A respray finish is only as durable as what it’s bonded to. If the surface is contaminated, too glossy, or slightly loose at a joint, even the best primer and topcoat will struggle long term.
Preparation is about creating a clean, stable, lightly abraded surface so coatings can grip properly. It’s also about removing the small defects that become very obvious once you apply an even, reflective finish.
Set expectations: what “respray-ready” actually means
Before you start, decide what level of finish you’re aiming for and what you’re willing to fix. A colour change on tired cabinets can be transformative even if the timber has a few character marks, but high-sheen or darker colours highlight every dent and uneven edge.
It also depends on the cabinet material. Solid wood and MDF generally respray very well. Thermofoil and some laminate finishes can be more challenging, because adhesion relies heavily on the right cleaning, abrasion and primer choice. If you’re unsure what you have, look at the back edge of a door: wrapped vinyl often shows a seam or fold, while painted MDF looks uniform.
Empty the space and create a clean work zone
Start by clearing cupboards and drawers around the work area. Even if you’re only respraying doors, dust finds its way into everything, and you’ll want clear access to frames, hinges and plinths.
Open windows where possible and isolate the kitchen from the rest of the home. Dust sheets and masking film are your friend here, especially if you have open-plan living. If you’re doing any sanding, a vacuum with a good filter makes a huge difference to keeping the air (and your home) clean.
Remove doors, drawers and hardware properly
Taking everything off carefully saves time later and helps you avoid mixing parts up.
Remove doors and drawer fronts, then take off handles, knobs, latches and any removable trim. Bag screws per door and label them. If your hinges are adjustable European-style hinges, mark each hinge position with tape (top/bottom and left/right) so refitting is painless.
If you have integrated appliances with matching panels, include those in your plan—these often get the most wear and are where a respray can look especially impressive.
Don’t skip labelling
A simple system (masking tape labels on the back of each door) prevents the common headache of doors not lining up perfectly when refitted. Even in kitchens where everything “looks identical”, slight variations in hinge wear and alignment matter.
Degrease like you mean it
Kitchen cabinets can look clean and still be coated with invisible grease, silicone, and cleaning product residue. This is the stage that most DIY attempts underdo.
Use a dedicated degreaser suitable for kitchen surfaces and scrub particularly around handles, door edges, and the area above the hob. Rinse thoroughly with clean water afterwards—degreasers left behind can cause adhesion problems just as much as grease.
If you’ve ever used furniture polish or “shiny” cleaning sprays on the cabinets, be extra thorough. Many contain silicones that cause fish-eyes (little craters) in sprayed coatings. A second degrease is often worth the effort in older kitchens.
Let everything dry fully before moving on. Moisture trapped in joints or around edging can come back to bite later.
Inspect and repair before sanding
Once clean and dry, you’ll see what you’re truly working with.
Check for loose hinges, swollen MDF edges, cracked corners, and doors that have dropped over time. Tighten hinge plates and fill old screw holes if they’ve become enlarged.
For chips and dents, use a suitable filler and shape it carefully once cured. This isn’t just about appearance: sharp chips create weak points where paint can lift. If you have swollen MDF from a leak or persistent moisture, that area may need to be stabilised and rebuilt with filler, or in some cases a door replacement is the sensible route.
Sanding: key the surface, don’t carve it up
Sanding for respraying isn’t about stripping everything back to bare timber. In most cases, you’re creating a consistent “key”—a lightly abraded surface that primer can bite into.
Use a fine-to-medium abrasive and work evenly. Focus on glossy areas, rounded edges, and the finger-worn zones around handles. Be gentle on profiles and corners; it’s easy to burn through existing finishes on edges, which can show later unless properly primed.
After sanding, remove all dust. Vacuum first, then wipe down with a clean, slightly damp cloth or a tack cloth. Dust left behind becomes texture, and texture is what makes a respray look DIY.
What about laminate or glossy finishes?
Laminate and very glossy painted surfaces can be resprayed successfully, but the prep needs to be consistent: thorough degreasing, careful abrasion, and the right adhesion primer. If the existing coating is peeling, you must remove anything loose until the edges are sound; painting over failure simply delays it.
Masking: the difference between tidy and truly professional
Masking is where you protect what you’re not painting and create crisp transitions.
Mask worktops, walls, splashbacks, flooring, appliances and hinges that can’t be removed. Take time around end panels, cornices and filler strips—overspray finds gaps you didn’t know existed.
If you’re respraying frames in place, mask inside the cabinet boxes as well. A clean internal edge looks intentional, and it keeps odours and fine dust out of stored items.
Prime with the right product for the substrate
Primer choice depends on what your cabinets are made of and what’s currently on them. The goal is adhesion and a stable base for the topcoats.
Bare MDF edges need proper sealing; otherwise they can swell slightly and create a fuzzy texture. Stained timber often benefits from a primer that blocks tannins and prevents bleed-through. If you’re changing from a dark finish to a light colour, primer coverage becomes even more important.
Apply primer evenly and allow proper drying time. Rushing this step is a common cause of later chipping, because coats don’t fully cure and bond as intended.
Light sanding between stages for a smooth finish
Once primer is dry, a light de-nib (a very gentle sand) removes tiny raised fibres or dust specks. Wipe clean again. This is how you get that smooth-to-the-touch finish that feels as good as it looks.
Think about the environment: temperature, humidity and drying space
Irish weather can be unpredictable, and drying conditions matter. Very cold temperatures slow curing; high humidity can affect how coatings lay down and harden.
Plan a clean, dust-controlled area for doors to dry flat or on racks, away from pets, foot traffic and cooking steam. If you’re living in the home during the work, it helps to schedule the noisiest, dustiest prep (sanding and repairs) at a time that’s least disruptive.
When it’s wiser to call in the professionals
Some kitchens are ideal for DIY prep, especially if the cabinets are in decent condition and you’re confident with careful sanding and masking. But there are scenarios where professional experience pays for itself: tricky substrates like thermofoil, heavy silicone contamination, extensive repairs, or when you want a high-end sprayed finish without weeks of disruption.
If you’re in Dublin or the surrounding counties and you want the job handled start-to-finish with minimal hassle, a trusted specialist like Dublin Kitchen Respray can assess the surfaces, prep them properly, and apply a durable, professional finish designed to last in a busy kitchen.
A final word before you pick up the spray gun
The best resprays don’t start with paint—they start with patience. Give yourself permission to spend longer on cleaning, repairs and sanding than you think you should. When the doors go back on and the finish looks smooth, even and “brand new”, you’ll be glad you did.