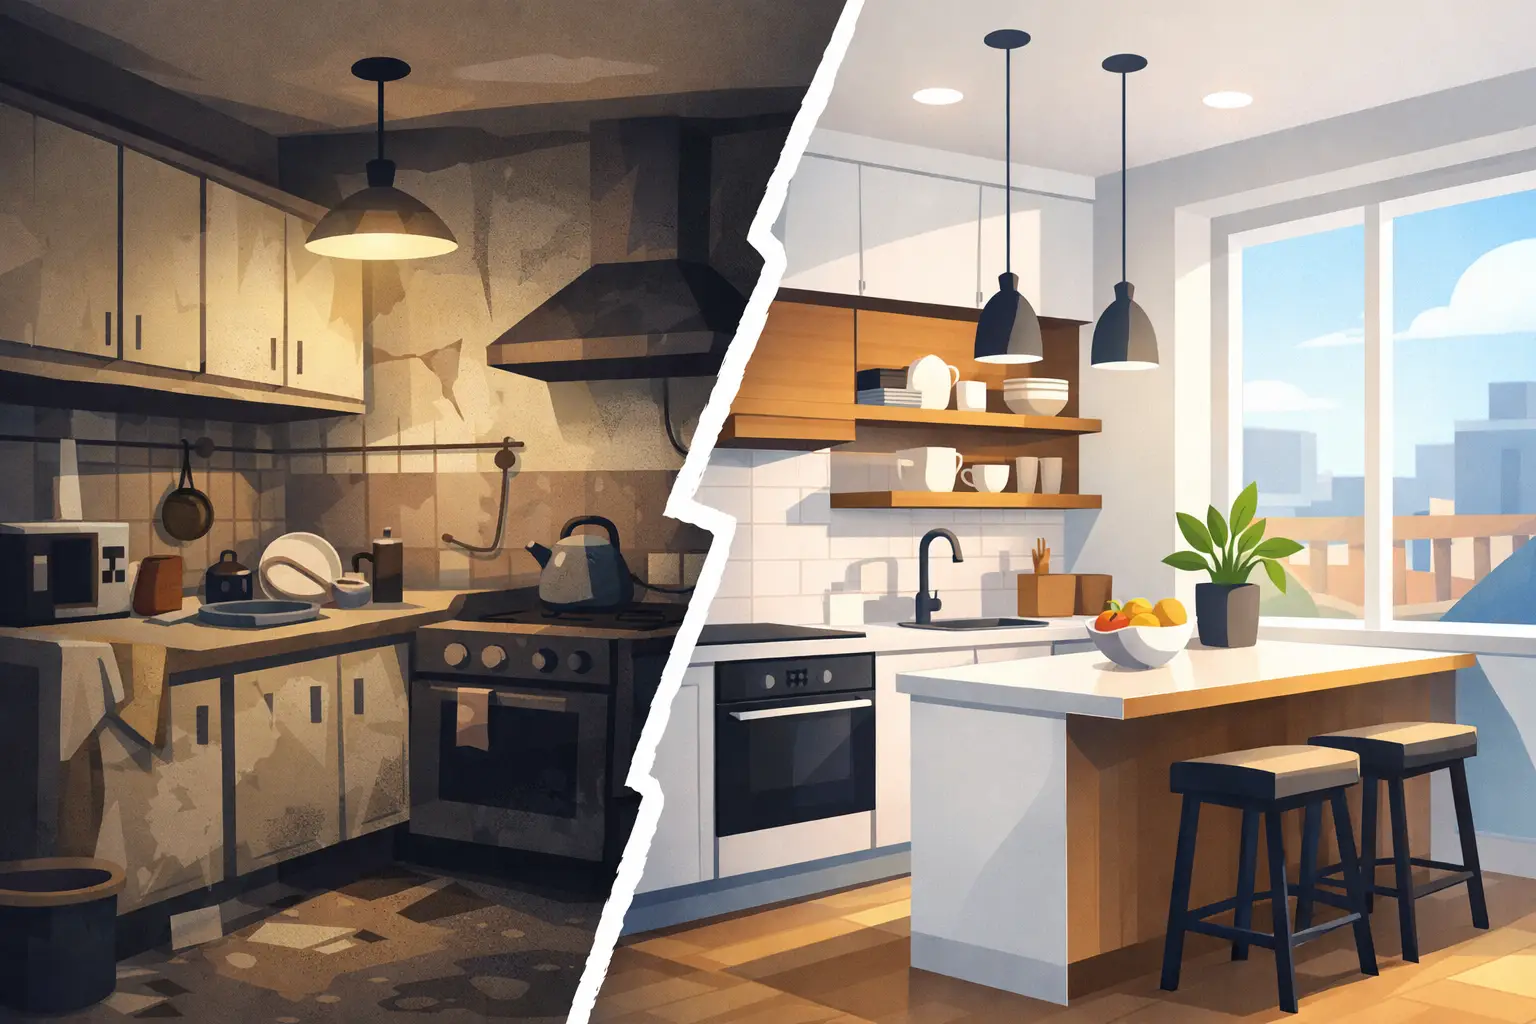
Thinking of updating your kitchen without the expense of a full renovation? A kitchen cabinet respray in Dublin could be exactly what you need. It’s fast, cost-effective, and can transform your entire space with a factory-finish look. But before you dive in, it’s natural to wonder: what exactly happens during a respray?
Let’s walk through the step-by-step process of spray painting kitchen cabinets in Dublin, so you know what to expect from start to finish.
Initial Consultation and Quotation
The process begins with a conversation. Whether you contact a professional team online or by phone, the first step is always an initial consultation. This can often be done through photos or a home visit.
During this stage, you’ll discuss your kitchen’s current condition, desired colour or finish, and whether any repairs or surface prep are needed. You’ll also receive a quotation that outlines the total cost, timeline, and scope of the job. This is the perfect time to ask questions and clarify anything you’re unsure about.
Colour Selection and Material Assessment
Once you’re happy to proceed, the next step is colour selection. A good respray specialist will offer a wide range of colours and finishes—from matt to gloss and everything in between. If you’re unsure, they can provide guidance based on current trends, lighting in your space, and the style of your home.
The technician will also assess your cabinet material. Whether it’s MDF, solid wood, or laminate, different surfaces require different types of preparation and primers to ensure the paint adheres properly.
Cabinet Door Removal and Labelling
To achieve a professional result, most respray jobs involve removing the cabinet doors, drawer fronts, and sometimes even side panels. These pieces are labelled carefully to make reinstallation quick and accurate.
By removing them, technicians can work more precisely in a dust-controlled environment and avoid overspray on other parts of the kitchen. This step also protects your appliances, walls, and countertops during the respray process.
Cleaning and Surface Preparation
Preparation is everything. Before any paint touches your cabinets, the surfaces are deep cleaned to remove grease, food splatter, and built-up grime. A clean surface ensures the paint adheres correctly and avoids premature peeling or bubbling.
After cleaning, the surfaces are lightly sanded to roughen the finish and create better grip for the primer. This part of the process may seem small, but it’s one of the most important steps in ensuring a smooth, durable result.
Priming for Adhesion and Durability
Next comes the primer coat. This layer acts as a bonding agent between the cabinet material and the final colour coat. It also helps block any stains or wood tannins from bleeding through the paint.
Professionals use high-adhesion primers specifically designed for cabinetry, particularly for laminate or slick surfaces. The primer is applied using a spray gun, just like the final coat, to maintain a consistent finish across all surfaces.
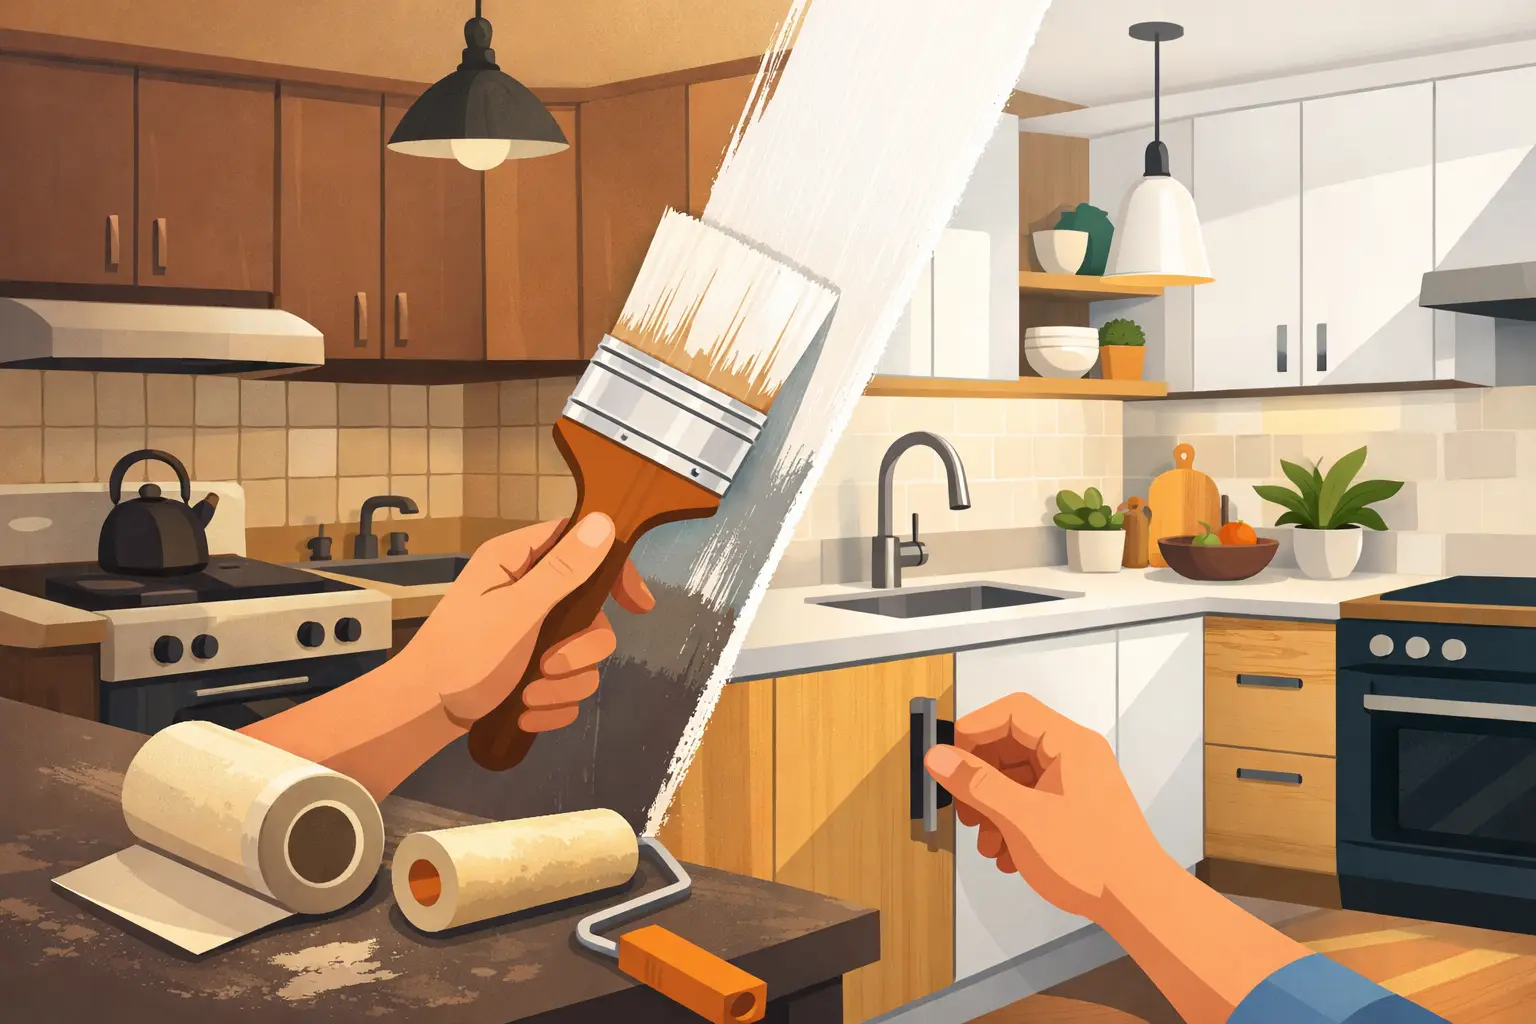
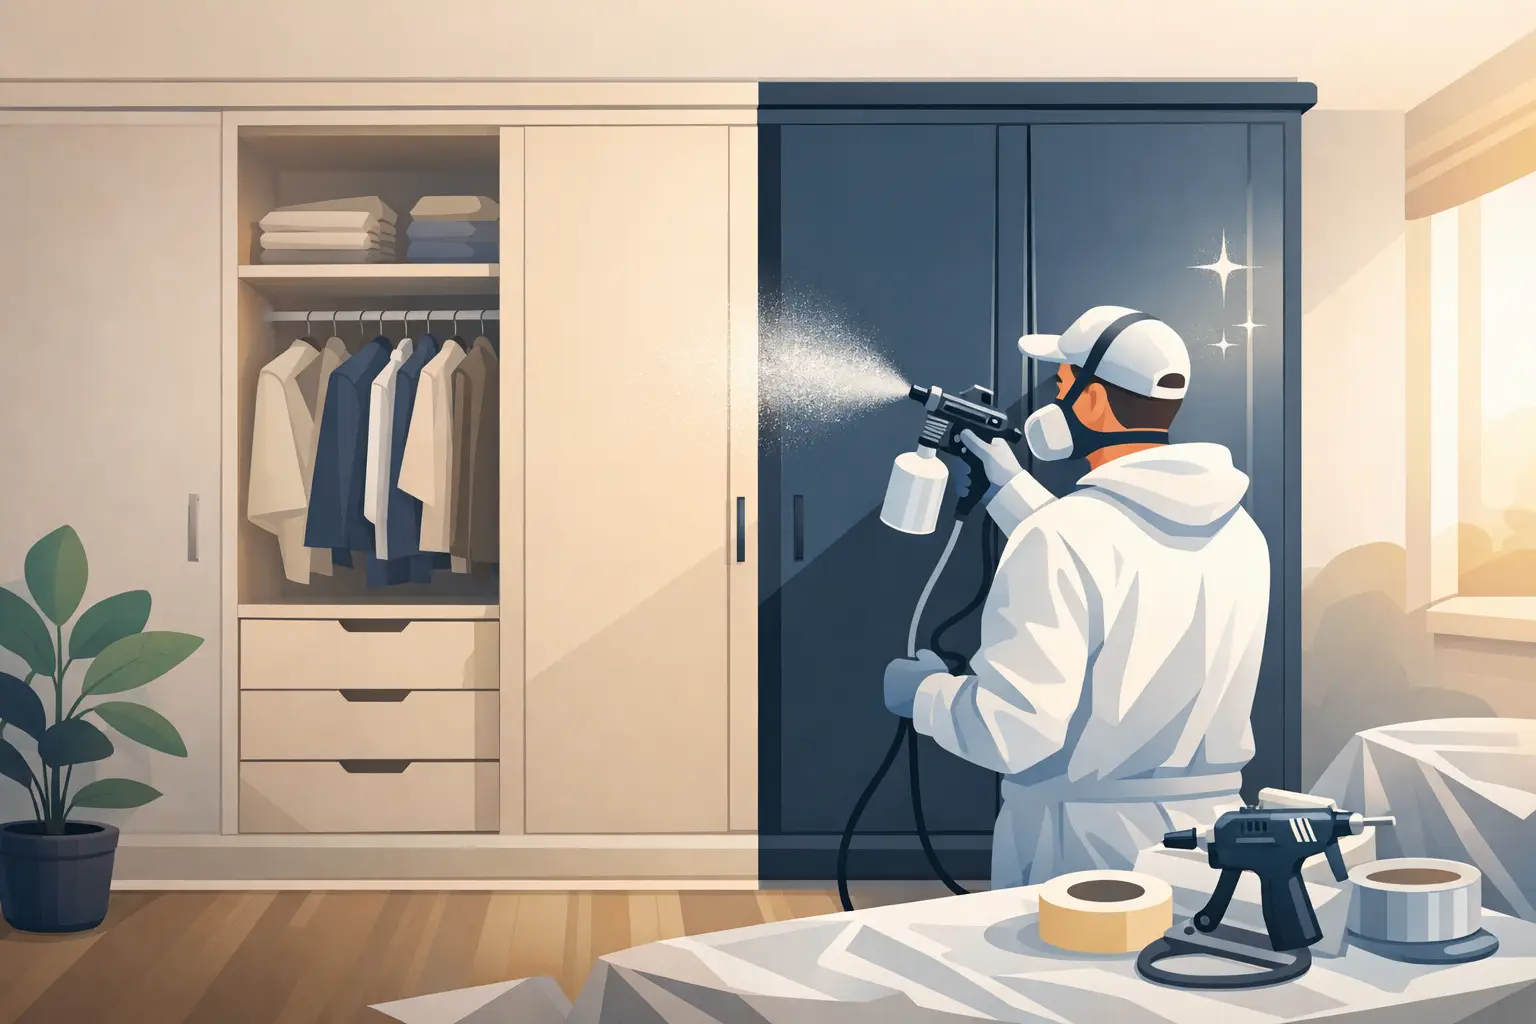
Spray Painting the Cabinets
Once the primer is dry, it’s time for the star of the show: spray painting the kitchen cabinets. This is done in multiple thin layers rather than one heavy coat, ensuring an even and flawless finish.
Depending on the look you’re going for, you can choose between matte, satin, eggshell, or gloss finishes. The spraying is typically done in a well-ventilated, dust-free area to avoid debris sticking to the wet paint. Between coats, light sanding may be performed again to maintain that glass-smooth texture.
Each coat is left to dry fully before the next is applied. This method creates a hard-wearing, professional-quality finish that looks brand new.
On-Site Touch-Ups and Edging
While most spraying is done off-site, the framework of your cabinets (the carcass) is typically painted on-site to match the doors and drawers. Technicians take great care to mask off nearby appliances, flooring, and splashbacks to protect your kitchen.
This part of the job requires steady hands and precise spraying to ensure seamless blending between cabinet frames and doors. It also ensures that the full kitchen looks cohesive and professionally done.
Drying and Curing Time
After the final coat is applied, the surfaces are allowed to dry and cure. While spray paint dries to the touch quickly, full curing can take several days depending on the product used. This curing process is essential to achieving the high durability that respraying is known for.
During this time, it’s best to avoid heavy use or cleaning of your cabinets so the finish sets properly. Professionals will often recommend a specific wait time before rehanging the doors.
Reinstallation and Final Inspection
Once everything is dry and ready, your resprayed doors and drawers are reinstalled. Handles and hardware are reattached (or replaced if you’ve opted for new ones), and the entire kitchen is cleaned up.
Before completing the job, the technician will carry out a final inspection with you. This ensures that all surfaces meet the expected standard and that you’re happy with the result. If any small touch-ups are needed, they’ll be taken care of on the spot.
The Result: A Brand-New Look Without the Price Tag
After this process, your kitchen will look completely refreshed—at a fraction of the cost of a renovation. The transformation is instant, and the sleek, durable finish makes your cabinets look like they came straight from the factory.